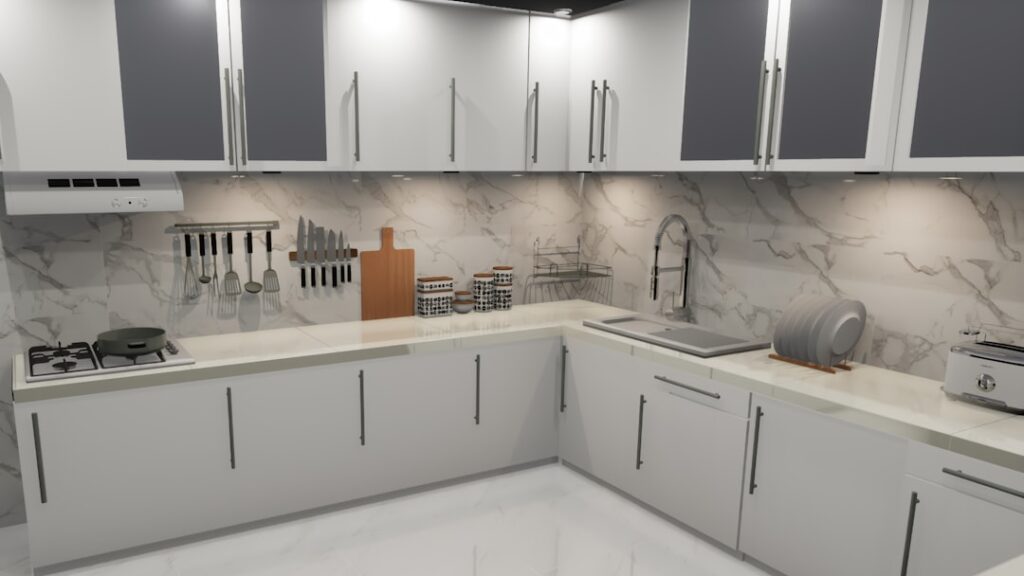
A kitchen remodel goes smoothly or sideways based almost entirely on sequence. Following the right kitchen renovation steps in the correct order prevents the costly mistakes that derail projects, like installing flooring before cabinets or ordering countertops before the base cabinets are set. A kitchen renovation is the most complex remodel in most homes because it combines plumbing, electrical, cabinetry, and finish work. This guide lays out the process from first plan to final reveal so you know what happens when and why the order matters.
Part of our Kitchen Remodeling guide — explore the full guide →
- Step 1: Plan and Budget
- Step 2: Design and Order Materials
- Step 3: Demolition
- Step 4: Rough-In Plumbing, Electrical, and HVAC
- Step 5: Walls, Insulation, and Paint
- Step 6: Flooring or Cabinets First?
- Step 7: Countertops
- Step 8: Backsplash, Appliances, and Finishes
- Step 9: Final Inspection and Cleanup
- Budgeting and Timeline Expectations
- Hiring Help Versus DIY
- Final Thoughts
Step 1: Plan and Budget
Every successful renovation starts long before any demolition. Define how you use the kitchen, what frustrates you about the current layout, and what you want to change. Set a realistic budget and add a contingency of 10 to 20 percent for the surprises that hide behind walls and under floors. Decide early whether you are moving plumbing or electrical, since relocating a sink or adding an island circuit drives cost and complexity significantly.
This is also when you finalize the layout and select major materials, because cabinets and appliances often have long lead times and must be ordered weeks in advance.
Step 2: Design and Order Materials
With the plan set, lock in the design details: cabinet style and layout, countertop material, appliances, sink, faucet, lighting, and flooring. Order long-lead items first, especially custom or semi-custom cabinets and appliances. A common scheduling error is starting demolition before materials arrive, which leaves you living without a kitchen for far longer than necessary while you wait on a back-ordered cabinet.
Step 3: Demolition
Once materials are on the way and permits are secured, demolition begins. Clear out the old cabinets, countertops, appliances, and flooring down to the studs and subfloor where needed. Work carefully around plumbing and electrical, and shut off water and power to affected areas before removing anything connected. This is also the moment hidden problems surface, such as water damage, outdated wiring, or unlevel floors, so budget time to address them.
Step 4: Rough-In Plumbing, Electrical, and HVAC
With walls open, the trades do their rough-in work. Plumbers move or add water and drain lines, electricians run new circuits, outlets, and lighting, and any HVAC or ventilation changes happen now. This is the right time to add the modern conveniences people regret skipping, like extra outlets, under-cabinet lighting circuits, and a dedicated circuit for high-draw appliances.
Most of this work requires permits and inspections. Do not close up walls until the rough-in passes inspection, because reopening finished walls later is expensive and disruptive.
Step 5: Walls, Insulation, and Paint
After inspections pass, close up the walls. Insulate where needed, hang and finish drywall, and prime. Many pros apply the first coats of paint at this stage, before cabinets go in, because painting empty walls is faster and cleaner. Save the final touch-up coat for after the messier installations are complete.
Step 6: Flooring or Cabinets First?
This is one of the most debated steps. The common approach is to install the finished flooring before the cabinets when using floating floors like LVP or laminate, or to install cabinets first and tile up to them when using tile, so you are not tiling under cabinets you cannot see. Whichever you choose, the goal is a level, solid base. Cabinets must sit on a flat surface and be shimmed and secured to the wall studs, perfectly level, because everything above them depends on it.
Step 7: Countertops
Countertops come after cabinets for a critical reason: most stone and quartz tops are templated to the exact installed cabinets, not to drawings. The fabricator measures the real cabinets, then cuts and installs the counters a week or two later. Trying to order counters before cabinets are set leads to poor fits. Once the counters are in, the sink and faucet can be connected.
Step 8: Backsplash, Appliances, and Finishes
With counters in place, install the backsplash, then bring in and connect the appliances. Hang lighting fixtures, install cabinet hardware, hook up the plumbing fixtures, and complete the final paint touch-ups. This finishing sequence runs roughly in this order.
- Install the backsplash and grout.
- Set and connect appliances.
- Install light fixtures and under-cabinet lighting.
- Add cabinet knobs and pulls.
- Connect the sink, faucet, and disposal.
- Final paint touch-up and trim.
Step 9: Final Inspection and Cleanup
Before you call the project done, schedule any required final inspections for the plumbing and electrical work. Then do a thorough cleanup, test every appliance, outlet, and fixture, and create a punch list of small items to correct. Living with the kitchen for a few days often reveals minor adjustments worth addressing while the crew is still available.
Budgeting and Timeline Expectations
A realistic budget and timeline keep stress in check. Kitchen costs vary enormously with finishes, but cabinets and countertops typically consume the largest share, often together accounting for half or more of the total. Appliances, labor, flooring, and lighting fill out the rest. Setting aside a contingency of 10 to 20 percent is not optional; behind-the-wall surprises and changed minds are the norm, not the exception.
On timeline, a full kitchen renovation commonly runs several weeks to a few months from demolition to completion, depending on scope, permitting, and material lead times. Custom cabinets alone can take many weeks to arrive, which is why ordering early is so important. Plan for a temporary kitchen setup, a microwave, a coffee maker, and a sink elsewhere, so you can function while the work proceeds.
Hiring Help Versus DIY
Decide early which parts you will tackle yourself and which need a professional. Cosmetic work like painting, hardware installation, and some flooring is within reach for many homeowners. Plumbing, electrical, and gas work, however, usually require licensed trades and permits, and mistakes there carry real safety and legal consequences. A general contractor coordinates the trades and keeps the sequence on track, which is valuable on a project this complex.
If you act as your own general contractor to save money, be prepared to schedule and manage inspections, deliveries, and multiple trades in the right order. The savings are real, but so is the time commitment and the risk of costly missteps if the sequence slips.
Final Thoughts
The secret to a smooth kitchen renovation is respecting the order of operations: plan and order first, then demolition, rough-in, walls, flooring and cabinets, countertops, and finally the finishes. Pull the right permits, pass inspections before closing walls, and template counters off installed cabinets. Budget a real contingency, plan a temporary kitchen, and bring in licensed trades where the work demands it. Follow these kitchen renovation steps in sequence and you will avoid the expensive backtracking that turns a remodel into a nightmare.