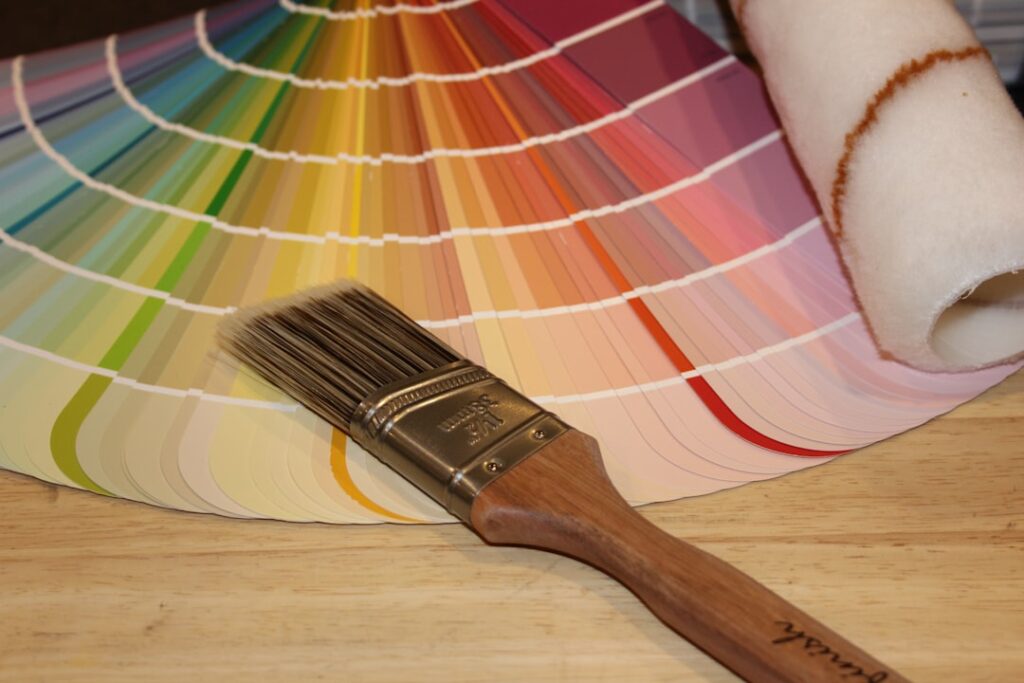
Painting laminate used to be considered a recipe for peeling, chipping disappointment, but the right products and technique have changed that. Laminate paint projects, done correctly, can transform dated cabinets, furniture, and even some floors for a fraction of the cost of replacement. The secret lies in understanding that laminate is non-porous and demands proper preparation.
Part of our Paint & Walls guide — explore the full guide →
This guide walks you through the prep, primers, paints, application methods, and cure times that separate a finish that lasts from one that flakes off in months. Take your time with the foundation and the results can genuinely surprise you.
Why Laminate Is Tricky to Paint
Laminate is a sealed, slick surface, typically a printed melamine or plastic layer over particleboard or fiberboard. Unlike raw wood, it has no pores for paint to soak into, so standard paint simply sits on top and peels away under everyday use.
The solution is creating mechanical and chemical adhesion through cleaning, light sanding, and most importantly a bonding primer. Skip any of these steps and the finish will fail. Once you respect the non-porous nature of the material, though, laminate becomes a perfectly paintable surface.
Gather the Right Materials
Using products designed for slick surfaces is non-negotiable. The wrong primer or paint dooms the project before you start. Here is what a successful job typically calls for.
- Bonding primer: a high-adhesion primer formulated to grip glossy, non-porous surfaces.
- Durable topcoat: a cabinet-and-trim enamel, acrylic, or alkyd-hybrid paint built for hard wear.
- Fine sandpaper: around 220 grit to scuff the surface.
- Degreaser or a TSP substitute: to strip oils and grime.
- Quality brushes, foam rollers, or a sprayer: for a smooth, brush-mark-free finish.
Always read and follow the manufacturer’s instructions for each product, since compatibility between primer and topcoat matters and recoat windows vary by brand.
Surface Preparation Step by Step
Preparation is roughly 80 percent of a lasting laminate paint job. Rushing this stage is the single most common reason finishes fail.
- Remove hardware, doors, and drawers so you can work on flat surfaces.
- Clean thoroughly with a degreaser to remove kitchen grease, oils, and dirt, then rinse and let dry.
- Lightly sand the entire surface with 220-grit paper to dull the sheen and give the primer something to grip.
- Wipe away all sanding dust with a tack cloth or damp microfiber, since dust ruins adhesion.
- Repair chips or damaged edges with wood filler, let it cure, and sand smooth.
Do not sand through the laminate layer into the substrate; you only need to scuff the surface, not remove it. A consistent, dust-free, dull surface is your goal before any primer touches it.
Priming for Adhesion
The bonding primer is the heart of the whole project. This specialized layer chemically grips the slick laminate and gives your topcoat a surface it can hold onto for years.
Apply primer in thin, even coats rather than one thick layer, which is more likely to drip and stay tacky. Use a quality brush for edges and a foam roller or sprayer for broad faces to minimize texture. Let the primer dry fully according to the label before recoating or sanding. Many bonding primers benefit from a very light scuff between coats. Resist the urge to rush to color before the primer has properly set.
Applying the Topcoat
With a solid primer base, the color coats go on more predictably. Patience and thin coats again win the day.
- Stir the paint thoroughly and apply a thin first coat, working in the direction of any wood grain pattern.
- Let it dry for the full time the manufacturer specifies; rushing causes streaks and weak adhesion.
- Lightly sand with very fine paper between coats if the label recommends it, then wipe clean.
- Apply a second and, if needed, a third thin coat for full, even coverage.
- Consider a clear protective topcoat on high-use surfaces like cabinets and tabletops for extra durability.
Two or three thin coats always outperform one heavy coat. Self-leveling cabinet enamels produce the smoothest professional-looking finish when applied carefully.
Cure Time and Safety
Drying and curing are not the same thing, and confusing them ruins many projects. Paint may feel dry to the touch within hours, but full cure, when the finish reaches maximum hardness, often takes anywhere from a few days to several weeks depending on the product.
During the cure period, handle painted surfaces gently, avoid heavy use, and do not stack items on freshly painted shelves. Always work in a well-ventilated space, open windows, run fans, and wear appropriate protection such as a respirator or mask and gloves, especially with solvent-based primers and paints. Follow the safety data and ventilation guidance on each product label, and keep the area clear of children and pets while fumes are present.
Common Mistakes to Avoid
Most failed laminate paint jobs trace back to a short list of avoidable errors. Knowing them ahead of time saves you from stripping and starting over.
- Skipping the bonding primer: the number one cause of peeling; regular primer will not grip slick laminate.
- Inadequate cleaning: leftover grease repels paint, so degrease thoroughly before sanding.
- Heavy coats: thick layers drip, stay tacky, and chip; thin coats cure harder and look smoother.
- Rushing recoats: painting before the previous layer is ready traps solvents and weakens the film.
- Heavy use too soon: putting the surface back into service before it cures leads to dents and scratches.
Take the project one careful step at a time and let each layer do its job. The difference between a finish that lasts five years and one that fails in five months is almost always patience and prep.
Choosing Color and Finish
Color and sheen do more than set the look; they affect durability and how forgiving the surface is over time. On cabinets and furniture, a satin or semi-gloss enamel wipes clean easily and resists fingerprints, which is why it is the standard for kitchens.
Matte finishes look modern and hide surface imperfections but show scuffs more readily on high-touch areas. Lighter colors brighten a space and disguise dust, while deep, saturated colors make a dramatic statement but reveal every speck and brush mark, demanding even more careful application. Whatever you choose, buy enough paint to finish the whole project from the same batch so the color stays perfectly consistent.
Realistic Expectations and Cost
Painting laminate is a budget-friendly upgrade, but set fair expectations. A careful job can last many years on cabinets and furniture, though laminate floors take heavy abrasion and tend to be the hardest surface to keep looking flawless. For floors especially, a dedicated floor coating system and meticulous prep are essential, and even then results vary with traffic.
Treat costs as estimates: a typical cabinet or furniture refresh in primer, paint, and supplies often runs a modest fraction of replacement cost, which is exactly why so many homeowners try it. When the surface is structural, extensive, or you simply want a flawless factory-grade finish, hiring a professional painter is a reasonable choice. Whatever you tackle, respect the prep, follow the manufacturer’s instructions, and give the finish time to cure for results that truly last.
Prefer to explore on your own?
See how new flooring looks in your actual room in seconds — free, no signup.
Try the free Floor Studio →