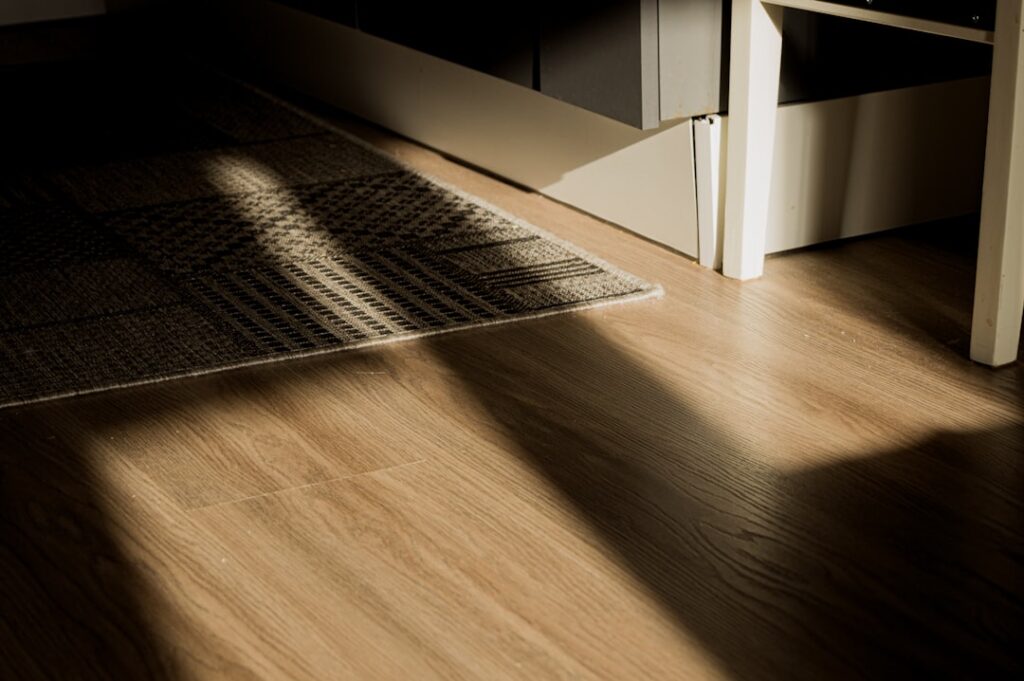
Where hard flooring meets soft flooring, the seam has to be handled deliberately, and a well-built laminate to carpet transition is what keeps that junction safe, tidy, and durable. A good laminate to carpet transition bridges the height difference between the two materials, hides raw edges, protects the carpet from fraying, and gives your foot a smooth surface to cross so nobody trips at the doorway.
Getting it right comes down to two things: choosing the correct transition profile for your height difference, and anchoring it so it stays put under years of foot traffic. This guide walks through both, plus the tools, measurements, and small tricks that separate a professional-looking seam from a lumpy one.
Why the Transition Matters
Laminate and carpet almost never finish at the same height. Laminate with its underlayment usually sits around 3/8 to 1/2 inch thick, while carpet over a pad can rise 1/2 to 3/4 inch or more. Left exposed, the laminate’s cut edge chips, the carpet edge unravels, and the lip becomes a stubbing hazard. The transition strip solves all three problems at once.
There is also a movement concern. Floating laminate expands and contracts with humidity, so it needs a small gap at the perimeter, typically 1/4 to 3/8 inch. A transition covers that expansion gap without clamping the laminate down, which would cause buckling. That is why the right profile is not just cosmetic; it is functional.
Common Transition Types
Several profiles are made for this exact junction, and the one you pick depends mostly on the height relationship between the two floors.
- Carpet-to-hard-surface reducer: The most common choice, it steps down from the taller carpet to the laminate with a gentle ramp and grips the carpet edge in a channel.
- Z-bar (carpet edge bar): A thin metal strip with an upward-facing lip that the carpet folds over and hooks onto, ideal when the two floors are close in height.
- Tack strip with a rolled edge: Used when the carpet meets laminate at nearly the same level, tucking the carpet under a metal or wood cap.
- 4-in-1 or multi-purpose track: A universal base track with interchangeable tops that can be configured as a reducer for this application.
Match the finish to your laminate. Transition strips come in wood-look, aluminum, and matching laminate colors, usually in 3-foot or 4-foot lengths that you cut to your doorway width.
Tools and Materials You’ll Need
Assembling everything before you start keeps the job to about an hour for a standard doorway. You will want the transition strip and its base track, a tape measure, a pencil, and a hacksaw or miter saw with a fine-tooth blade for clean metal or wood cuts. For fastening, keep a drill with the correct bit, the screws that came with the track, plus construction adhesive as a backup on concrete.
For the carpet side, a carpet knife or utility knife, a knee kicker or stair tool, and a stiff putty knife to tuck the edge are essential. Have safety glasses on hand for the cutting, and a shop vacuum to clear debris from the gap before setting the track.
Step-by-Step Installation
Work methodically and dry-fit every piece before committing. Rushing the measurement is the most common cause of a gap that shows.
- Confirm the laminate stops with a 1/4 to 3/8 inch expansion gap from the carpet edge. Do not close this gap.
- Measure the doorway width and cut the base track to length with a fine-tooth blade. Deburr metal edges.
- Position the track centered over the seam. On wood subfloor, screw it down; on concrete, drill pilot holes and use anchors or run a bead of construction adhesive.
- Trim the carpet so it can tuck cleanly into or under the transition’s channel, leaving about 1 inch of extra to fold.
- Use the knee kicker to stretch the carpet toward the seam, then tuck the edge with a stair tool so it seats firmly.
- Snap or screw the transition cap into the base track, pressing along its full length until it locks.
Test the seam by running your foot across it from both directions. It should feel like a smooth ramp with no wobble, no exposed carpet backing, and no movement in the strip.
Getting the Height Match Right
Height mismatch is the number one reason a transition looks wrong. If the carpet towers over the laminate, a flat T-molding will leave a shelf that catches toes; you need a reducer that ramps down. If the laminate is taller, which is rare but happens with thick planks and low-pile carpet, you may need a hard-surface reducer facing the other way.
Measure both finished heights before you buy. Set a straightedge across the seam and slide a ruler under it to read the difference in fractions of an inch. Bring that number to the store. Many manufacturers publish which profile suits a 1/4 inch, 1/2 inch, or 3/4 inch differential, so matching the spec avoids a return trip.
Costs and When to Hire a Pro
Materials are inexpensive. A single transition strip runs $8 to $30 depending on whether it is basic aluminum or a color-matched wood-look profile, and a doorway rarely needs more than one length. If you already own the tools, this is a low-cost DIY job.
Consider a professional installer when the carpet needs to be stretched or re-seamed, when the subfloor is uneven and requires shimming, or when you have several transitions across an open-concept space that must align. A flooring pro typically charges $40 to $100 per transition installed, and the clean, consistent result is worth it in high-visibility areas like a main hallway.
Maintenance and Long-Term Care
A properly installed transition is nearly maintenance-free, but a few habits extend its life. Vacuum right up to the strip so grit does not accumulate in the channel and abrade the carpet edge. Every few months, check the fasteners; a strip that loosens over time can be re-screwed or re-glued before it becomes a trip hazard.
If the carpet edge begins to fray despite the transition, it usually means the carpet was not tucked deeply enough during installation and should be re-seated. Address it early, because a small unraveling spot spreads quickly. With the right profile and a solid anchor, though, your laminate-to-carpet seam should look sharp and stay safe for the life of both floors.
Troubleshooting Common Problems
Even a careful install can develop issues, and most trace back to one of a few causes. A strip that pops loose usually means the fasteners missed solid material or the concrete anchors were undersized; re-drill into a firm spot or switch to a construction adhesive rated for flooring. A transition that squeaks or clicks underfoot is often bridging a gap where the subfloor flexes, so add a shim or extra fastener beneath it.
Another frequent complaint is a visible gap opening between the laminate and the strip during dry winter months. That is the floating floor contracting, and it is normal within reason. If the gap is unsightly, a wider transition cap that overhangs both edges hides seasonal movement better than a narrow profile. Avoid the temptation to caulk or glue the laminate to the strip; locking a floating floor in place is what causes buckling and peaking down the road.
Design Considerations
Beyond function, the transition is a visible line in your home, so treat it as a design choice. A color-matched wood-look strip reads as a natural continuation of the laminate and tends to disappear, which most homeowners prefer. A brushed or satin aluminum profile, on the other hand, creates a deliberate modern accent and pairs well with contemporary interiors and gray-toned floors.
Where the transition falls also matters. Center it directly under a closed door so each room shows only its own flooring, a detail that looks intentional and clean. In open doorways without a door, place the strip at the natural threshold line. Keeping every transition in a home consistent in finish and orientation gives the whole space a cohesive, professionally installed feel.