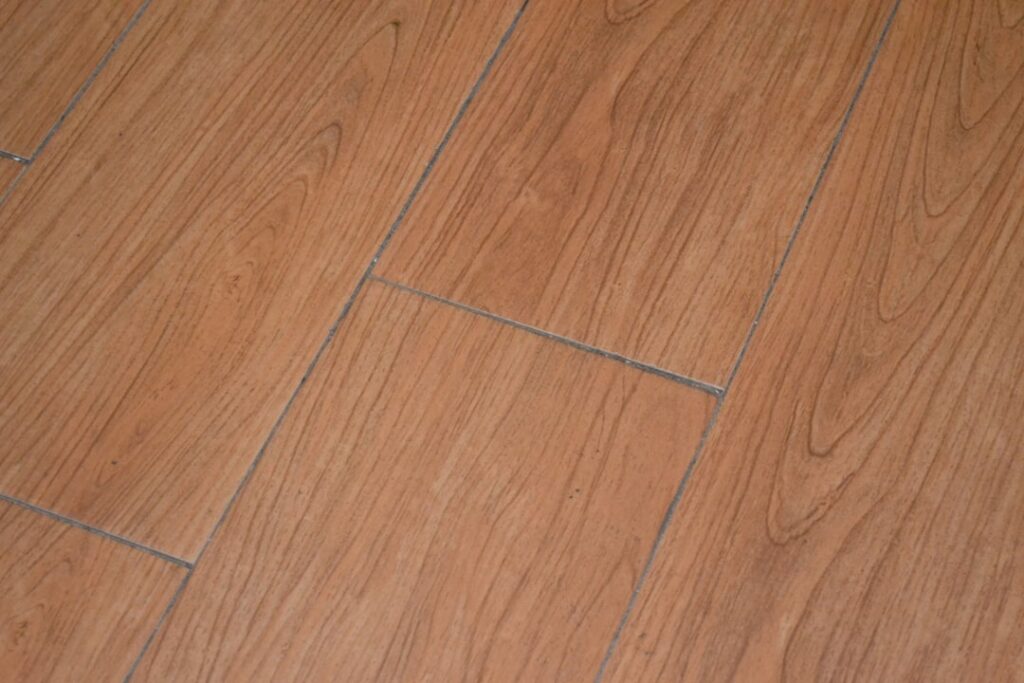
Combining two flooring materials in one space is a designer’s trick for defining zones, adding visual interest, and getting the best of both worlds. Laminate flooring with a tile border is a classic pairing: warm, comfortable laminate for the main field, framed or bordered by durable, water-friendly tile. It’s a look you see in entryways, kitchens, and open-plan spaces where you want the coziness of wood-look laminate but the toughness of tile where it counts, and done well, the transition looks intentional and elegant.
Part of our Tile & Grout guide — explore the full guide →
In this guide I’ll cover why this combination works, popular design applications, the crucial technical challenge of joining two floors at different heights, transition options, and installation tips to get a clean, lasting result.
Why Combine Laminate and Tile
These two materials complement each other’s weaknesses. Laminate is warm underfoot, softer to stand on, easy to install, and affordable, but it’s vulnerable to standing water. Tile is virtually waterproof, extremely durable, and impervious to the scuffs and moisture that punish laminate, but it’s cold, hard, and pricier. Using tile as a border lets you deploy each material where it shines.
A tile border also does design work. It frames a room like a picture frame, defines an entry or transition zone, and creates a decorative accent that plain laminate alone can’t. In an open-plan home, a tile border can visually separate the kitchen from the living area without a wall, or mark the threshold of a front door where wet shoes and traffic would quickly wear laminate. It’s function and beauty in one detail.
Popular Design Applications
The most common use is the entryway or foyer, a band or inset of tile just inside the door catches water, grit, and heavy traffic, protecting the laminate that flows into the rest of the home. A decorative tile border here, perhaps a patterned or mosaic strip, also makes a welcoming first impression.
In kitchens, a tile border can wrap the perimeter or run in front of the sink and range where splashes are worst, while wood-look laminate fills the center for comfort. Some designs use tile as a full frame around a laminate “rug,” an inset field of laminate bordered on all sides by tile, mimicking an area rug in the middle of a room. Around fireplaces, tile borders provide a heat- and ember-resistant zone. In each case, the border is both practical protection and a deliberate design flourish.
The Height Difference Challenge
Here’s the technical reality you must plan for: laminate and tile almost never end up at exactly the same height. Tile set in thinset over a backer board or slab has its own build-up, while laminate floats over an underlayment. The finished surfaces frequently differ by an eighth of an inch or more, and an uneven junction is both an eyesore and a trip hazard.
The solution is to plan the substrate heights before you install anything. Calculate the total build-up of each system, tile plus thinset plus backer versus laminate plus underlayment, and shim or adjust the subfloor so the two finished surfaces meet flush. This is far easier to do in the planning stage than to fix afterward. If a small height difference remains, a transition strip is designed to bridge it gracefully, which brings us to the next section.
Transition Methods Between the Two
How you join laminate to tile matters as much as the border itself. The cleanest look is a flush, seamless transition where both surfaces meet at the same height with a thin gap, often finished with a T-molding or a color-matched flexible caulk or grout. Because laminate is a floating floor that must expand and contract, you cannot glue or grout it tight against the tile, it needs a small expansion gap at the junction, hidden under the transition piece.
T-molding sits in the gap and covers the edges of both floors, allowing the laminate to move underneath, this is the standard, reliable method when heights are equal. When there’s a height difference, a reducer or transition strip ramps from the higher surface to the lower one. For a fully seamless designer look with matched heights, some installers use a schluter-style metal edge profile at the tile’s edge and butt the laminate close with an expansion gap concealed beneath. Whatever you choose, never rigidly lock the laminate to the tile.
Installation Tips for a Clean Result
Sequence and layout are everything. Typically you install the tile border first, letting the thinset and grout fully cure, then lay the laminate up to it, leaving the required expansion gap. Snap chalk lines to keep the border straight and the transition line crisp, a wavy junction reveals sloppy work instantly. Plan the laminate layout so you don’t end with an awkward sliver plank at the border.
Cut the laminate edge cleanly along the border, and account for the expansion gap that the transition molding will cover. Make sure the tile border’s edge is straight and its cut tiles are consistent. If you’re framing a laminate inset, remember the laminate field still needs room to expand as a unit, so the expansion gap goes around the whole floating section, hidden by the surrounding transition. Take your time at the junction, it’s the detail everyone’s eye lands on.
Choosing Complementary Materials and Colors
The visual success of this combination hinges on how well your laminate and tile relate to each other. You can go for harmony, matching the tile’s tone to the laminate’s warmth so the border feels like a natural extension, or contrast, using a darker or patterned tile border to frame lighter laminate for a deliberate, decorative effect. Both work; the key is that the choice looks intentional rather than accidental.
For a cohesive result, pick up an accent color from the room, a tile that echoes the cabinetry, countertop, or a feature color ties the whole space together. Wood-look laminate pairs beautifully with natural stone-look tile borders for an organic feel, while a sleek gray laminate suits a crisp porcelain or geometric mosaic border in a modern kitchen. Consider scale too: a busy patterned tile border reads best as a slim frame, while a large-format plain tile can carry a wider entry zone. Sample both materials together in the actual room light before committing, since tones shift dramatically between showroom and home.
Common Mistakes to Avoid
A few errors turn this elegant detail into an eyesore. The most common is ignoring the height difference until it’s too late, ending up with a lip between the tile and laminate that’s both ugly and a trip hazard. Plan the substrate build-ups before installing anything so the finished surfaces meet flush. The second mistake is rigidly locking the laminate to the tile with grout or adhesive; because laminate floats and must expand and contract, a fixed joint leads to peaking, gapping, and cracked grout. Always use a movable transition and leave the expansion gap.
Other pitfalls include a wavy or crooked border line, which reveals rushed work, so snap chalk lines and take your time, and forgetting to seal the transition against moisture, which lets water creep under the laminate’s vulnerable edge. Finally, don’t undersize the tile border in an entryway; make it deep enough to actually catch the wet-shoe traffic it’s meant to protect against, usually at least the length of a stride. Avoid these mistakes and the finished floor looks custom and performs for years.
Care and Long-Term Considerations
Living with laminate flooring with a tile border is easy, but respect each material’s needs. Keep the tile grout sealed and clean, and damp-mop the laminate rather than wet-mopping, wiping spills promptly so water doesn’t seep into the laminate at the transition line, which is its most vulnerable spot. A properly sealed transition with quality caulk or molding keeps moisture from migrating under the laminate edge.
Inspect the transition periodically and re-caulk or re-seat the molding if it loosens. Because the two floors expand differently with temperature and humidity, a well-designed movable transition (rather than a rigid glued joint) is what prevents peaking, gapping, and cracked grout down the road. Get the substrate heights and the transition right at install time, and a laminate-and-tile-border floor will look custom and hold up beautifully for years.
Prefer to explore on your own?
See how new flooring looks in your actual room in seconds — free, no signup.
Try the free Floor Studio →