Nothing makes a yard look professionally maintained faster than a crisp edge. A well-built landscaping border does more than look tidy: it stops grass from creeping into your beds, keeps mulch where you put it, and gives the whole property a finished, intentional line. I have installed miles of edging over the years, and the difference between a border that lasts twenty years and one that heaves out by spring almost always comes down to how it is set, not what it is made of.
This guide covers the main border materials with honest costs, the plants that make a living edge, and a step-by-step install process so your edges stay sharp for good.
What a Border Actually Does for Your Yard
A good edge earns its keep in four ways. It creates a physical barrier that blocks aggressive turf grasses and their roots from invading beds, cutting your weeding time. It contains mulch and gravel so they do not wash onto the lawn in heavy rain. It defines clean shapes that make plantings read as designed rather than accidental. And it gives your mower a clean track, so you spend less time hand-trimming.
Think of the border as the frame around a picture. The plants are the art, but without the frame the whole thing looks unfinished. Even a simple cut trench edge, done well, transforms a bed.
Material Options and What They Cost
The right material depends on your budget, the look you want, and how much digging you are willing to do. Here are the main choices.
Spade-Cut Trench Edge
The cheapest option costs nothing but sweat. You slice a clean 4 to 6 inch deep V-shaped trench between lawn and bed with a half-moon edger. It looks elegant and modern, but it needs recutting two or three times a season. Total cost: a $25 edging tool.
Steel and Aluminum Edging
My favorite for clean modern lines. Steel edging in 4 inch by 8 foot strips runs $8 to $15 per section, or roughly $2 to $4 per linear foot. It bends into smooth curves, nearly disappears into the ground, and lasts decades. Aluminum costs a little more but never rusts.
Plastic and Composite Edging
Coiled plastic edging is the budget roll-out choice at about $1 to $2 per linear foot. It installs fast but tends to heave up in frost and looks less refined. Buy the thicker commercial-grade profile, not the flimsy homeowner roll, and stake it well.
Natural Stone and Cobblestone
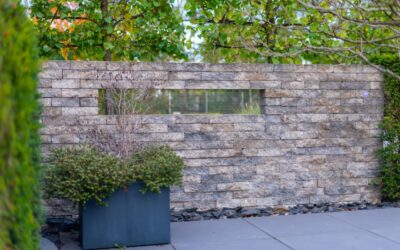
The premium look. Fieldstone, granite cobbles, or Belgian block set in a trench read as permanent and high-end. Reclaimed cobbles run $2 to $6 each, and installed stone edging often lands at $8 to $20 per linear foot. Heavy to work with, but essentially forever.
Brick and Concrete Pavers
A classic, DIY-friendly middle ground. Standard clay pavers cost $0.50 to $1.50 each and can be laid flat, on end as soldiers, or at an angle as a sawtooth. Set in a sand-and-gravel base, a brick border runs $4 to $8 per linear foot in materials.
Plants That Make a Living Border
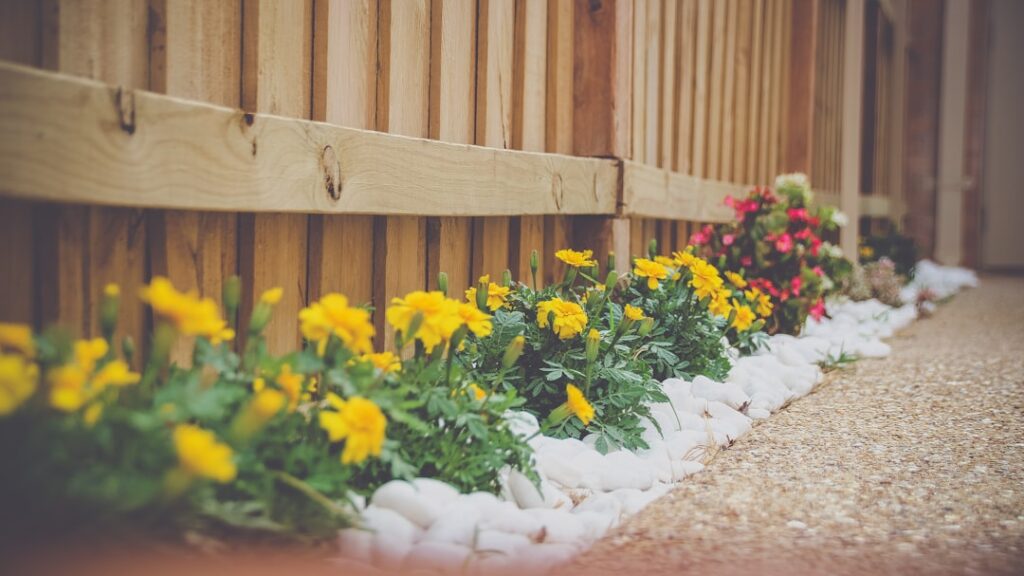
Sometimes the best edge is green. A tidy row of low, mounding plants softens a bed and needs only a once-a-year trim. Match the plant to your zone and light.
- Dwarf boxwood ‘Green Gem’ (Zones 5-8) for a formal clipped evergreen edge that holds shape year-round.
- Liriope, or monkey grass (Zones 5-10) for a grassy, spreading border in sun or part shade. Nearly indestructible.
- Catmint ‘Walker’s Low’ (Zones 4-8) for a soft, long-blooming lavender-blue edge that pollinators love.
- Creeping thyme (Zones 4-9) for a fragrant, walkable, low mat along paths.
- Hostas (Zones 3-9) for a bold, leafy edge in shade.
Space edging plants closer than you would in a bed, roughly 12 to 18 inches apart, so they knit into a continuous line within a season or two.
How to Install a Border, Step by Step
Here is the process I use for a hard-material border such as steel, brick, or stone. It works for beds and along walkways alike.
- Lay out the line. Use a garden hose or spray paint to mark the edge. Stand back and adjust. Gentle sweeping curves look better than wobbly ones, and a mowable curve should be no tighter than your mower can follow.
- Dig the trench. Cut a trench along the line, 4 to 6 inches deep for most edging, wider for stone. Keep the depth even so the border sits at a consistent height, ideally flush with or just above the lawn so you can mow right over it.
- Add a base. For brick, pavers, or stone, put down 2 inches of compacted gravel topped with 1 inch of leveling sand. This drainage layer is what prevents frost heave. Skip it and your border will lift within a winter or two.
- Set the edging. Place steel strips and stake them every 2 to 3 feet. Lay pavers or stones snug against each other, tapping each down with a rubber mallet and checking level as you go.
- Backfill and lock in. Fill behind and around the border with soil or sand, tamping firmly so nothing shifts. Sweep polymeric sand into paver joints if you want them locked and weed-free.
- Finish with mulch. Add 3 inches of mulch inside the bed, kept just below the top of the border so it does not spill onto the lawn.
Design Tips From the Field
A few habits separate an amateur edge from a pro one. Keep your curves generous and flowing, tight zigzags look busy and are a pain to mow around. Set the border flush with the lawn on the mower side so you can run a wheel right along it and skip the string trimmer entirely. Match the material to your house: brick suits traditional homes, steel and clean stone suit modern ones.
For a mowing strip, lay a single row of pavers flat at grade so the mower deck can ride over it, eliminating hand-edging completely. And do not mix more than two edging materials in one yard, or the whole property starts to look cluttered. One consistent border style ties the entire landscape together.
Common Border Mistakes to Avoid
I fix the same errors on job after job, and they all shorten a border’s life or make it look amateur. Steer clear of these.
- No gravel base under stone or brick. Set masonry straight on soil and the first freeze-thaw cycle heaves it into a crooked line. Always build on 2 inches of compacted gravel.
- Setting the border too high. An edge that stands 2 inches above the lawn forces you to hand-trim every week. Keep it flush so the mower rides over it.
- Tight, fussy curves. Sharp zigzags look busy and trap the mower. Use long, sweeping arcs your mower can follow in one pass.
- Flimsy plastic edging. The thin homeowner-grade roll heaves and cracks within a couple of winters. Spend a little more on commercial-grade steel or thick composite.
- Mixing too many materials. Brick here, plastic there, stone somewhere else reads as cluttered. Pick one border style and repeat it.
Estimating Materials and Time
Before you buy, measure the total linear footage of every bed and path you plan to edge. Walk it with a tape or a measuring wheel and add it up. For steel edging sold in 8 foot strips, divide your total by 8 and add 10 percent for waste and overlaps. For a brick soldier course, figure roughly four standard bricks per linear foot laid on end, or about two per foot laid flat.
On time, a confident DIYer can install about 40 to 60 linear feet of steel edging in a day, or 25 to 40 feet of brick or stone set on a proper base. A typical suburban front bed of 60 linear feet is a solid weekend project. Rent a plate compactor for $50 to $70 a day if you are setting a long masonry run, since hand-tamping a base that length is slow and less reliable. Buy a few extra units of your chosen material so you have matching pieces on hand for future repairs, since product colors and profiles change year to year.
Maintenance and Longevity
The upkeep depends on the material. A spade-cut trench needs recutting a few times a season. Steel, stone, and brick borders are essentially set-and-forget, needing only an occasional check that nothing has heaved after a hard freeze. Once a year, pull any grass runners that have jumped the edge and top up mulch inside the bed.
If a section of paver or stone edging does heave over winter, lift it, add or recompact the gravel base, and reset it level. Because you built on a proper drainage base, that should be rare. Done right, a landscaping border is one of the highest-return projects in the yard: a weekend of work that makes everything else you planted look deliberate, and keeps looking sharp for decades.