A tile border is a decorative band of tile used to frame, accent, or transition a tiled surface, and it is one of the most effective ways to add personality to a floor, wall, or backsplash. Whether it is a thin line of mosaic running through a shower wall or a contrasting frame around a tiled floor, a well-placed border turns a plain installation into a designed one.
Part of our Tile & Grout guide — explore the full guide →
This guide explains the different types of borders, popular design ideas, how to install them, and the trim pieces that finish edges cleanly. Used thoughtfully, a border guides the eye, defines zones, and adds the custom touch that makes a space feel considered.
What a Tile Border Does
Borders serve both decorative and practical roles. Visually, they create a frame that draws attention to a feature, defines an area within a larger surface, or adds a pop of color and texture against a neutral field. A border can make a small bathroom feel finished or give a backsplash a focal stripe.
Practically, borders also handle transitions, marking the edge where tile meets another material or where one tile pattern changes to another. They can break up a large expanse of identical tile and add a sense of scale and proportion.
Common Types of Tile Borders
Borders come in many forms, from subtle to bold. Choosing the type sets the tone for the whole installation.
- Listello strips: Narrow decorative bands, often with relief patterns, metallic accents, or glass, used as a horizontal accent on walls.
- Mosaic borders: Small tiles in sheets that add texture and color, popular in showers and backsplashes.
- Pencil and quarter-round trim: Thin rounded pieces that outline or separate sections cleanly.
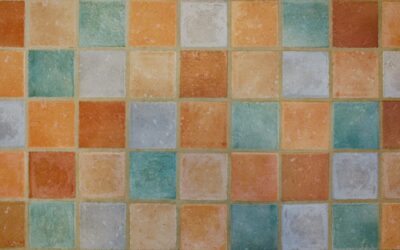
- Contrasting field tile: A row of the same tile in a different color to frame a floor or wall.
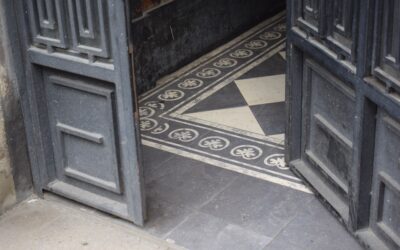
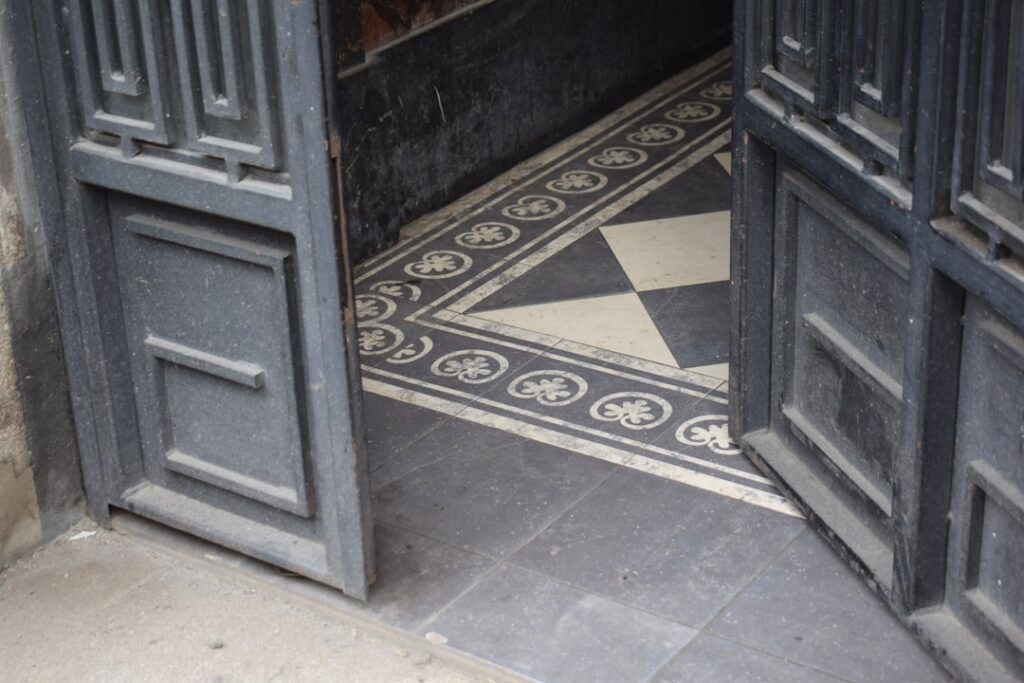
- Patterned or encaustic borders: Decorative motifs that create an inlaid, rug-like frame on floors.
Design Ideas and Placement
Where you put a border matters as much as what it is made of. On bathroom walls, a listello or mosaic band placed at chair-rail height, roughly 36 inches, adds interest and visually breaks a tall wall. In showers, a horizontal accent stripe at eye level is a classic move that also coordinates with a niche.
On floors, a contrasting border around the perimeter of a room creates a framed, area-rug effect that defines the space, which works beautifully in entryways and dining rooms. For backsplashes, a thin metallic or glass border along the top edge gives a tidy, intentional finish.
Choosing Colors and Materials
Coordinating the border with the field tile is where design skill shows. For a subtle, sophisticated look, pick a border in the same color family but a different finish or texture, such as a polished strip against a honed field. For a bold statement, choose a contrasting color or a patterned border that stands out.
Mixing materials adds richness; a glass or metal listello against ceramic or stone field tile catches light and creates depth. Just keep the overall palette cohesive so the border feels integrated rather than tacked on. When in doubt, lay out samples together before committing.
Installation Basics
Installing a border requires planning so the spacing and alignment look deliberate. Because borders are decorative focal points, sloppy grout lines or uneven placement stand out immediately.
- Plan the layout first, marking where the border will sit so full tiles land in prominent spots.
- Set the field tile up to the border line, maintaining consistent grout spacing.
- Install the border tiles in thin-set, keeping them level and aligned; mosaics on mesh make this easier.
- Match grout joint width between the field and border for a unified look, then grout and clean.
For borders that combine different tile thicknesses, you may need to build up the thinner tile with extra thin-set so the surfaces sit flush. Take your time, because the border is what people will notice most.
Borders for Floors vs. Walls
The way a border functions changes depending on whether it is on a floor or a wall. On floors, durability is the priority, so choose a border tile rated for floor use with adequate slip resistance, especially in entryways and bathrooms. A perimeter border that frames the room reads like an inlaid area rug and defines the space, which works beautifully in foyers and formal dining rooms.
On walls, the border is purely decorative, so you have more freedom to use delicate materials like glass, metal, or polished accents that would not survive foot traffic. Wall borders also let you play with height, placing an accent stripe at a chair rail, backsplash top, or shower eye level to draw the gaze and break up an expanse of field tile.
Avoiding Common Border Mistakes
Because a border is a focal point, errors are unforgiving. The most frequent mistake is poor planning, which leaves awkward sliver cuts at corners or an off-center band. Always dry-lay the layout and adjust your starting point so full tiles fall in the most visible spots and cuts are hidden in corners.
Another pitfall is choosing a border that fights the field tile rather than complementing it. If both the field and border are busy and bold, the result looks chaotic. Pair a busy patterned border with a quiet, solid field, or vice versa. Finally, mismatched tile thicknesses create an uneven surface; build up thinner border tiles with extra thin-set so everything sits flush and the grout lines stay clean.
Edge Trim and Finishing
Where tile ends, a clean edge is essential, and several trim options finish a border professionally. Metal edging profiles in chrome, brass, or matte black create a crisp, modern transition and protect tile edges from chipping. Bullnose tile, with one rounded finished edge, gives a softer, traditional look.
For mosaic and listello borders, the surrounding field tile or a thin pencil trim usually frames the edges. Whichever you choose, plan the trim before installation, since some profiles must be set underneath or alongside the tile rather than added later.
Final Thoughts
A well-designed tile border is a small detail that delivers a big payoff, framing your floors, walls, and backsplashes with custom character. Choose a type and color that complement your field tile, plan the layout carefully, keep grout joints consistent, and finish edges with the right trim. Done with intention, a border transforms an ordinary tiled surface into a designed feature.
Prefer to explore on your own?
See how new flooring looks in your actual room in seconds — free, no signup.
Try the free Floor Studio →