
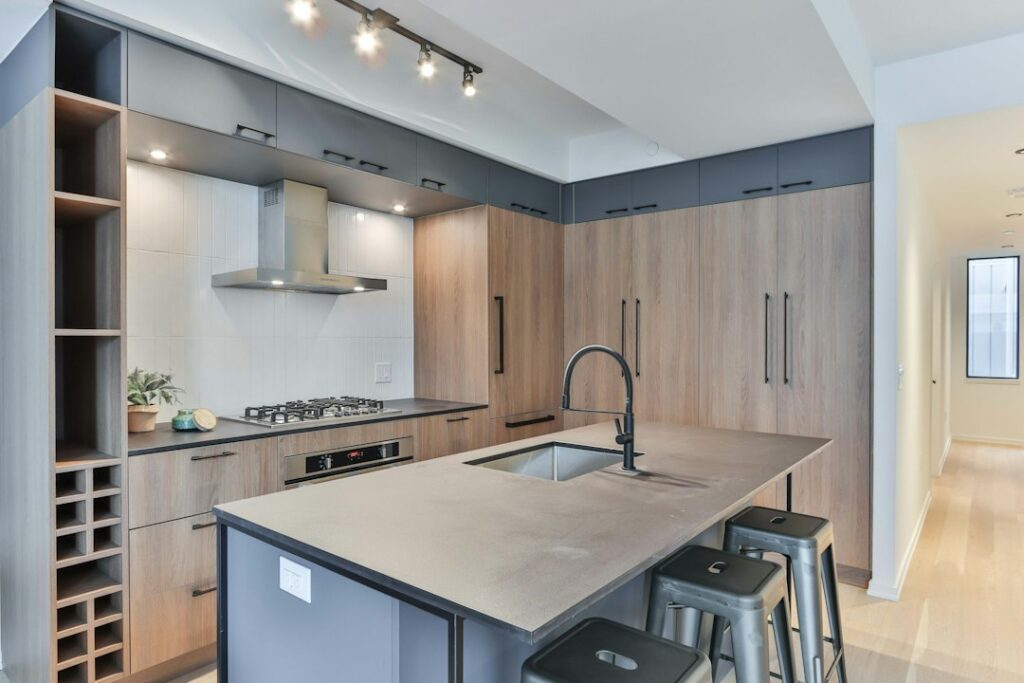
Hiding a washer and dryer behind cabinet doors can turn a cluttered utility corner into a clean, finished room, but a poorly planned enclosure creates real problems. Dryers need air, washers vibrate, and both occasionally need to be pulled out for service. A well-designed laundry machine cabinet gives each appliance the side, top, and rear clearance its manufacturer requires, lets air move through the doors, and keeps the water shutoffs, dryer vent, and outlet reachable.
Part of our Kitchen Remodeling guide — explore the full guide →
The short version: check your appliance installation manuals for minimum clearances, add ventilation to the doors, keep a rigid metal dryer vent path short and uncrushed, and build the opening wide and tall enough to slide the machines out without dismantling anything. Get those four details right and cabinets for washing machine and dryer enclosures work beautifully for years.
Laundry Machine Cabinet Clearance Requirements
Every washer and dryer manual lists minimum clearances for closet or alcove installation. These numbers vary by model, so treat the figures here as typical starting points rather than rules. Many dryers call for at least 1 inch on each side and on top, several inches behind for the vent connection, and a specified amount of ventilation area in the front door when installed in a closet. Washers usually need similar side spacing plus room at the rear for hoses.
Plan the interior width of the cabinet as the combined width of both machines plus side clearance and a small gap between them. A pair of standard 27-inch machines side by side often needs an opening of roughly 57 to 60 inches or more. For a stacked pair, measure the stacked height and add top clearance plus room to tilt the units when moving them.
- Sides: commonly 1 inch or more per the manual
- Top: often several inches for front-load pairs; more for top-load washers so the lid opens fully
- Rear: typically 4 to 6 inches for hoses, cords, and the dryer vent
- Front: space for doors to swing and for ventilation openings
Door Ventilation for Dryer Enclosures
A dryer draws room air in and pushes hot, moist air out through the vent. Enclose it behind solid doors with no airflow, and the dryer runs hotter, dries slower, and may shut down on its thermal limit. Most manufacturers specify a minimum open area in closet doors, often split between openings near the top and bottom.
Louvered doors are the simplest solution because the slats provide airflow without looking utilitarian. Alternatives include solid doors with decorative grilles near the top and bottom, a gap under the door, or perforated metal panels set into shaker frames. Leave the doors open when running long loads if the space feels warm, and check the back of the dryer by hand after a cycle; the cabinet walls should feel only slightly warm, never hot.
Gas dryers have additional combustion-air requirements. Follow the manufacturer’s closet installation instructions exactly, and have a licensed professional confirm the setup.
Dryer Vent Routing and Safety
Lint buildup in dryer vents is a leading cause of home dryer fires, and enclosures make it easy to crush or kink a vent where nobody sees it. Use rigid or semi-rigid metal duct, never plastic or foil accordion duct. Keep the run as short and straight as possible, and avoid screws that protrude into the duct and snag lint.
If the cabinet pushes the dryer tight to the wall, a low-profile periscope vent or a recessed vent box lets the machine sit closer without crushing the connection. Plan an access panel or removable back so you can clean the vent at least once a year. The exterior hood should have a working flap and no screen that traps lint.
Shutoff, Electrical and Drain Access
Water supply valves, the drain standpipe, and outlets must stay reachable. Burst washer hoses are a common source of water damage, and you want to close the valves quickly without pulling the machine out. Frame an opening or removable panel in the back or side of the cabinet at the valve box, or position a shallow upper cabinet so the valves remain visible above the machines.
Most washers plug into a standard 120-volt outlet; electric dryers usually need a dedicated 240-volt receptacle. Laundry-area outlets typically require GFCI protection under current codes. Do not move or add outlets yourself to fit the cabinet; that work belongs with a licensed electrician. If you need to reach existing wiring for any reason, turn off the breaker and confirm power is off with a non-contact voltage tester first. Relocating supply lines or a drain is licensed plumber work, and gas lines should be handled only by a licensed professional.
Controlling Vibration and Noise
Front-load washers spin fast and can walk or shake a cabinet during the spin cycle, and a laundry machine cabinet built tight around the washer amplifies that noise instead of hiding it. Never fasten the cabinet to the machines, and leave the side gaps open so vibration does not transfer into the cabinet boxes. Level the washer carefully with its adjustable feet, and remove shipping bolts on new machines before use.
Anti-vibration pads under the feet reduce noise and movement. On wood-framed floors, a solid, level subfloor makes the biggest difference. Mount upper cabinets to wall studs, not to the washer surround, so they stay secure.
Planning Removal Space
Every washer and dryer eventually needs repair or replacement. Design the enclosure so the machines slide straight out. That means no fixed face frame narrower than the machines, no countertop that traps a top-load washer lid, and doors that open fully or come off easily.
Measure the depth with the door open and hoses attached. Many front-load pairs are 30 to 34 inches deep before the vent and hoses are counted, so a 24-inch-deep base cabinet will not hide them. Consider a removable countertop over front-loaders, secured with brackets or screws from below rather than adhesive, so you can lift it off when a machine needs to come out.
Step-by-Step Build Overview
- Collect manuals. Note clearances, ventilation area, and dimensions for both appliances.
- Measure the space. Record wall-to-wall width, ceiling height, and depth to any obstructions, and locate studs, valves, outlets, and the vent opening.
- Sketch the layout. Decide between side-by-side with a counter above or a stacked tower with tall doors, and plan access cutouts.
- Build or buy the frame. Use moisture-resistant plywood or pre-finished cabinet boxes for flanking storage, leaving the appliance bay open at the back and bottom.
- Install upper storage. Anchor wall cabinets into studs above the machines with enough top clearance.
- Hang ventilated doors. Bifold, louvered, or pocket doors all work; keep swing paths clear of the appliance doors.
- Reinstall and test. Slide machines in, reconnect hoses and vent, level them, and run a full hot cycle to check heat buildup and vibration.
Troubleshooting and Cost
If clothes take longer to dry after enclosing the dryer, check for a crushed vent and add more door ventilation. When the cabinet rattles, look for contact points between the machine and the surround. Water on the floor inside the enclosure calls for an immediate look at the hose connections and the drain standpipe, since a slow drip can rot the cabinet base unnoticed. A musty smell usually means the washer door gasket or drain needs cleaning, not the cabinet; leave front-load doors ajar between loads.
Simple bifold or louvered doors across an existing alcove often cost from about $150 to $600 in materials. A custom laundry machine cabinet with flanking storage, a countertop, and upper cabinets can range from roughly $1,500 to $6,000 or more depending on materials and whether you hire a carpenter.
Frequently Asked Questions
Can you put a washer and dryer inside a cabinet?
Yes, as long as you follow the manufacturer’s closet installation clearances, provide ventilation for the dryer, and keep the vent, shutoffs, and outlets accessible.
How much space do you need around a washer and dryer in a closet?
Many models call for about 1 inch on each side, several inches on top, and 4 to 6 inches behind, but always confirm the figures in your specific manuals.
Do dryer cabinet doors need vents?
Usually yes. Most dryer manufacturers require a minimum open area in closet doors, and louvered doors are the easiest way to provide it.
Can I put a countertop over front-load machines?
Yes. Leave clearance above the machines for vibration and make the countertop removable so the washer and dryer can be pulled out for service.
What type of dryer vent should I use in an enclosure?
Use rigid or semi-rigid metal duct kept short and straight, and avoid plastic or foil accordion duct, which crushes easily and traps lint.


