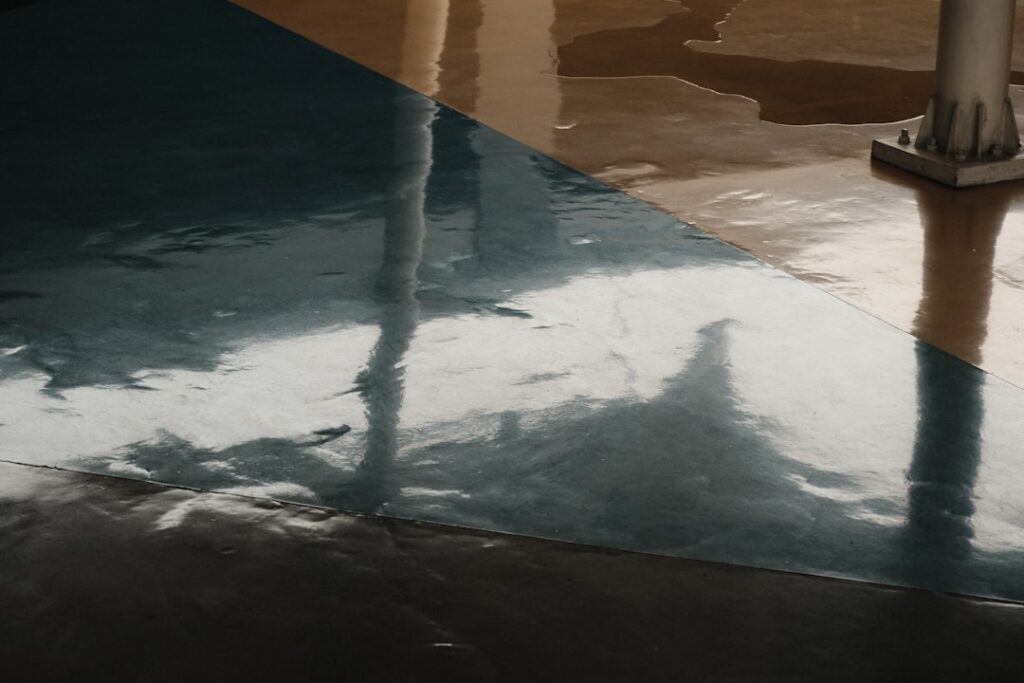
Epoxy flooring looks deceptively simple in time-lapse videos, pour, spread, sprinkle some flakes, done. The reality is that to learn epoxy flooring properly takes more than watching a clip; it takes understanding chemistry, surface prep, timing, and the dozens of small decisions that separate a glassy, durable floor from a peeling, bubbled mess. Whether you want to coat your own garage or build a coatings business, the path is the same: master the fundamentals, practice on small jobs, and treat preparation as the real skill. This guide lays out how to actually learn it.
- Why Prep Is 80 Percent of the Skill
- Understand the Chemistry and Products
- Learning the Application Process
- DIY Self-Teaching Path
- Formal Training and Certifications
- An Honest Look at the Skill Curve
- Tools and Costs to Plan For
- Common Beginner Mistakes to Avoid
- Building Skill Toward Professional Work
- Your Path Forward
Why Prep Is 80 Percent of the Skill
If you take one thing away, make it this: epoxy success is decided before you ever mix a kit. The single most common reason DIY epoxy fails, peeling, delamination, hot tire pickup, is inadequate surface preparation. Concrete must be mechanically profiled, by diamond grinding or shot blasting, to give the coating something to grip, then cleaned of all dust, oil, and contaminants. A moisture test (the plastic-sheet or calcium chloride test) is essential, because epoxy applied over a slab pushing moisture will blister and lift. Learn prep first, and the rest gets far easier.
Understand the Chemistry and Products
Epoxy is a two-part system, resin plus hardener, that cures through a chemical reaction, not by drying. That means working time (pot life) is limited and temperature-dependent, and mix ratios must be exact. Beginners should learn the differences between product types.
- Water-based epoxy: Forgiving, low-odor, thinner build; good for learning but less durable.
- Solvent-based epoxy: Stronger adhesion, more fumes, requires ventilation.
- 100% solids epoxy: The professional-grade choice, thickest build and most durable, but the shortest working time and least forgiving.
- Topcoats: Polyaspartic and polyurethane topcoats add UV stability, abrasion resistance, and faster cure.
Learning the Application Process
Once prep and products make sense, the application sequence becomes the next skill to drill: priming, mixing precisely, rolling and back-rolling at the right film thickness, broadcasting flakes evenly, and applying a clear topcoat, all within each product’s working window. Timing is everything, because epoxy will not wait for you. Working in manageable sections, maintaining a wet edge, and reading the temperature and humidity in the room are habits you build through repetition, not reading.
DIY Self-Teaching Path
Many people learn epoxy successfully on their own by starting small. Begin with a low-stakes project, a closet, a small shed, or a workbench top, using a forgiving water-based kit. Study the manufacturer’s technical data sheets, which spell out coverage rates, recoat windows, and temperature ranges. Watch reputable installer channels, not just glossy product ads. Buy or borrow the right tools, a grinder with a dust shroud, spiked shoes, a notched squeegee, and quality rollers. Expect your first floor to teach you what the videos left out.
Formal Training and Certifications
For those serious about doing this professionally, structured training accelerates the learning curve dramatically. Several manufacturers and industry bodies offer hands-on courses and certifications covering decorative concrete, metallic epoxy, flake systems, and polyaspartic coatings. These programs teach prep equipment operation, troubleshooting, and the application techniques that are hard to self-discover. Manufacturer-specific training also makes you eligible to install and warranty certain product lines. Look for hands-on, in-person workshops rather than purely online courses; the muscle memory matters.
An Honest Look at the Skill Curve
Epoxy is learnable, but it is not beginner-proof. The chemistry is unforgiving of mistakes, mix the ratio wrong or miss the recoat window and the floor can fail. Working time pressure stresses newcomers, and prep requires equipment most homeowners do not own and must rent. Mistakes are expensive and often require grinding the failed coating back off, which is miserable work. Be honest with yourself: a simple garage in good condition is a reasonable first DIY, while a moisture-prone basement or a metallic showpiece is not a first project.
Tools and Costs to Plan For
Budget realistically. A quality DIY garage kit runs roughly $1.50 to $3 per square foot in materials; professional 100%-solids systems with topcoats cost more. Grinder rental runs $50 to $150 per day, and you will want spiked shoes, squeegees, rollers, mixing equipment, and protective gear. A training course can range from a few hundred to a couple thousand dollars but pays back quickly if you intend to take on paid work. Factor in the cost of redoing your first attempt while you learn.
Common Beginner Mistakes to Avoid
Learning faster means knowing where others fail. The classic beginner errors are predictable and avoidable.
- Skipping the moisture test: The number-one cause of blistering and delamination. Always test the slab first.
- Inadequate grinding: Acid etching or a quick scuff is not enough; mechanical profiling is what makes epoxy bond.
- Wrong mix ratio or poor mixing: Eyeballing the ratio or under-mixing leaves soft, tacky spots that never cure.
- Working too slowly: Mixing more than you can apply within the pot life leaves you with a bucket of hardened epoxy.
- Ignoring temperature and humidity: Applying outside the product’s range causes amine blush, fish-eyes, and poor cure.
Every one of these is covered in the technical data sheet most beginners never read.
Building Skill Toward Professional Work
If your goal is paid installations, treat the early jobs as paid practice and price them accordingly while you build speed and confidence. Document your work with photos to build a portfolio, learn to estimate material coverage accurately so you do not run short mid-pour, and master one system, say flake-broadcast garage floors, before branching into metallic or decorative work. Invest in your own grinder and dust extraction once you are committed, since rental costs add up quickly. As you gain reps, you will develop the feel for timing, film thickness, and reading the room that no course can fully teach, and that feel is what separates a hobbyist from a professional.
Your Path Forward
To learn epoxy flooring well, invert the usual instinct: spend most of your effort mastering surface prep and moisture testing, understand the two-part chemistry and product types, then practice application on small, forgiving projects before tackling anything visible or large. If you aim to go professional, invest in hands-on manufacturer training and certification. Respect the working-time pressure and the unforgiving chemistry, and your first glassy, durable floor will be the foundation of a genuinely useful skill, whether you stop at your own garage or build a business from it.