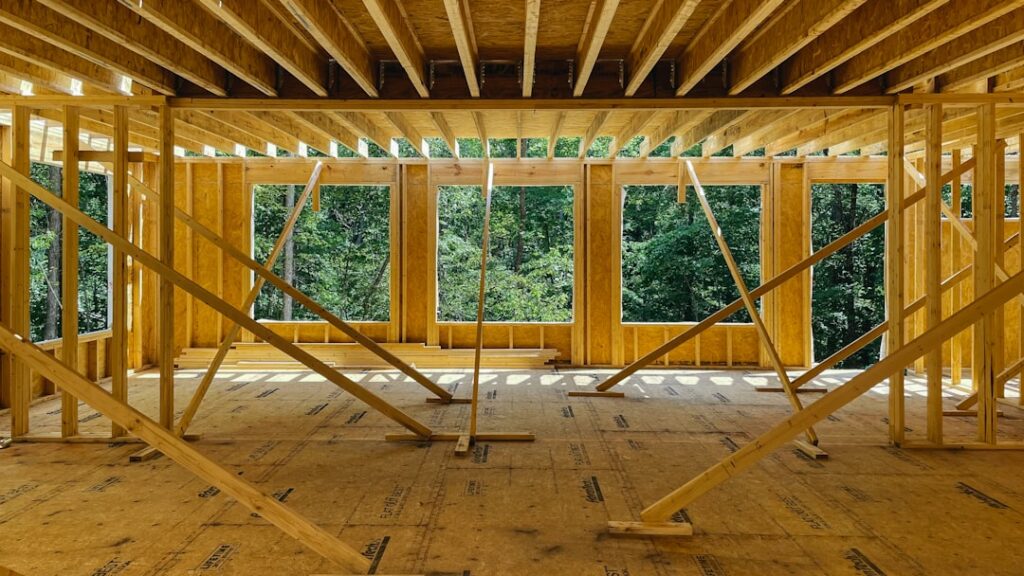
Removing a wall to create an open floor plan is one of the most transformative renovations you can make — but doing it incorrectly can be catastrophic. Understanding whether a wall is a load bearing wall is the critical first step before picking up any tools. This 2026 guide explains how load bearing walls work, how to identify them, what removal involves, and how much it costs to safely open up your home.
- What Is a Load Bearing Wall?
- How to Identify a Load Bearing Wall
- Load Bearing Wall Identification Checklist
- The Removal Process Explained
- Replacement Beam Options & Sizing
- Permits & Structural Engineering Requirements
- Load Bearing Wall Removal Costs in 2026
- Alternatives to Full Wall Removal
- Flooring Considerations After Wall Removal
- Common Mistakes to Avoid
- Frequently Asked Questions
- How can I tell if a wall is load bearing without removing drywall?
- Can I remove a load bearing wall myself?
- How long does load bearing wall removal take?
- Will removing a load bearing wall increase my home’s value?
- What happens if a load bearing wall is removed without support?
- Do I always need a permit to remove a load bearing wall?
What Is a Load Bearing Wall?
A load bearing wall is a structural wall that carries weight from above — transferring loads from the roof, upper floors, and other structural elements down through the foundation to the ground. Removing a load bearing wall without proper support causes the structure above to sag, crack, or potentially collapse.
There are two types of interior walls:
- Load bearing walls — carry structural weight from above. Removing them requires a replacement beam and engineering calculations
- Partition walls (non-load bearing) — serve only to divide space. These can be removed freely without structural consequences
In a typical single-family home, 40-60% of interior walls are load bearing. All exterior walls are load bearing.
How to Identify a Load Bearing Wall
While only a structural engineer can provide a definitive answer, these methods help you make an educated assessment:
- Check the direction of floor joists. Go to the basement or crawlspace and look up. Walls that run perpendicular to the floor joists above are very likely load bearing. Walls running parallel to the joists are usually partition walls
- Look for walls directly above/below each other. If a wall on the first floor aligns directly with a wall on the second floor, both are likely load bearing — they form a continuous load path
- Examine the foundation. Load bearing walls typically sit on foundation walls, concrete footings, or steel beams in the basement. Partition walls often sit on unsupported subfloor
- Check the attic. If roof rafters or trusses connect at a wall location, that wall is bearing roof loads
- Review original blueprints. Contact your local building department for original construction plans, which label structural walls
Load Bearing Wall Identification Checklist
| Indicator | Likely Load Bearing | Likely Non-Load Bearing |
|---|---|---|
| Wall direction vs. joists | Perpendicular to joists | Parallel to joists |
| Wall position | Center of house or near center | Off-center, closet walls |
| Foundation support below | Sits on beam, footing, or foundation | Sits on unsupported subfloor |
| Wall alignment (multi-story) | Stacks directly above lower wall | Does not align with walls below |
| Wall thickness | 2×4 or 2×6 framing (standard) | Can be thinner (2×3 or metal stud) |
| Exterior walls | Always load bearing | N/A |
| Built with doubled top plate | Very likely load bearing | Single top plate common on partitions |
Critical warning: These are guidelines, not guarantees. Before any wall removal, hire a licensed structural engineer ($300-$800 for a residential assessment) to confirm the wall’s structural role and design the replacement support system.
The Removal Process Explained
Removing a load bearing wall is a multi-step process that typically takes 2-5 days:
- Structural engineering assessment — an engineer evaluates the wall, calculates loads, and specifies the replacement beam size, post locations, and footing requirements
- Permit acquisition — most jurisdictions require a structural permit with engineer-stamped drawings before work begins
- Temporary support installation — temporary walls or jack posts are erected on both sides of the load bearing wall to carry the weight during removal. These must be placed on solid footing, not just subfloor
- Wall removal — the drywall, insulation, and framing are carefully removed. Electrical wires and plumbing within the wall must be rerouted first
- Beam installation — the engineered replacement beam (steel, LVL, or glulam) is lifted into position and secured to support posts at each end
- Post and footing installation — support posts transfer beam loads down to the foundation through properly sized footings
- Inspection — the building inspector verifies the work matches the engineer’s specifications before drywall is applied
- Finishing — drywall, paint, and flooring are patched and blended into the surrounding surfaces
Replacement Beam Options & Sizing
| Beam Type | Cost per Linear Foot | Max Span (typical residential) | Depth | Best For |
|---|---|---|---|---|
| Steel I-beam (W-flange) | $50-$120 | 20-30+ feet | 6-14 inches | Long spans, heavy loads |
| LVL (Laminated Veneer Lumber) | $30-$70 | 12-24 feet | 9.5-18 inches | Most residential applications |
| Glulam beam | $35-$80 | 15-25 feet | Variable | Exposed decorative beams |
| Flush beam (recessed) | $40-$100 (+ joist work) | Varies by type | Hidden in ceiling | Clean, seamless ceilings |
| PSL (Parallel Strand Lumber) | $35-$75 | 12-20 feet | 7-14 inches | Column and beam combos |
For openings under 12 feet, doubled or tripled LVL beams are the most cost-effective solution. For spans exceeding 16 feet, steel I-beams become necessary. Only your structural engineer can specify the correct beam for your specific load conditions.
Permits & Structural Engineering Requirements
Load bearing wall removal is one of the few home projects that virtually always requires:
- A structural engineer’s report — $300-$800 for residential projects. The engineer stamps calculations and beam specifications
- A building permit — $150-$500 depending on jurisdiction. Required in nearly every municipality
- Framing inspection — the inspector verifies beam installation before walls are closed up
- Final inspection — confirms all work meets code, including electrical and plumbing relocations
Skipping permits is risky: unpermitted work can result in fines of $500-$5,000, forced reversal of the work, and serious complications when selling the home. Title companies and home inspectors specifically look for unpermitted structural modifications.
Load Bearing Wall Removal Costs in 2026
| Cost Component | Small Opening (4-8 ft) | Medium Opening (8-14 ft) | Large Opening (14-20+ ft) |
|---|---|---|---|
| Structural engineering | $300-$600 | $400-$800 | $500-$1,200 |
| Permits & inspections | $150-$400 | $200-$500 | $250-$600 |
| Demolition & beam install | $1,500-$4,000 | $3,000-$8,000 | $6,000-$15,000 |
| Electrical/plumbing rerouting | $300-$1,000 | $500-$2,000 | $800-$3,000 |
| Drywall & finishing | $500-$1,500 | $1,000-$3,000 | $1,500-$5,000 |
| Flooring repair | $300-$1,000 | $500-$2,000 | $1,000-$4,000 |
| Total | $3,050-$8,500 | $5,600-$16,300 | $10,050-$28,800 |
The national average cost for a load bearing wall removal in 2026 is $5,000-$12,000 for a standard residential opening. This is one renovation where cutting corners is never worth the savings.
Alternatives to Full Wall Removal
If the cost or complexity of full wall removal is prohibitive, consider these alternatives:
- Half-wall or pony wall — remove the upper portion of the wall and leave a 36-42 inch base. This opens sightlines while maintaining some structural support. Cost: $1,500-$4,000
- Wide cased opening — create a 4-8 foot doorway-style opening with decorative columns or trim. Requires a header beam but less engineering than full removal. Cost: $2,000-$6,000
- Pass-through window — cut a window-style opening in the wall, popular between kitchens and dining areas. Cost: $800-$2,500
- Archway — frame an arched opening that maintains structural support at the top. Cost: $2,500-$7,000
Flooring Considerations After Wall Removal
One of the most overlooked aspects of wall removal is what happens to the floor underneath. When a wall is removed, you will have a strip of subfloor (typically 3.5-5.5 inches wide) where the wall’s sole plate sat. This creates a gap in your finished flooring that must be addressed.
Options for fixing the flooring gap:
- Patch with matching material — works well with hardwood if you can find the same species, width, and stain. Expect to pay $500-$2,000 depending on the length
- Refinish the entire floor — sand and refinish both room floors to create a seamless blend. Cost: $3-$5 per sq ft for the combined area
- Install new flooring throughout — the most seamless option if existing floors are dated. Consider wide-plank hardwood or LVP that flows continuously through your new open-concept living room design
- Add a decorative transition — a contrasting wood or metal strip can turn the gap into an intentional design element. Cost: $100-$300
Common Mistakes to Avoid
- Assuming a wall is not load bearing because it is an interior wall or “looks like it’s just a partition.” Many load bearing walls show no obvious signs
- Skipping the structural engineer. A $300-$800 engineering fee is insignificant compared to the cost of structural failure
- Inadequate temporary shoring. Temporary support must carry the full load during construction. Undersized jack posts or improperly placed temporary walls can cause settlement and cracking
- Forgetting about mechanicals. Walls often contain electrical wires, plumbing pipes, and HVAC ductwork that must be rerouted before removal
- Not planning for flooring. Budget for flooring repair or replacement from the start — it is often the most visible element of the finished project
- DIY-ing the structural work. This is not a DIY project. Incorrectly installed beams can fail gradually, causing hidden damage for years before catastrophic collapse
Frequently Asked Questions
How can I tell if a wall is load bearing without removing drywall?
Check the basement or crawlspace for beams, posts, or foundation walls directly below the wall in question. Also check if the wall runs perpendicular to floor joists. If both conditions are true, the wall is very likely load bearing. For certainty, hire a structural engineer who can assess without removing drywall using these structural indicators.
Can I remove a load bearing wall myself?
This is strongly discouraged. Load bearing wall removal requires structural engineering calculations, proper temporary shoring, heavy beam handling (steel beams can weigh 200-500+ lbs), and building code compliance. The safety and legal risks of DIY structural work far outweigh any cost savings.
How long does load bearing wall removal take?
The physical work typically takes 2-5 days. However, the full timeline including engineering (1-3 weeks), permits (1-4 weeks), and finishing (1-2 weeks) usually spans 4-8 weeks from start to finish.
Will removing a load bearing wall increase my home’s value?
Open floor plans consistently add value. Creating a kitchen-to-living-room open concept typically returns 60-80% of the project cost in increased home value. The visual impact and improved flow are among the most desirable features for today’s buyers.
What happens if a load bearing wall is removed without support?
Without a replacement beam, the structure above will sag under its own weight. This can cause cracked drywall, uneven floors, stuck doors and windows, and in extreme cases, floor or roof collapse. Even partial sagging can cost $10,000-$50,000+ to repair.
Do I always need a permit to remove a load bearing wall?
In virtually all U.S. jurisdictions, yes. Load bearing wall removal is classified as structural work and requires both a permit and inspections. Working without a permit can result in fines, forced reversal of the work, and complications during future home sales.
Last updated: March 2026