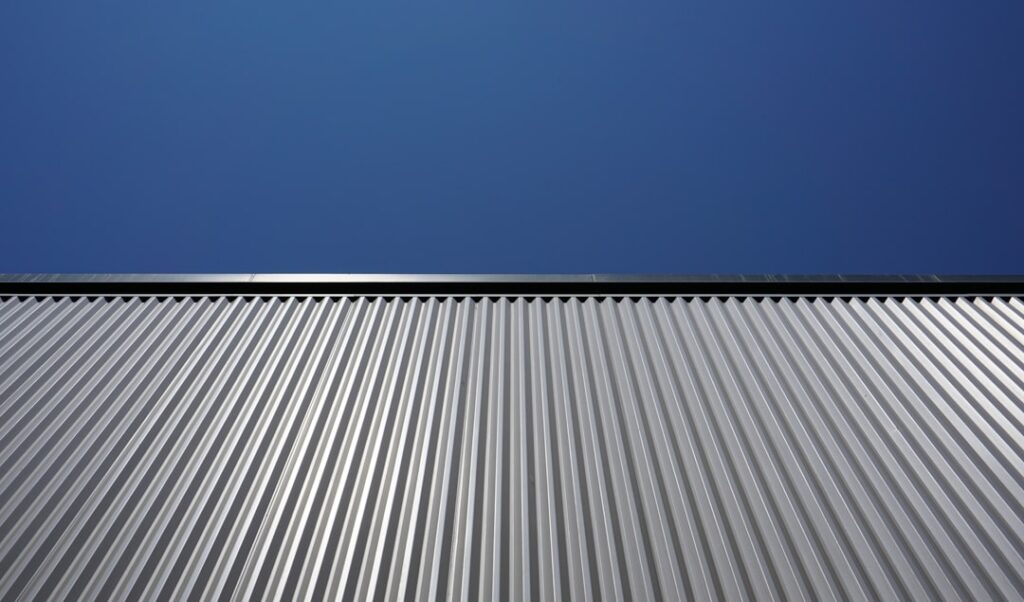
Every corrugated or ribbed metal panel ends in a row of open channels, and each of those openings is a doorway for rain, snow, wasps, and birds unless something fills it. Metal roof closure strips are the profile-matched foam or plastic pieces that plug those gaps at ridges, eaves, and trim transitions. They cost a dollar or two per foot, take seconds to install, and their absence is one of the most common reasons a brand-new metal roof leaks at the ridge or hums with wasp nests by August. Here’s what the types are, where each one goes, and how to install them so they last as long as the panels.
Part of our Roofing guide — explore the full guide →
What Closure Strips Do
A ribbed panel like classic corrugated, PBR, or tuff-rib has a repeating wave: high ribs and low flats. Wherever a flat piece of trim crosses that wave — a ridge cap over the panel tops, eave trim under the panel bottoms — the geometry leaves openings the height of the rib, typically 3/4 to 1-1/4 inches. Closure strips are die-cut to the exact inverse of the panel profile so they fill those openings completely.
They block four things: wind-driven rain and powder snow that would otherwise blow uphill under the ridge cap; insects and birds looking for a protected cavity; wind itself, which can pressurize the space under panels and drum them; and, with vented versions, they manage airflow deliberately instead of accidentally.
Solid Foam Closures
The standard product is closed-cell polyethylene or crosslinked PE foam, die-cut per panel profile and sold in 3-foot lengths at roughly $1 to $2.50 per foot. Two orientations exist, and mixing them up is the classic rookie mistake:
- Outside closures fit over the panel from above — their underside matches the panel’s ribs. They go under ridge caps, hip caps, and anywhere trim sits on top of the panel surface.
- Inside closures fit under the panel from below — their top matches the ribs. They sit on eave trim or headwall flashing beneath the panel, sealing the underside gap.
Closed-cell foam won’t absorb water, tolerates roughly -40°F to 180°F, and quality UV-stabilized strips last 20-plus years tucked under trim. Cheap open-cell foam closures, by contrast, soak up water and crumble within a few seasons — worth checking before you buy a bargain bag.
Vented Closure Strips
A metal roof over a ventilated attic still needs exhaust at the ridge, and solid closures would cork it shut. Vented closure strips solve the conflict: they’re made of a coarse, non-wicking polymer mesh or matrix (ProfileVent, VenturiVent, and similar) that lets air escape while its tortuous path stops rain, snow, and insects. The strip runs continuously under the ridge cap on both sides, replacing solid closures there.
Typical specs: rolls of 25 to 50 feet, about 1 to 1.5 inches thick, providing a net free vent area around 12 to 18 square inches per lineal foot depending on brand, at $3 to $6 per foot — pricier than foam, but it’s your entire ridge vent. Pair ridge venting with adequate eave intake (vented soffit or intake strips at the eave using mesh inside closures) so the attic actually breathes; exhaust without intake just pulls conditioned air out of the house. On unvented assemblies — spray-foamed rooflines, or purlin-framed barns where condensation control comes from other means — use solid closures at the ridge instead.
Where Closures Go on a Typical Roof
- Eave: inside closures on top of the eave trim, under the panel, set back about an inch from the panel edge. Skip these and wind-driven rain and wasps enter every flute.
- Ridge and hips: outside closures (or vented strip) on the panel, under the cap, positioned so cap fasteners pass just above or through them.
- Headwall/endwall: outside closures where apron flashing crosses the panel below a wall.
- Pitch transitions: outside closures under the transition flashing on the lower roof, inside closures under the upper panel.
- Sidewall and gable: usually handled by trim geometry rather than closures, though some profiles use them under gable trim.
A gable-roofed 30 x 40 building needs closures at two 40-foot eaves and one 40-foot ridge (both sides): roughly 80 feet of inside foam, 80 feet of outside foam or vented strip — a $150 to $500 line item that protects a five-figure roof.
Installation Tips That Prevent Callbacks
Closures are simple, but a few habits separate a 20-year detail from a 2-year one:
- Match the profile exactly. “Universal” closures fit nothing well. Order closures by panel name and gauge from the panel supplier — a 3/4-inch corrugated closure will not seal a 7.2 panel.
- Bed them in butyl tape. Run 3/32 x 1/2-inch butyl tape on both faces (panel side and trim side) or buy closures with factory adhesive. Dry-fit closures walk out of position over years of thermal cycling.
- Butt joints tight. Push adjacent strips firmly together; a 1/4-inch gap between strips is a wasp door. Cut with heavy scissors or a utility knife.
- Don’t over-compress. Fasteners should snug the trim onto the closure, compressing it perhaps 10 to 20 percent. Crushing foam flat destroys its memory and opens gaps on the next cold cycle.
- Set eave closures back from the drip edge so they stay out of the wettest zone and remain invisible from the ground.
- Cold-weather trick: foam and butyl both hate installation below about 40°F — keep materials in a warm truck cab until the minute you need them.
Retrofitting Missing or Failed Closures
If an existing metal roof buzzes with wasps or leaks at the ridge in wind-driven rain, missing closures are the first suspect. Diagnosis is easy: sight along the eave and ridge openings with a flashlight — daylight through the flutes means open channels. Retrofit at the eave is usually straightforward: clean the flutes, slide adhesive-backed inside closures up under the panel onto the eave trim. At the ridge, you’ll typically need to back out the cap fasteners, lift the cap in sections, insert new outside or vented closures with butyl, and refasten with the next-size-up screws (a #12 replacing a #10 grips the enlarged holes). Budget a few hours and $200 in materials for an average house — cheap compared to chasing “mystery” ridge leaks with caulk, which never holds for long across moving metal joints. Get the closure strips right and a ribbed metal roof becomes what it should be: sealed at every opening, vented exactly where you intend, and quiet in a windstorm.
Buying Guide: Getting the Right Strips the First Time
Ordering closures correctly comes down to three pieces of information: the exact panel profile name (not just “corrugated” — classic 2.5-inch corrugated, 7/8-inch corrugated, PBR, R-panel, 7.2, and tuff-rib all take different die cuts), whether you need inside or outside orientation at each location, and lineal footage plus 10 percent. The panel supplier is the best source because their closures are cut for their dies; big-box universal packs fit big-box panels and little else. If your roof is an orphan profile — an older building, a discontinued panel — take a 6-inch cutoff or a cardboard tracing to a metal roofing supplier, who can usually match it from the major closure manufacturers’ catalogs.
Compare materials while you’re at it. Standard closed-cell PE foam is the value pick at $1 to $2.50 per 3-foot strip. Adhesive-backed versions add about 30 percent and are worth it for retrofit work where clamping pressure is hard to apply. Vented ridge products range from simple mesh rolls at $3 per foot to engineered profiles with baffles at $5 to $6 — in snow country, spend up for the baffled versions, which resist powder-snow infiltration far better in testing. For coastal or chemical environments (pool enclosures, livestock buildings), confirm UV-stabilized, non-wicking material; ammonia and salt spray destroy bargain foam in two or three years. One last quantity check that catches people: ridges need closures on both slopes, so a 40-foot ridge consumes 80 feet of strip, and hip roofs need outside closures down every hip as well. Count every panel-to-trim intersection on a sketch before ordering, and the $300 closure line item arrives once instead of three times.