
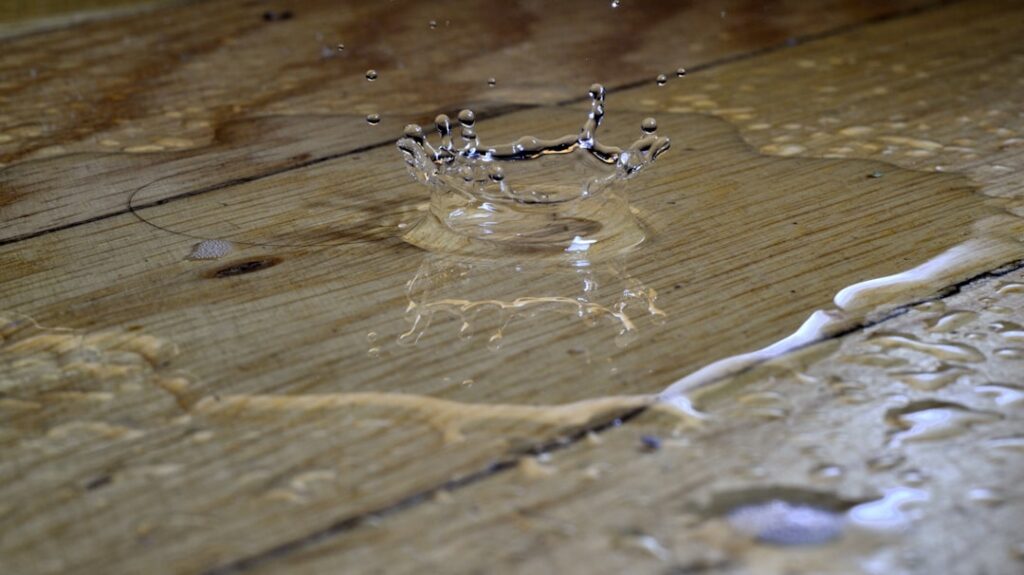
A dishwasher that overflowed overnight, a potted plant that leaked for weeks, or a pet accident left too long can leave your beautiful wood floor cupped, stained, or spongy. Caught early, minor water damage hardwood floors can almost always be dried and restored without ripping up a single board. The window matters, though: the longer moisture sits, the deeper it wicks into the wood and subfloor, turning a weekend fix into a full replacement. This guide walks you through spotting the damage, drying it correctly, and repairing the aftermath.
Recognizing Minor vs. Major Damage
Minor damage means the water sat briefly, the surface finish took most of the hit, and the boards are still structurally sound. You will see light cupping, surface stains, or a dull, whitish haze in the finish. The wood may feel slightly raised at the board edges but does not flex or crack underfoot.
Major damage looks and feels different. Boards that buckle up off the subfloor, crown noticeably in the center, feel soft or springy, or show black mold staining have absorbed water deep into the fiber. Those usually need board replacement and subfloor inspection. If you can press a board and feel give, or if a musty smell lingers after drying, you have crossed out of minor territory.
Act Fast: The First 24 to 48 Hours
Speed determines everything. Wood starts absorbing standing water within minutes, and cupping can set in within a day. Move quickly:
- Stop the source. Shut off the leaking appliance, fix the pipe, or remove the wet object before anything else.
- Remove standing water with towels or a wet vacuum. Do not let a single puddle sit.
- Pull up rugs and furniture so air reaches the whole surface and colors do not bleed onto the wood.
- Wipe the boards dry and blot into the seams where water hides.
- Set up airflow. Run fans across the floor and a dehumidifier in the room, targeting 30 to 50 percent relative humidity.
Keep the drying gear running for several days, not hours. Wood releases moisture slowly, and rushing to sand or refinish a floor that is still wet inside locks damage in.
Drying Cupped Boards
Cupping happens when the bottom of a board absorbs more moisture than the top, swelling so the edges rise higher than the center. Good news: mild cupping often flattens on its own as the wood dries evenly. Point fans directly at the floor, keep the room’s humidity in the 30 to 50 percent range, and give it two to four weeks before judging the result.
Use a moisture meter to track progress. A pinless meter reads the board’s moisture content in seconds; you want it back down to 6 to 9 percent, matching the surrounding undamaged floor. Rushing to sand cupped boards before they fully dry is the classic mistake, because a floor sanded flat while still swollen will crown the opposite way once it finishes drying, leaving humps you cannot fix without another sanding.
Removing Water Stains
Stains fall into two camps, and knowing which you have saves effort.
White Stains (Surface Level)
A whitish or cloudy haze means moisture is trapped in the finish, not the wood. This is the easy one. Try laying a clean cloth over the mark and running a warm iron across it for a few seconds, or rub a little mineral spirits in with a soft rag. A paste of baking soda and water buffed gently with the grain also lifts many light hazes.
Dark Stains (Deep Penetration)
Black or dark gray marks mean water reached the wood fiber, and sometimes reacted with tannins or metal to leave a permanent-looking stain. Light sanding of just that spot followed by an application of oxalic acid wood bleach often lightens or removes it. Follow the product directions, neutralize with a baking soda rinse, let it dry, then spot-stain and reseal to match.
Refinishing the Repaired Area
Once the wood reads dry and flat, you can address the finish. For a small area, hand-sand with 120-grit paper, feathering into the surrounding boards. Wipe away dust, apply a matching stain if needed, and brush on two to three coats of polyurethane, sanding lightly between coats with 220-grit.
Blending a spot repair into an aged floor is the tricky part, since old finish has ambered and dulled while fresh poly looks bright. If the damaged area is large or highly visible, screening and recoating the entire room produces a far more seamless result than a patch that stands out under raking light. A full-room screen-and-recoat runs about $1 to $2.50 per square foot in materials for a DIYer.
Common Causes of Minor Water Damage
Knowing where the water tends to come from helps you catch problems while they are still small. Most household wood-floor damage traces to a handful of repeat offenders, and each has a telltale pattern.
- Appliance leaks: dishwashers, refrigerators with ice makers, and washing machines drip slowly behind and beneath them, so damage shows up as a creeping stain along one wall or under an appliance.
- Potted plants: overwatered pots wick moisture through drainage holes onto the boards, leaving a dark ring exactly the size of the planter.
- Pet accidents: urine is acidic and penetrates fast, causing dark stains and sometimes odor that soaks into the wood and subfloor.
- Entryway tracking: melting snow and rain dripping off boots and umbrellas degrade the finish near doors over a winter.
- Bathroom splash: water escaping a tub or shed off a shower curtain dulls and cups boards just outside the wet zone.
Inspect these hot spots seasonally. A flashlight held low across the floor reveals early cupping and finish dulling that you would miss looking straight down.
When to Call a Professional
Some situations outrun a DIY fix. Bring in a flooring contractor or water-restoration specialist if you notice any of these:
- Boards that buckle, crown severely, or flex underfoot
- Black mold spreading between or beneath boards
- A musty odor that persists after two weeks of drying
- Water that came from a sewage backup or flood (contaminated water)
- Damage spanning more than a few square feet
- Softness or rot suspected in the subfloor below
Mold is the real danger. It can take hold within 24 to 48 hours in damp wood and poses a health risk, so anything beyond a small surface patch of discoloration warrants professional assessment. Your homeowner’s insurance may also cover sudden water damage, so document everything with photos before you start repairs.
Preventing Future Water Damage
Keeping minor water damage hardwood floors from happening again comes down to habits and a few small upgrades. Wipe spills the moment they happen and never let water pool. Place waterproof trays under potted plants and pet bowls. Add absorbent mats at exterior doors and in front of sinks and dishwashers.
Install a leak detector near your washing machine, water heater, and dishwasher; battery models cost $15 to $30 and sound an alarm the instant they sense moisture. Keep indoor humidity steady between 35 and 55 percent year-round with a humidifier in winter and a dehumidifier in summer, which prevents the seasonal swelling and shrinking that stresses your boards even without a spill.
Reapply a fresh coat of finish before the old one wears through, because an intact topcoat is your first line of defense against spills soaking into bare wood. Inspect the caulk and grout around tubs and sinks that border a wood floor and reseal any gaps where water could migrate. Small, cheap habits like these cost a few dollars and a few minutes, yet they prevent the kind of slow, hidden leaks that quietly destroy a floor from underneath. A little vigilance keeps a real wood floor looking sharp for decades.
Prefer to explore on your own?
See how new flooring looks in your actual room in seconds — free, no signup.
Try the free Floor Studio →

