The bulky dome fixture with the yellowing plastic shade has finally met its replacement. Modern flush mount LED ceiling lights sit tight against the ceiling, throw even, energy-sipping light across a whole room, and last 20-plus years without a single bulb change — which is exactly why they have become the default upgrade for hallways, bedrooms, kitchens, and any room with a low ceiling. The catch is that “flush mount LED” covers everything from a $25 builder-grade disc to a $200 designer statement, and picking the right size, brightness, and color makes the difference between a room that feels crisp and one that feels like a hospital.
- Flush vs. Semi-Flush: Know the Difference
- Why LED Won This Category
- Sizing the Fixture to the Room
- Brightness: Think in Lumens, Not Watts
- Color Temperature Sets the Mood
- Dimming and Smart Features
- Installing a Flush Mount LED Yourself
- Styles and Finishes to Match Your Room
- Common Problems and How to Avoid Them
- Choosing the Right One
Flush vs. Semi-Flush: Know the Difference
The two terms get mixed up constantly. A true flush mount sits directly against the ceiling with no gap, making it ideal for ceilings under 8 feet where every inch of headroom counts. A semi-flush mount hangs down a few inches on a short stem, adding a bit of decorative presence and allowing light to wash upward onto the ceiling.
For a standard 8-foot ceiling, either works, but in a basement, closet, or hallway with 7.5-foot ceilings, go fully flush so nobody clips it walking by. Semi-flush shines in entryways and dining nooks where you want a little more visual weight without a full pendant.
Why LED Won This Category
Integrated LED fixtures — where the diodes are built into the unit rather than screwed-in bulbs — dominate for practical reasons that add up fast. They draw a fraction of the power of the incandescent domes they replace, a 15-watt LED panel easily matching a 100-watt old bulb, and they run cool to the touch.
- Lifespan: 25,000 to 50,000 hours, often 20-plus years of normal use with no bulb swaps
- Efficiency: roughly 80 percent less energy than incandescent for the same brightness
- Even light: a diffused panel spreads light without the harsh hot spot of a single bulb
- Slim profile: many modern panels are under 2 inches thick
The one tradeoff: when an integrated LED finally fails, you replace the whole fixture rather than a bulb. Given the price has fallen and the lifespan is decades, most people find that an easy trade.
Sizing the Fixture to the Room
A fixture that is too small looks lost, and one that is too big overwhelms. A simple rule gets you close: add the room’s length and width in feet, and that sum in inches is a good diameter for the fixture. A 10-by-12-foot bedroom suggests roughly a 22-inch fixture.
For larger rooms, do not just supersize one light — two smaller fixtures often light a space more evenly than a single giant one. In a long hallway, space several small flush mounts every 6 to 8 feet rather than relying on one central fixture that leaves the ends dim.
Brightness: Think in Lumens, Not Watts
LED shopping means learning to read lumens, the actual measure of light output, since watts now only tell you energy use. Match total lumens to the room’s job.
- Bedrooms and living rooms: roughly 1,500 to 3,000 lumens for comfortable general light
- Kitchens and workspaces: 3,000 to 5,000-plus lumens, since tasks need more light
- Hallways, closets, bathrooms: 800 to 1,500 lumens
These are total-room targets. Layer in lamps or under-cabinet lighting for tasks, and let the flush mount handle the ambient base. When in doubt, buy slightly brighter and add a dimmer — a bright fixture dimmed down is far more flexible than a dim one at full blast.
Color Temperature Sets the Mood
Color temperature, measured in Kelvin (K), quietly determines whether a room feels cozy or clinical, and it is the setting people most often get wrong. Warmer light has a lower number and a yellow cast; cooler light has a higher number and a blue-white cast.
- 2700K to 3000K (warm white): inviting and relaxed — bedrooms, living rooms, dining
- 3500K to 4000K (neutral white): clean and balanced — kitchens, bathrooms, offices
- 5000K+ (daylight): bright and energizing — garages, workshops, task areas
Many modern fixtures now include a selectable color-temperature switch on the housing, letting you dial in the exact look after installation — a genuinely useful feature worth the small premium. Also check the CRI (Color Rendering Index); a rating of 90 or above makes skin tones and food colors look natural, while cheap 80-CRI panels can render everything slightly washed out.
Dimming and Smart Features
If you want dimming, confirm two things: the fixture is labeled dimmable, and your dimmer switch is rated for LED loads. Pairing a non-dimmable LED with a dimmer causes flicker and buzz, and an old incandescent dimmer with a low-wattage LED often will not dim smoothly. A modern LED-compatible dimmer solves both.
Smart flush mounts add app and voice control, scheduling, and tunable color temperature and brightness without a separate hub in many cases. They cost more but shine in bedrooms and living spaces where you want scenes and gradual wake-up lighting. For a simple hallway, a standard dimmable fixture on a good dimmer is plenty.
Installing a Flush Mount LED Yourself
Swapping a ceiling fixture is a common DIY electrical job, but treat it with respect — always cut power at the breaker, not just the wall switch, and verify it is off with a voltage tester before touching any wire.
- Turn off the breaker feeding the fixture and confirm dead with a non-contact tester.
- Remove the old fixture, supporting its weight, and disconnect the wire nuts.
- Attach the new mounting bracket to the ceiling electrical box using the included hardware.
- Connect the wires — black to black (hot), white to white (neutral), and the bare or green ground to the box’s ground.
- Tuck the wires in, raise the fixture to the bracket, and secure it with the mounting screws or twist-lock.
- Restore power and test.
If your box lacks a ground, or you find aluminum wiring or scorched connections, stop and call an electrician. A basic fixture swap runs 20 to 30 minutes; a licensed electrician charges $100 to $200 if you would rather not touch the wiring.
Styles and Finishes to Match Your Room
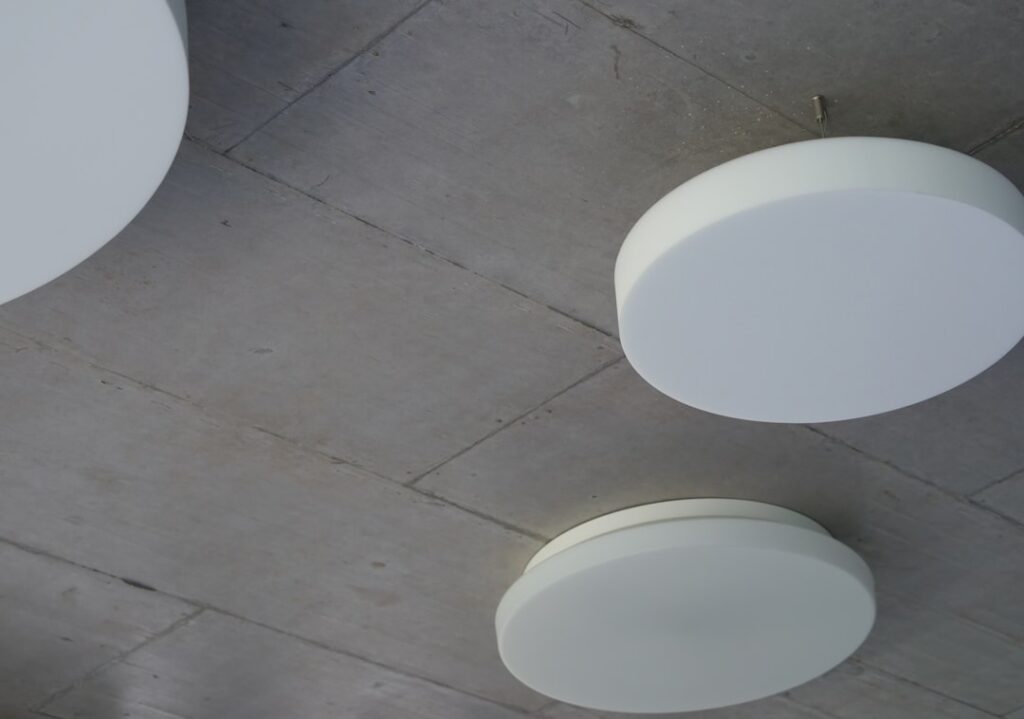
Modern flush mount LED ceiling lights come in a range of looks that let them disappear or make a statement, depending on what the room needs. The current trend leans toward clean geometry — slim round discs, low square panels, and minimalist frames in finishes that coordinate with the rest of the room’s hardware.
- Frameless edge-lit panels: the sleekest option, a glowing disc with almost no visible housing
- Brushed nickel or chrome trim: versatile and neutral, pairs with most fixtures and faucets
- Matte black rings: a bold modern accent that grounds a bright ceiling
- Antique brass or gold: warmth for transitional and farmhouse spaces
- Frosted or opal diffusers: soften the light and hide the diodes for a glare-free glow
Match the fixture’s finish to the room’s other metals — door hardware, cabinet pulls, faucet — for a coordinated look, or deliberately contrast a black fixture against a white ceiling for a graphic, intentional statement. The diffuser material matters for comfort too: a well-frosted lens spreads light evenly, while a cheap clear panel can create harsh glare and visible hot spots.
Common Problems and How to Avoid Them
Most complaints about flush mount LEDs trace back to a handful of avoidable mismatches. Flickering is the top one, and it almost always means a dimmer incompatible with the LED load — swap in an LED-rated dimmer and the flicker usually vanishes. A buzzing hum points to the same issue or a low-quality driver.
Choosing the wrong color temperature is the most common regret, leaving a bedroom feeling clinical or a kitchen feeling dim and yellow — which is exactly why a selectable-temperature fixture is worth the small premium. Buying too few lumens leaves a room shadowy, while a cheap low-CRI panel makes everything look washed out. Finally, forcing a semi-flush fixture under a low ceiling creates a head-clearance hazard in a basement or hallway. Sidestep all of these by planning size, lumens, color, and dimming before you buy, and the fixture will simply work and look right from the first flip of the switch.
Choosing the Right One
Pull it together by room. Size the diameter to the space, pick lumens for the task, choose a color temperature that fits the mood, and confirm dimming compatibility if you want it. Spend a little more for a 90-plus CRI panel and a selectable color-temperature switch, and you get a fixture that looks right in any light and never needs a bulb. For a $30-to-$150 upgrade that lasts two decades and cuts your lighting energy use, modern flush mount LED ceiling lights are one of the easiest wins in the whole house.