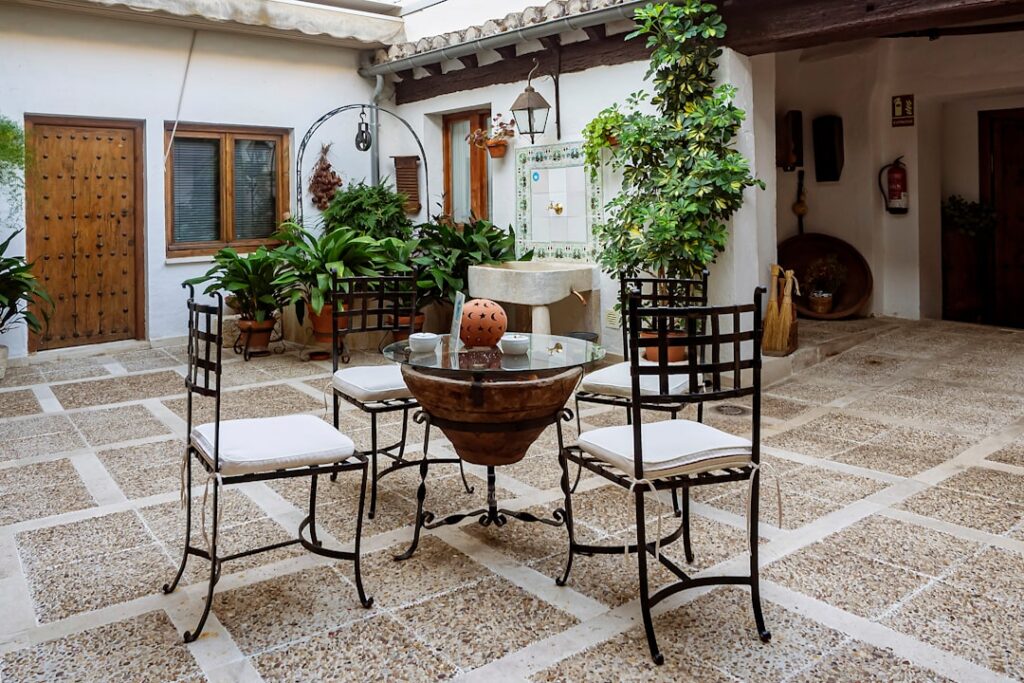
Outdoor lighting plug in systems are the reason you can transform a dark backyard into a warmly lit patio in an afternoon without hiring an electrician or trenching in hardwired fixtures. You plug a transformer or a set of string lights into a standard exterior outlet, lay out your lights, and you’re done. No permits, no wall-fishing, no shutting off breakers.
Part of our Windows & Doors guide — explore the full guide →
The plug-in approach is genuinely capable when you understand the two main systems and how to weatherproof the connections. Here’s everything you need to light paths, patios, and gardens the easy way.
Low-Voltage vs 120-Volt Plug-In
The first fork in the road is which voltage system you want, and it changes how everything downstream works.
- Low-voltage (12V) systems: a transformer plugs into your 120V outlet and steps power down to 12 volts, which then feeds path lights, spotlights, and well lights along a low-voltage cable. Safe to handle, buriable cable, and the standard for landscape lighting.
- 120-volt plug-in: string lights, some decorative fixtures, and portable lamps that plug straight into the outlet at full household voltage. Simpler, but the cords must stay above ground and the connections need real weather protection.
For a lit path or garden beds, go low-voltage. For string lights over a patio or deck, 120V plug-in string sets are the norm. Many yards use both.
Understanding the Transformer
The transformer is the heart of a low-voltage plug-in system, and sizing it correctly keeps your lights bright and your setup safe. It’s rated in watts, and you need enough capacity for all your fixtures combined, plus headroom.
Add up the wattage of every light you plan to run, then pick a transformer rated at least 20 to 30 percent above that total. If your ten LED path lights draw 4 watts each, that’s 40 watts, so a 60-watt transformer gives comfortable margin. LEDs sip so little power that a single modest transformer can run a whole yard, unlike the old halogen days when you’d max out fast.
Most quality transformers include a built-in timer or photocell, so lights come on at dusk and shut off automatically. Mount the transformer on an exterior wall near your GFCI outlet, about a foot off the ground.
Choosing Your Fixtures
Match the fixture to the job. A backyard usually wants a mix:
- Path lights: stake into the ground along walkways, casting a soft pool of light every 6 to 8 feet
- Spotlights and well lights: aim up at trees, columns, or the house facade for drama
- Deck and step lights: low-glare fixtures that mark edges and stairs for safety
- String lights: the 120V plug-in kind, strung overhead across a patio for ambiance
Stick to LED fixtures. They last 20,000-plus hours, run cool, and keep your total wattage low enough that one transformer handles a large layout. Warm white in the 2700K to 3000K range gives the most inviting glow outdoors.
Weatherproofing the Connections
This is where plug-in setups fail if you rush. Every outdoor connection point is a chance for water to get in and trip your GFCI or corrode contacts.
- Use an outlet with a bubble-style in-use weatherproof cover, which stays sealed even with a cord plugged in.
- Make sure your exterior outlet is GFCI-protected. It’s required by code and it’s what saves you if moisture reaches a live contact.
- For low-voltage cable, use waterproof gel-filled or twist-on connectors at each fixture tap, never bare twisted wire.
- Only use string lights and extension cords rated for outdoor use, marked with a W or SJTW on the jacket.
- Elevate or route cords so they don’t sit in puddles or planters that hold water.
Do these five things and your system shrugs off rain and sprinklers for years.
Laying It Out
Plan before you stake. Walk the yard at dusk and note where light adds safety, like steps and path edges, and where it adds beauty, like a specimen tree or a seating area. Then lay the low-voltage cable loosely along the route before committing, so you can test positions.
Run the main cable and tap fixtures off it with the connectors. Keep total cable runs under about 100 feet from the transformer per line to avoid voltage drop that dims the far lights. If far fixtures look weak, split the load onto a second cable run from the transformer, or use a heavier gauge cable like 12-gauge for long runs.
Adding Timers and Smart Control
The best part of a modern plug-in system is set-and-forget automation. Beyond the transformer’s built-in timer, you can add a plug-in smart outlet or a Wi-Fi timer for string lights, letting you schedule or voice-control them from your phone. A simple dusk-to-dawn photocell is often all a path system needs, while smart plugs give scenes and remote control for entertaining.
Common Mistakes to Avoid
A few missteps trip up first-timers. The biggest is overloading a single outlet or transformer, which dims the lights or trips the breaker. Spread the load and size the transformer with headroom. Another is running cheap indoor extension cords outside, where they degrade fast and become a shock hazard, so always use outdoor-rated cordage.
People also tend to space path lights too closely, creating a runway-strip look, or too far apart, leaving dark gaps. Aim for a soft, overlapping wash roughly every 6 to 8 feet rather than a bright pool at each fixture. And don’t forget to angle spotlights away from windows and seating so you light the feature, not your guests’ eyes.
Is Plug-In Right for You
If you want beautiful, functional yard lighting without hardwiring, an outdoor lighting plug in system is the clear choice. Low-voltage handles paths and landscape accents safely and cheaply, while 120V string sets deliver instant patio ambiance. Size your transformer with headroom, buy LED fixtures, seal every connection, and put it all on a timer. You’ll get a professional-looking result for a fraction of a wired install, and you can rearrange it anytime the mood strikes.