The Finnish sauna ritual is not complete without the cool-down, and anyone who has walked across a frozen lawn in a towel to reach the house knows why an outdoor sauna with shower is such an appealing idea. Pairing the two turns a backyard hot room into a genuine hot-cold circuit: heat, rinse, rest, repeat. The shower also keeps sweat off the benches and keeps the house cleaner. Adding water to an outbuilding brings real decisions about plumbing, drainage, freezing, electrical power and budget, so it pays to plan the pair together instead of bolting a shower on later. This guide covers the layouts, utilities, costs and safety steps involved.
Part of our Bathroom Remodeling & Flooring guide — explore the full guide →
- Why Build an Outdoor Sauna with Shower Access
- Layout Options: Open-Air, Attached and Enclosed
- Water Supply and Drainage
- Power, Heaters and Ventilation
- Materials and Moisture Management
- Freeze Protection for Year-Round Use
- What It Costs
- Permits, Safety and When to Call a Professional
- Using a Sauna Shower Combination Safely: Routine, Floors and Fixtures
Why Build an Outdoor Sauna with Shower Access
An outdoor sauna with shower gives you three practical benefits. First, hygiene: rinsing before you enter keeps oils, lotion and sweat out of the wood, which lengthens bench life and cuts down on odors. Second, contrast therapy: a cool rinse between rounds is the traditional way to use a sauna, and many people find it more refreshing than simply sitting outside. Third, convenience: no dripping through the kitchen or tracking grass onto the floors.
The shower also changes how you use the space. With a place to cool off and rinse right next to the heat, sessions become longer and more social. Many owners end up treating the sauna building as a small spa, adding a changing bench, hooks and a lounge chair nearby.
Layout Options: Open-Air, Attached and Enclosed
There is no single right design. The choice depends on climate, budget and how much privacy you want.
Open-Air Shower Beside the Sauna
A post-mounted outdoor shower a few steps from the sauna door is the simplest and least expensive setup. A cold-only shower can run from a hose bib; a hot-and-cold version needs supply lines. This works well in mild climates and for seasonal use, but it is not practical below freezing unless the plumbing can be drained.
Covered Shower on a Porch or Side Wall
Many barrel and cabin saunas have a small front porch. Mounting the shower on an exterior wall under that roof keeps rain off, offers a bit of wind protection and keeps the path from the heat to the water very short.
Enclosed Shower Room
Larger cabin saunas can be built or bought with a separate changing and shower room, typically 4 by 6 feet or larger, between the entry and the hot room. This is the most comfortable year-round option. It needs waterproofed walls, a sloped floor to a drain, ventilation and freeze protection.
Whichever layout you choose, keep the shower water and splash away from the sauna’s hot room. Water on the sauna floor or walls invites rot, and the hot room is not designed to be a wet room beyond the normal ladles of water poured on the stones.
Water Supply and Drainage
Plumbing drives most of the cost and complexity. Consider supply and drainage separately.
Supply
A cold-only shower can use a garden hose connection or a buried cold line. For warm water, you have three main options: extend hot water from the house, install a small point-of-use electric tankless or tank water heater in the sauna building, or use a propane outdoor tankless heater designed for exterior installation. Supply lines running underground need to be buried below the local frost line or be designed to drain completely, and PEX is commonly used for its flexibility and freeze tolerance. Include a shutoff and drain valve at the house so the line can be emptied before winter.
Drainage
Where the water goes matters as much as where it comes from. Common approaches include:
- Gravel dry well: A pit filled with crushed stone below the shower that lets water soak into the soil. Suitable for light use in well-draining soil.
- Connection to the house sewer or septic: The most robust option, but it requires a trap, venting and a permit.
- Graywater system: Some jurisdictions allow shower water to irrigate landscaping if soaps are biodegradable.
Local rules vary widely. Some areas allow a simple rinse-off shower to drain to grade, while others treat any shower with soap as wastewater that must go to a sewer or septic system. Check with your building or health department before choosing a drainage method, and keep drainage well away from the sauna foundation and your house.
Power, Heaters and Ventilation
Most outdoor saunas use either an electric heater or a wood-burning stove. Electric heaters for a typical 4- to 6-person sauna often draw between 6 and 9 kW and usually need a dedicated 240-volt circuit, which means a trench from the main panel or a subpanel. If you add an electric water heater in the same building, the electrical load goes up again, and the service size of the house may become a limiting factor. A licensed electrician should size the circuits, run the feeder and handle any required GFCI protection for the shower area and outdoor receptacles.
Wood-fired saunas avoid the electrical load and some models include a water tank that heats alongside the stove, giving you warm rinse water without a separate heater. These require proper chimney pipe, clearances to combustibles as specified by the stove manufacturer, a noncombustible floor protector and a carbon monoxide alarm in any enclosed changing area.
Ventilation keeps the air fresh and controls moisture. The hot room needs a fresh-air intake low near the heater and an exhaust vent high on the opposite wall, per the heater manufacturer’s guidance. An enclosed shower room needs its own ventilation, either a passive vent or a small exhaust fan, so humid air does not soak into the structure.
Materials and Moisture Management
Wood and water have a long, complicated relationship. The hot room itself is usually lined with thermally modified wood, cedar, hemlock, spruce or aspen, left unfinished inside so it can breathe. The shower area needs different thinking.
| Area | Good Material Choices | Avoid |
|---|---|---|
| Shower walls | Tile over cement board, cedar or thermally modified slats with a waterproof layer behind | Untreated softwood without drainage |
| Shower floor | Sloped concrete, tile, removable wood duckboard over a drain | Flat wood floors |
| Hot room | Unfinished cedar, spruce, aspen, thermo wood | Stains, sealers, varnish inside |
| Exterior | Cedar, thermo wood, stained siding | Unsealed exterior softwood |
Place the building on a solid, level, well-drained base such as a concrete pad, compacted gravel pad or deck framing with good airflow beneath. Keep the sauna floor slightly higher than the surrounding ground and direct roof runoff away from the shower and foundation.
Freeze Protection for Year-Round Use
If winters in your area drop below 32°F, freeze protection is not optional. A frozen supply line or cracked valve can turn a spring startup into a repair bill. Options include a frost-free outdoor shower valve, which shuts off inside a heated or buried zone; a full drain-down setup with a shutoff and drain at the house; heat tape on exposed lines in an enclosed room; or keeping a small heater running in an enclosed shower room. Many owners in cold climates use the shower only in the shoulder seasons and rely on a snow roll or a cold plunge tub in deep winter. Planning this up front avoids costly surprises.
What It Costs
Budgets vary enormously with size, finish and how far utilities must travel. The ranges below are rough starting points; get local quotes before committing.
- Sauna kit: Barrel and small cabin kits often run $5,000 to $15,000, with larger or premium models higher.
- Custom-built sauna: Commonly $15,000 to $40,000 or more depending on size and finishes.
- Simple outdoor shower: A cold-only or basic hot-and-cold post shower might cost $500 to $3,000 installed.
- Enclosed shower room: Often adds $5,000 to $15,000 for framing, waterproofing, drain and fixtures.
- Utilities: Electrical trenching and a 240-volt circuit, plus plumbing lines and drainage, can add several thousand dollars depending on distance and soil.
Permits, Safety and When to Call a Professional
Most jurisdictions require permits for new electrical circuits, plumbing connections and any outbuilding over a certain size, and some have setback rules for accessory structures. Call your local building department before ordering a kit.
Bring in licensed professionals for the high-risk parts of the project. A licensed electrician should handle the heater circuit, subpanel, trenching and shower-area protection. A licensed plumber should handle supply lines, drain connections, traps and venting. For wood-fired stoves, follow the manufacturer’s clearance and chimney requirements exactly and consider a certified chimney or hearth professional for the flue installation. Put a carbon monoxide alarm in any enclosed space attached to a wood-fired sauna.
Health matters, too. Sauna use and cold rinses stress the cardiovascular system, so anyone with heart conditions, blood pressure concerns or who is pregnant should talk with a doctor first. Stay hydrated, avoid alcohol before sessions and keep rounds reasonable. Done right, an outdoor sauna with shower becomes a backyard retreat you use all year.
Using a Sauna Shower Combination Safely: Routine, Floors and Fixtures
A sauna shower combination only works well if the space between the hot room and the rinse is designed for wet feet, tired legs and changing light. Most slips and scalds happen in that short transition, so plan the details as carefully as the heater and the plumbing.
Set a Simple Session Routine
Post a short routine near the door so every user, including guests, follows the same habits:
- Rinse off before the first round to keep the benches clean.
- Keep each round short, and follow the time limit on the heater maker’s instructions. Leave right away if you feel dizzy, nauseated or unwell.
- Never use the sauna alone, and never after drinking alcohol.
- Drink water between rounds and sit for a few minutes before standing up and walking to the shower.
- Anyone who is pregnant, has a heart condition or has blood pressure concerns should ask a doctor before using a sauna or cold rinse.
- Children need direct adult supervision the entire time.
Choose Slip-Resistant Flooring for the Wet Path
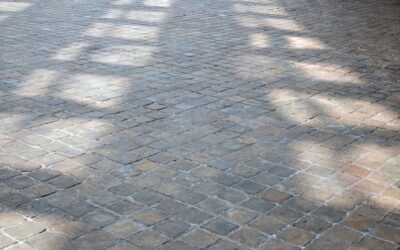
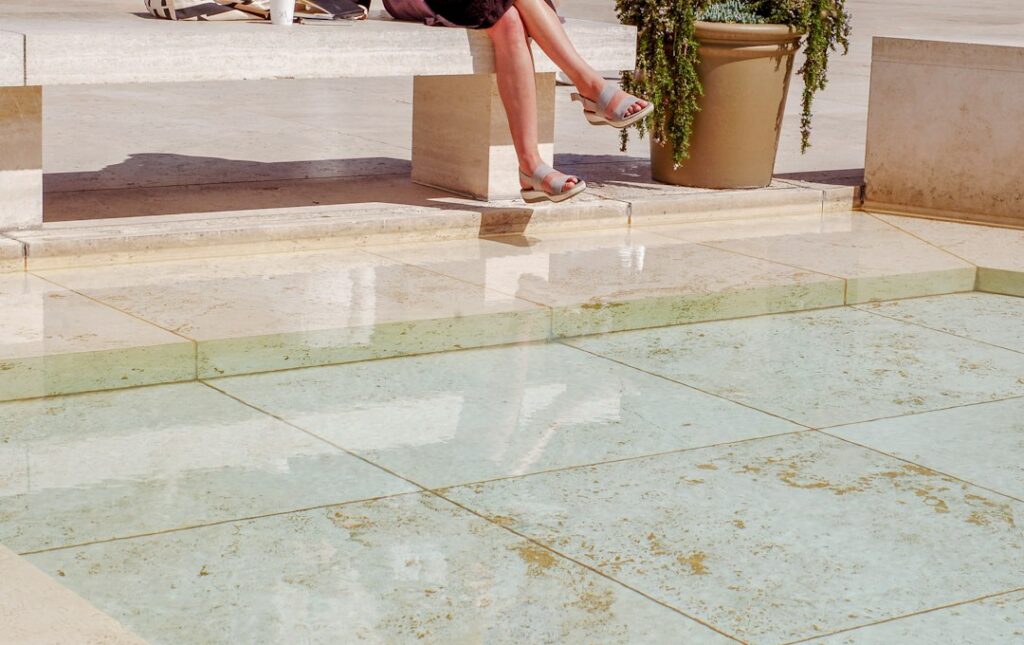
Wet skin, soap and bare feet turn smooth surfaces into a hazard. In the shower and on the walkway to it, use textured porcelain or a tile rated for wet barefoot areas, broom-finished concrete, or a removable wood duckboard with gaps that drain quickly. Avoid polished stone, glossy tile and painted concrete without a grit additive. Slope every wet surface toward the drain so water never pools, and add a grab bar at the shower entry and next to the hot room door. Keep a textured mat outside the door and replace it when the backing wears smooth.
Control Water Temperature
People step into the shower flushed and less alert, so the valve matters. Specify a pressure-balancing or thermostatic valve with an adjustable limit stop, and set the water heater to a safe temperature to help prevent scalds. A cold-only rinse avoids the issue entirely if your climate and budget allow it.
Keep Electrical Work Wet-Rated and Professional
A heater, lighting, a water heater and any receptacles in a damp building create real shock risk. Hire a licensed electrician to run circuits, size the heater feed and install GFCI protection where required. Use fixtures rated for wet or damp locations and keep switches out of reach from the shower. For any later fixture swap, turn off the breaker and confirm power is off with a non-contact voltage tester before touching wires, or leave it to the electrician.
Leave Plumbing Connections to a Licensed Plumber
Supply lines, traps, vents and drain tie-ins affect your whole water system and usually need a permit. A licensed plumber can also install shutoffs and drain valves that make winterizing a quick, safe job.