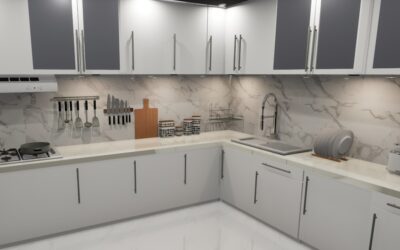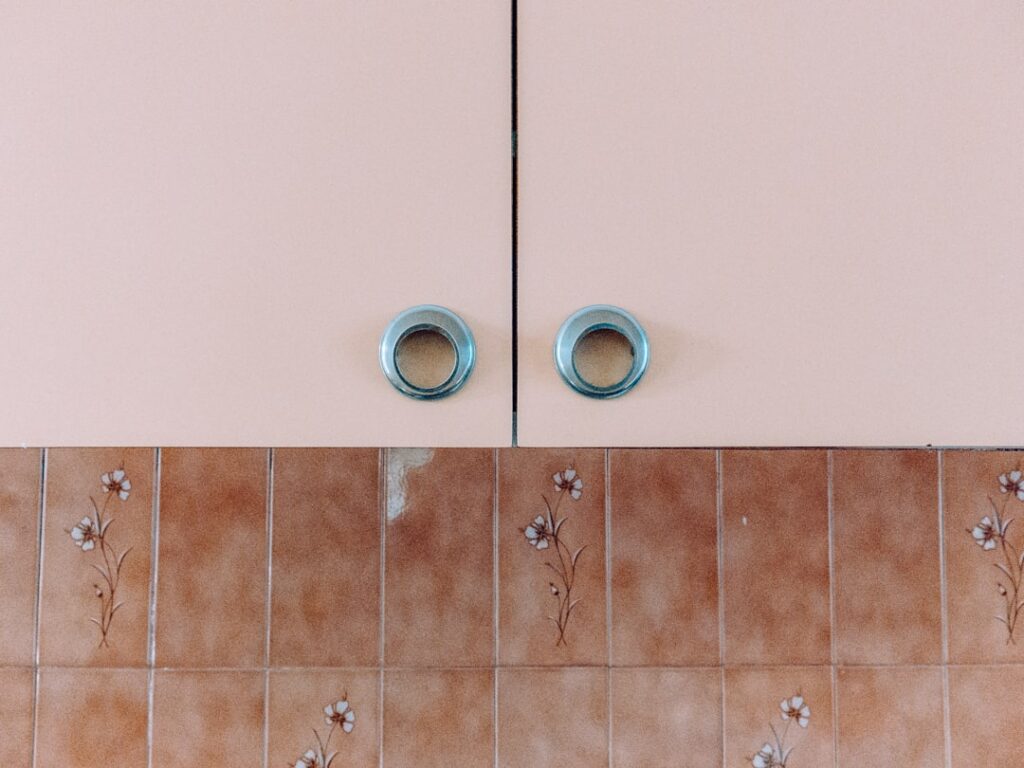
Most people searching for pictures of kitchen cabinet knob placement are staring at a brand-new door with a drill in one hand, terrified of putting the hole in the wrong spot, because there is no undo button on a drilled cabinet front. I understand the anxiety completely, and after installing hardware on hundreds of kitchens I can tell you the placement rules are simple, consistent, and easy to get right once you know the measurements. A picture helps, but the numbers behind the picture are what actually let you mark and drill with confidence. This guide gives you both: clear descriptions of where every knob and pull goes, and the exact measurements to reproduce them.
We will walk through upper cabinets, base cabinets, drawers, and the differences between shaker and slab doors, plus the one tool that makes all of it foolproof.
The Golden Rule: Corner Placement on Doors
Picture a cabinet door. The knob goes on the corner of the door opposite the hinges, and whether it goes toward the top or the bottom depends on whether the cabinet is above or below the counter. That single principle, opposite the hinges and toward the reachable end, covers the vast majority of kitchen doors.
On upper wall cabinets, which hang above the counter, the knob goes on the lower corner of the door, because that is the end closest to your hand when you reach up. On lower base cabinets, which sit below the counter, the knob goes on the upper corner, because that is the end closest to your hand when you reach down. Get that orientation right and you are most of the way there. The exact distance from the edge is where the measurements come in.
Upper Cabinet Door Placement
For a knob on an upper cabinet door, imagine the lower corner of the door on the side away from the hinges. The standard placement:
- Vertical: 2.5 to 3 inches up from the bottom edge of the door.
- Horizontal: 2.5 to 3 inches in from the side edge of the door.
On a shaker door, which has a raised frame around a recessed center panel, the convention is to center the knob on the stile, the vertical frame piece, rather than measuring purely from the edge. That usually lands it about 1.5 inches from the inner edge of the frame, centered on the stile’s width. On a flat slab door with no frame, you simply measure from the edges. If you want pulls instead of knobs on upper doors, mount them vertically along the same corner, aligned to the stile.
Base Cabinet Door Placement
Base cabinet doors flip the vertical position. Picture the upper corner of the door, again on the side opposite the hinges:
- Vertical: 2.5 to 3 inches down from the top edge of the door.
- Horizontal: 2.5 to 3 inches in from the side edge.
As with uppers, on a shaker door center the knob on the stile. The goal across the whole kitchen is that every base door knob sits at the identical distance from the top and side, so your eye reads a clean, even line of hardware. When you stand back and look at the finished kitchen, consistency is what registers as quality, and inconsistency, one knob an inch higher than its neighbor, is what jumps out as amateur work.
Drawer Pull Placement
Drawers use pulls far more often than knobs, and placement depends on the drawer height. Center the pull horizontally on the drawer face every time; that part never changes. The vertical position is where judgment comes in:
- Standard drawers (up to about 6 inches tall): center the pull vertically on the face.
- Tall drawers (deep pot drawers, 8 inches and up): place the pull slightly above center, roughly 2.5 to 3 inches from the top, so it reads correctly and is comfortable to reach. Dead-centering a pull on a very tall drawer can look low.
If you use a single knob on a drawer instead of a pull, center it both horizontally and vertically on smaller drawers. For wide drawers, a longer pull or two evenly spaced knobs or pulls looks more balanced than one lonely knob stranded in the middle of a broad face.
Shaker vs Slab: How the Door Style Changes Things
The door style matters more than people expect. On a shaker door, the raised frame gives you a natural reference: center the hardware on the stile for doors and on the rail for horizontal drawer pulls. This keeps the hardware visually anchored to the frame and looks deliberate. The recessed center panel is never where hardware goes on a shaker door.
On a flat slab door, with no frame to reference, you measure purely from the edges, and you have more freedom. Slab doors suit longer, more contemporary pulls mounted along the edge, and the modern look often runs vertical edge pulls on doors and horizontal edge pulls on drawers for a clean, uniform grid. Whatever the style, decide your logic once and photograph or sketch your placement plan before you drill the first hole, so every cabinet follows the same rule.
Knobs vs Pulls: Placement Differs
Whether you choose knobs or pulls changes not just the look but exactly where the hardware lands, so decide before you measure. A knob is a single point, fixed by one screw, so its placement is defined by one hole. A pull spans two screws, so you are locating a center point and then splitting the pull’s center-to-center distance evenly on either side of it. Getting that math right is what keeps a row of pulls looking level and even.
On doors, a knob sits at the corner point described earlier. A vertical pull on a door occupies that same corner region but runs along the stile, typically centered on the stile with its length running up and down. On drawers, a knob centers on the face while a horizontal pull centers on the face with its length running side to side. The practical implication: if you are switching from knobs to pulls or vice versa on cabinets that already have holes, the hole positions rarely line up, so you will be filling old holes and drilling new ones. Plan for that before you buy, because a pull’s two holes almost never straddle a single old knob hole cleanly.
Marking and Test-Fitting Before You Drill
Because a drilled hole is permanent, the professional habit is to mark and test-fit every position before a single bit touches the wood. Once you have decided your measurements, work through this sequence to guarantee a clean result:
- Dry-fit first: use painter’s tape on the door and mark your intended hole location on the tape. The tape also reduces splintering when you eventually drill.
- Step back and look: put tape marks on several doors and drawers, then stand across the room and check that the imagined hardware looks even and correctly scaled before committing.
- Verify with the actual hardware: hold a knob or pull against the mark to confirm it feels right in the hand and clears the door edge and any adjacent cabinet.
- Set the jig to match your confirmed marks, then let the jig, not freehand measuring, place every remaining hole.
- Drill a test hole on a scrap or an inconspicuous door first if you are nervous, to confirm bit size and backing block technique.
Five extra minutes of test-fitting prevents the one mistake that pictures alone cannot save you from: a hole in the wrong place on a finished door.
The Tool That Makes It Foolproof
Here is the professional secret that beats any picture: a hardware installation jig. It is an inexpensive plastic or metal template, usually $15 to $30, with adjustable stops and multiple hole positions. You set it once for your chosen measurements, then use it to mark or drill every single door and drawer identically. It removes measuring error entirely after the first setup.
- Set the jig’s stops for your knob or pull position, matching the measurements above.
- Clamp or hold the jig against the door corner, registering off the edges or the shaker frame.
- Mark the hole with an awl, or drill straight through the jig’s guide hole.
- Back the door with a scrap block to prevent the finish from blowing out as the bit exits.
- Move to the next door and repeat with the exact same jig setting.
With the jig set correctly, every knob lands in the identical spot without you measuring each door. That is how professionals produce that dead-consistent look, and it is why studying pictures of kitchen cabinet knob placement gets you only halfway; the jig, set to the right numbers, gets you the rest of the way to a flawless result.