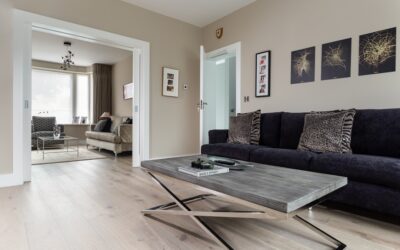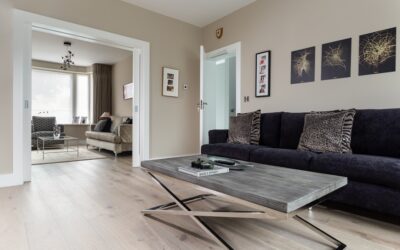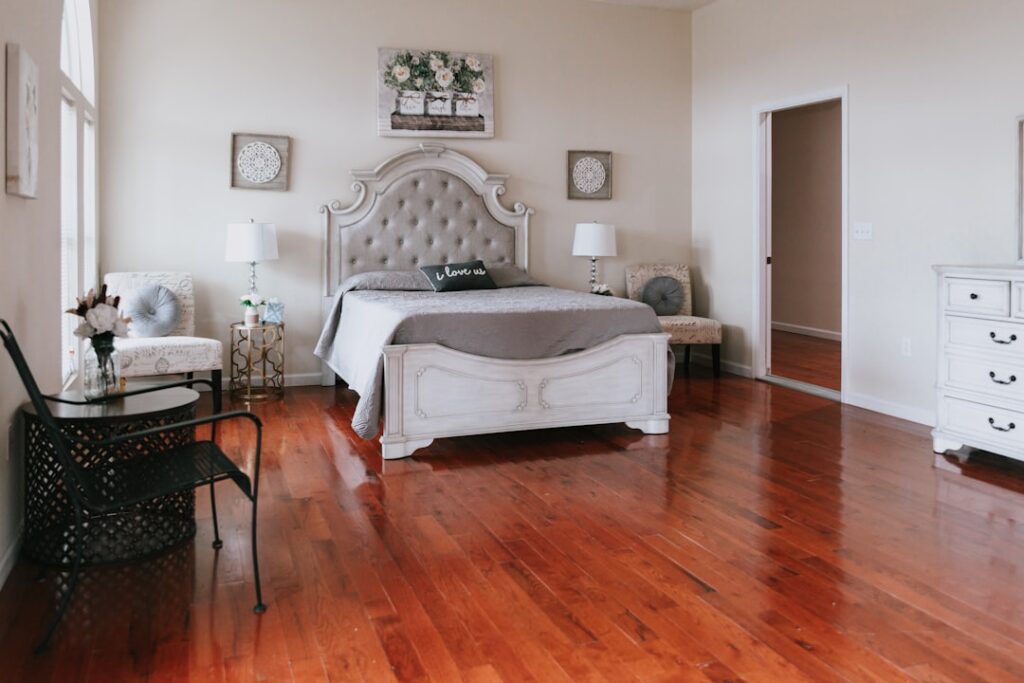
Homeowners planning a bedroom makeover almost always start by scrolling through pictures of laminate flooring in bedrooms, and that instinct is exactly right. Photos reveal how a colour, plank width, and finish actually behave in a real room with beds, nightstands, and morning light, in ways a swatch never can. This guide walks you through what those pictures are really showing you, the design choices behind the ones you love, and how to translate that inspiration into a floor that performs as well as it photographs.
- Why the Bedroom Is Laminate’s Ideal Room
- Reading the Colour Choices in the Photos
- Plank Width and Direction You See in Bedroom Shots
- The Real Advantages Behind the Pretty Pictures
- The Downsides the Photos Won’t Show
- Styling Your Room to Match the Inspiration
- Practical Specs Behind a Bedroom Floor
- From Inspiration to Order
Why the Bedroom Is Laminate’s Ideal Room
Of all the rooms in a house, the bedroom is where laminate makes the most sense. Traffic is light, there is no standing water, and the floor rarely sees the abuse a kitchen or entryway takes. That means you can install a mid-grade AC3 board, or even AC2 in a low-use guest room, and get years of flawless service. It also means you can prioritize looks and comfort over bulletproof durability, which is why the prettiest laminate installations tend to be bedrooms.
The pictures that catch your eye usually share a few traits: warm wood tones, wide planks running toward the window, and a large rug anchoring the bed. Those are not accidents. A dry, low-traffic room lets designers choose softer matte finishes and lighter colours that would scuff in a hallway, so bedroom photos showcase laminate at its most refined and least compromised.
Reading the Colour Choices in the Photos
Look closely at the bedroom images you save and you’ll notice most fall into two camps. The first is light and airy: whitewashed oak or pale natural tones that make the room feel bigger, brighter, and calmer, which is precisely the mood most people want where they sleep. These floors bounce morning light and pair beautifully with white bedding and linen-toned walls.
The second camp is warm and cozy: honey oak, chestnut, and hickory tones that make a bedroom feel enveloping and restful, especially in rooms with less natural light. Dark espresso and walnut appear too, usually in larger primary suites with big windows where the drama can breathe. When you find a picture you love, identify which camp it belongs to and match that undertone to your own wall color and light before you fall for the exact plank.
Plank Width and Direction You See in Bedroom Shots
Wide planks dominate the most appealing bedroom photos for a reason. A 7 to 9 inch wide board reads current and expansive, with fewer seams to break up the floor, so the room feels larger and more serene. Narrow strip laminate looks busier and more traditional, which suits a cottage or farmhouse bedroom but can feel dated in a modern space.
Direction matters as much as width. In nearly every flattering bedroom picture, the planks run the length of the longest wall or point toward the main window, which visually stretches the room and lets daylight rake across the grain to highlight the texture. If your inspiration photo has a striking sense of depth, check the plank direction; you are probably looking at boards laid along the long axis with light glancing down their length.
The Real Advantages Behind the Pretty Pictures
Beyond looks, laminate earns its place in a bedroom on practical grounds. It costs a fraction of hardwood, typically $2 to $4 per sq ft for the material, so you can floor a whole 12 by 14 ft bedroom for a few hundred dollars in product. It installs as a floating floor over most existing subfloors, often in a single day, and it resists the scratches from bed frames and dresser legs that would mark real wood.
It is also warmer and quieter than tile underfoot, and with a good 3mm foam or cork underlayment it hushes footsteps and gives a slight cushion that suits a bedroom. Laminate is hypoallergenic in a way carpet never is: it traps no dust mites or dander, and a quick dry mop keeps it clean, which is a genuine benefit for allergy-prone sleepers who still want warmth and softness from a rug rather than wall-to-wall carpet.
The Downsides the Photos Won’t Show
Pictures flatter, so know the limits. Laminate is hard and cold to bare feet first thing in the morning, which is why nearly every bedroom photo includes a plush rug beside or under the bed. Budget for a good rug as part of the project, not an afterthought. Laminate also can’t be refinished; when the wear layer eventually dulls after 10 to 20 years, you replace it rather than sand it.
Sound is the other honest caveat. Cheap laminate over a hard subfloor can sound hollow and clicky, an effect no photo conveys. Spend on quality underlayment to get the solid, quiet feel the images imply. And remember laminate is only water-resistant; a bedroom rarely floods, but avoid it in a basement bedroom with moisture issues unless you choose a waterproof-core product and run a proper vapor barrier over the concrete.
Styling Your Room to Match the Inspiration
The bedrooms in the pictures you admire are staged, and you can borrow their tricks. A large area rug that extends 18 to 24 inches beyond each side of the bed grounds the space, adds softness, and is the single biggest factor in making a laminate bedroom feel warm rather than hard. Layer a runner on the far side if the room is wide.
Coordinate the floor tone with your furniture and trim rather than matching them exactly. A honey oak floor with white trim and a walnut bed frame reads intentional; three near-identical wood tones read like a mistake. Keep window treatments soft and light to preserve the brightness that makes these floors glow in photos, and add a woven basket or textured throw so a hard, sleek floor gains the tactile warmth the best bedroom images always have.
Practical Specs Behind a Bedroom Floor
Beyond aesthetics, a few technical choices determine whether your bedroom floor lives up to the photos long-term. For a low-traffic bedroom, an AC2 or AC3 rating is plenty; you don’t need the AC4 commercial-grade board a hallway would demand, so you can put the savings toward a nicer colour or thicker plank. An 8mm to 12mm thickness gives a solid, quiet feel underfoot, and 12mm in particular walks more like real wood, which matters in a room where you’re often barefoot.
Underlayment is the unsung hero of a good bedroom install. A 3mm foam or cork pad hushes footsteps, smooths minor subfloor imperfections, and adds a subtle warmth and give that a bare-locked floor lacks. On an upper-floor bedroom, a sound-rated underlayment keeps footsteps from carrying to rooms below. Leave a 1/4 to 3/8 inch expansion gap at every wall so seasonal humidity swings don’t buckle the floating field, then hide it under baseboard.
Acclimation is the step that protects all of it. Let the boxed planks sit flat in the bedroom for 48 hours at 60 to 80°F so they reach the room’s temperature and humidity before locking together; skip it and the floor can gap or peak weeks later. It’s also worth acclimating around the seasons you’ll live in, since a floor installed in dry winter air behaves differently than one laid in humid summer, and the expansion gap is your insurance either way.
From Inspiration to Order
Once a picture sells you on a look, reverse-engineer the specs. Note the approximate colour family, guess the plank width from the seam spacing, and check whether the finish looks matte or glossy, then request full-size samples in that direction. Tape them down in your own bedroom and view them under morning and evening light before buying, because the same board can shift tone dramatically between a photographer’s lighting and yours.
Order 8 to 10 percent extra for cutting waste and future repairs, and confirm the dye lot matches across boxes on delivery. Do that groundwork and the finished room will live up to the pictures of laminate flooring in bedrooms that inspired it, delivering the same warmth, brightness, and quiet calm that made you save the photo in the first place.
Prefer to explore on your own?
See how new flooring looks in your actual room in seconds — free, no signup.
Try the free Floor Studio →