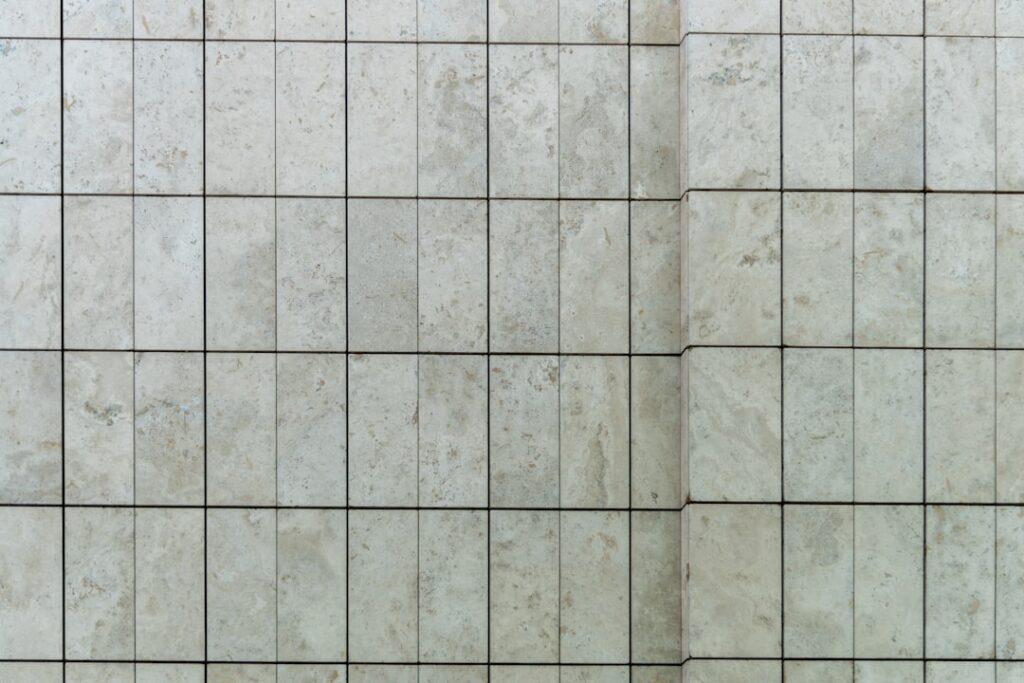
Browsing tile online has become the modern equivalent of flipping through a paint deck — endless options, no obvious starting point, and the very real risk of choosing a pattern that looks great on screen but underwhelms in real space. Pictures of tiles serve as the planning currency for any kitchen, bathroom, or floor renovation. The trick is reading those images correctly: identifying scale, finish, grout color, and lighting effects that drastically change how a tile reads in your actual room.
- How to Read a Tile Photo
- Subway Tile and Variations
- Large Format and Slab Tile
- Patterned Cement and Encaustic Tile
- Wood-Look Tile
- Marble and Marble-Look Tile
- Mosaic Tile
- Choosing Grout Color and Width
- Finish Matters: Matte, Polished, Honed
- Where to Find Quality Tile Photography
- Sample Before You Buy
How to Read a Tile Photo
Manufacturers stage product photos under specific lighting conditions that flatter the tile. Three details to extract from any picture before committing:
- Grout color and joint width — radically changes the visual impact
- Lighting direction — natural top light versus side accent shows different shadow patterns
- Field size shown — a 10-tile vignette reads differently than a 200-square-foot installation
Pull multiple photos of the same SKU from independent design blogs, not just the manufacturer’s catalog. Real homes show the product in real lighting.
Subway Tile and Variations
Classic 3-inch by 6-inch white subway in a running bond pattern remains the most-photographed tile style for the seventh year running. Variations that earned attention in 2026 include:
- Long subway (4×12 inches) in stack bond layout — modern, minimal, photographs cleanly
- Beveled subway with high-contrast grout (gray or black) — vintage New York deli aesthetic
- Handmade or zellige-style subway with surface variation — Mediterranean, warm
- Color-blocked subway in dusty rose, sage, or navy — accent walls and powder rooms
Pricing runs $2 to $6 per square foot for ceramic, $7 to $18 per square foot for handmade or imported zellige.
Large Format and Slab Tile
Tiles 24-inch by 48-inch and larger dominated luxury bathroom and kitchen photography starting around 2020. The fewer grout lines create a seamless, monolithic look that mimics natural stone slabs at a fraction of the cost. Porcelain slabs up to 60-inch by 120-inch are now stocked by major distributors.
The trade-off is installation. Large-format tile demands a professionally leveled substrate — flatness within 1/8 inch over 10 feet — and specialized handling equipment. Expect $12 to $25 per square foot installed for porcelain slabs, $30 to $60 per square foot for natural stone slabs.
Patterned Cement and Encaustic Tile
Geometric patterned tiles, especially Moroccan-inspired encaustic and Spanish-style cement, drive massive Pinterest engagement for laundry rooms, powder rooms, and kitchen backsplash niches. The bold patterns work in small spaces where they create a focal point without overwhelming.
Real cement tiles cost $10 to $25 per square foot and require sealing. Ceramic and porcelain reproductions of the same patterns cost $4 to $12 per square foot and need no sealing. For high-moisture rooms, the porcelain alternatives perform better long-term.
Wood-Look Tile
Porcelain printed and embossed to mimic hardwood planks earned its own category around 2015 and now dominates entries, mudrooms, and bathroom photography. Plank sizes range from 6-inch by 24-inch up to 9-inch by 72-inch.
Pricing: $3 to $8 per square foot for ceramic, $5 to $14 per square foot for porcelain with high-resolution printing. The premium SKUs use registered embossing where the surface texture follows the printed grain, producing visual realism that holds up to close inspection.
Marble and Marble-Look Tile
White marble — particularly Carrara and Calacatta — remains the dominant luxury bathroom tile in photography. Real marble runs $7 to $30 per square foot for tile, with slab and bookmatched installations climbing to $50 to $150 per square foot.
Porcelain marble-look tiles deliver 90 percent of the visual impact at 20 to 40 percent of the price. Major brands like Ariostea, Atlas Concorde, and Florim print veining variations across multiple tiles so the pattern does not repeat obviously across a large installation.
Mosaic Tile
Small-format mosaics — typically 1-inch hexagons, penny rounds, or 1-inch by 4-inch finger tiles — dominate shower floors and accent strips in 2026 design photography. Mosaics drain better than larger tiles, provide more slip resistance, and offer design flexibility for curved surfaces and shower benches.
Costs range $4 to $15 per square foot for ceramic and glass, $8 to $35 per square foot for natural stone or specialty glass. Mesh-mounted sheets simplify installation but watch for visible grid lines in pictures — premium mosaics use random-orientation sheets to break up the pattern.
Choosing Grout Color and Width
Grout choice can change the look of a tile installation more than the tile itself. Three rules from professional designers:
- Matching grout makes the field disappear, emphasizing tile material and color
- Contrasting grout emphasizes pattern and geometry — common with subway, hex, and chevron
- Wide grout (1/4 inch or more) reads as rustic, narrow grout (1/16 inch) reads as modern
For subway tile, white tile with white grout reads timeless and clean; white tile with dark gray grout reads vintage and graphic. The tile photo with the look you want — copy that grout choice exactly.
Finish Matters: Matte, Polished, Honed
Three finish categories dominate the market:
- Polished — high gloss, reflects light, shows water spots and footprints; best for walls
- Honed — matte and smooth, hides water marks, provides moderate slip resistance
- Textured or anti-slip — rougher surface, mandatory for shower floors and wet areas
For floor tile, finish coefficient of friction matters. Look for tiles rated DCOF 0.42 or higher per ANSI A137.1 for wet-area floors.
Where to Find Quality Tile Photography
Five sources beyond manufacturer catalogs:
- Houzz photo galleries — real homes, multiple angles, owner comments
- Pinterest tile boards from design firms — curated by style, easier to filter
- Tile retailer showroom photos on Instagram — actual install photos under varied light
- Magazine websites — Architectural Digest, Dwell, Domino — high-end installations
- Reddit r/HomeImprovement and r/Renovations — honest before-after photos from homeowners
Save 20 to 30 inspiration images before visiting a showroom. Bring them on a tablet so the salesperson can match the look to products you can actually touch.
Sample Before You Buy
Order three to five physical samples and tape them to the wall in your actual room. View them under morning light, midday, evening, and artificial light over a full week before committing to an order. Photos lie — physical samples in real light tell the truth. The pictures of tiles you collect are a starting point for your design vision, but the final purchase decision belongs in front of the actual tile in the actual room.
Prefer to explore on your own?
See how new flooring looks in your actual room in seconds — free, no signup.
Try the free Floor Studio →