Pine has been the default choice for baseboards in American homes for generations, and after installing miles of it I still reach for it on plenty of jobs. Pine baseboard trim is affordable, widely stocked at every lumberyard and home center, light enough to handle solo, and it takes both paint and stain. It is not the perfect material for every situation, but understanding its types, profiles, and quirks will help you decide whether it belongs in your project and how to make it look sharp once it is on the wall. Let me break down what I have learned so you avoid the common mistakes.
The Two Main Types: Finger-Joint and Clear
Walk the trim aisle and you will find pine baseboard in two flavors, and the difference matters. Finger-joint pine is made from short pieces of pine glued end to end with interlocking joints, then almost always primed white at the factory. It is the budget option, it comes dead straight because the short pieces cancel out warping, and it is excellent when you plan to paint. The glue lines vanish completely under paint, so you get a flawless surface for a fraction of the cost of solid stock.
Clear pine, sometimes sold as solid or C-and-better pine, is a single continuous board with few or no knots. It costs more but it is the one to buy if you intend to stain, because you want the natural grain to show without factory glue joints interrupting it. Between those two you will also see knotty pine, which is cheaper solid stock with visible knots, prized for a rustic or cabin look when stained or clear-coated. Match the type to your finish plan before you buy, because a finger-joint board will never take a clean stain.
Profiles and Heights That Actually Sell
Baseboard is sold by height and profile, and the two most common residential heights are the 3-1/4 inch and the 5-1/4 inch. The shorter 3-1/4 inch profile suits older homes, hallways, and rooms with standard 8-foot ceilings where you want a modest, traditional look. The taller 5-1/4 inch base has become the go-to for newer construction and any room with 9-foot or taller ceilings, because a taller wall needs a taller baseboard to stay in proportion. Anything under 3 inches tends to look skimpy against modern drywall.
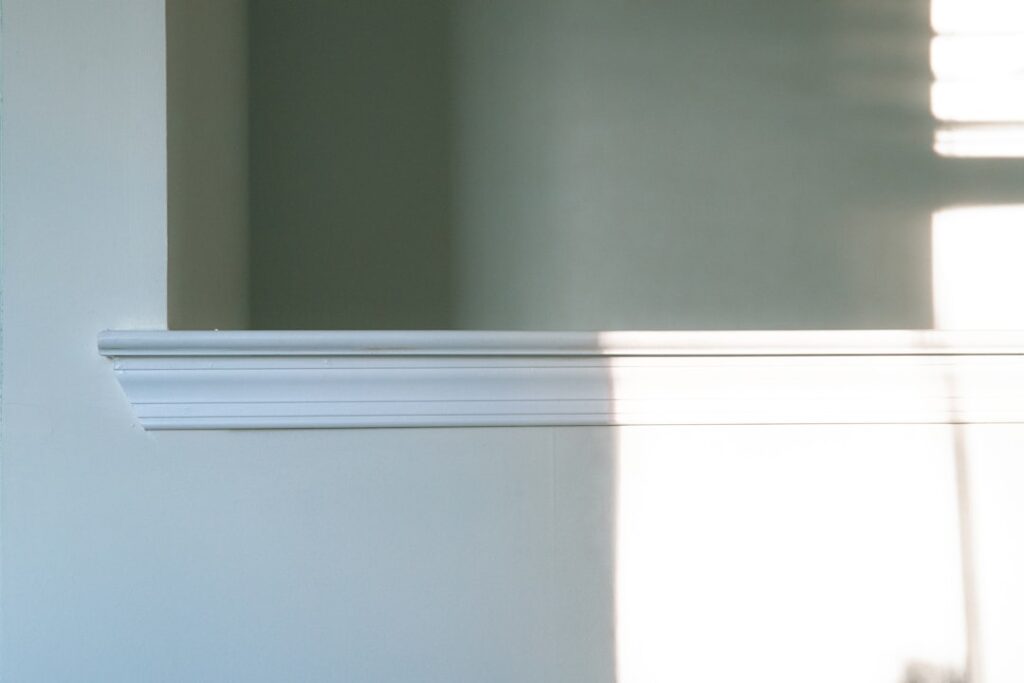
Profiles range from a simple flat one-by with an eased edge to ornate colonial and ogee patterns with a sculpted top. For a clean contemporary room I use a flat or minimally profiled base, while a traditional home calls for a stepped colonial profile. Pine is milled in all of these, so you rarely have to compromise on the look you want.
What Pine Baseboard Trim Costs
Price is one of pine’s biggest advantages. Primed finger-joint pine baseboard runs roughly $1.00 to $2.50 per linear foot depending on height and profile. Clear solid pine for staining costs more, generally $2.50 to $5.00 per linear foot, with the taller and more ornate profiles at the top of that range. To put it in perspective, trimming an average 12-by-12 room takes about 48 feet of base, so you are looking at $50 to $120 in material for a paint-grade room, or a bit more for stain-grade clear pine.
Compared with the alternatives, pine sits in the middle. It is pricier than MDF but far cheaper than poplar or oak, which makes it the sensible pick for a whole-house trim job where the runs add up fast.
Painting vs Staining Pine: Read This First
This is where people get burned, so pay attention. Pine loves paint and fights stain. If you are painting, prime the raw wood or buy pre-primed finger-joint, then know that pine has knots and even primed knots will bleed a yellow-brown resin stain right through your finish coats within months. The fix is to hit every knot with a shellac-based stain-blocking primer such as BIN before your regular primer. Skip that step and you will be repainting to cover ghostly knot stains, guaranteed.
Staining pine is trickier still. Pine is a soft, uneven-density wood, so it drinks stain unevenly and comes out blotchy, especially in the paler areas between the grain. The professional secret is a pre-stain wood conditioner applied 15 minutes before the stain. The conditioner partially seals the thirsty spots so the color absorbs evenly. Even then, expect pine to stain a warmer, more amber tone than a hardwood would. Test your stain and conditioner on a scrap piece before committing to a whole room, because pine’s blotchiness surprises first-timers every time.
Installing Pine Baseboard the Right Way
Installation is straightforward, which is another reason pine stays popular. Cut it with a miter saw, and for a professional look, cope the inside corners rather than mitering them. Coping means cutting the profile of one piece to fit over the face of the adjoining piece, and it produces a tight joint that stays closed even when the corner is not perfectly square, which no corner ever is. Outside corners get a standard 45-degree miter.
Fasten the base with 15-gauge or 16-gauge finish nails driven into the wall studs and into the bottom plate, spacing nails every 16 inches. A finish nailer speeds this up enormously, but you can hand-nail and set the heads with a punch. Once it is up, fill the nail holes with wood filler, caulk the top seam where the base meets the wall and the joints between pieces with a paintable acrylic caulk, then sand and finish. That caulk line is what turns a decent install into a crisp, seamless one.
Buying and Storing Pine Before You Install
One habit separates trim that stays tight from trim that opens up at every joint a month later, and it starts before the first cut. Pine moves with humidity, so let the boards acclimate inside the room where they will be installed for at least three or four days before you nail anything up. Stack them flat off the floor with spacers between layers so air reaches every face. Boards that go straight from a cold, damp garage onto a warm, dry wall will shrink after installation and pull your coped joints apart.
When you are picking boards at the store, sight down the length of each one like a pool cue to catch bows and crowns, and set aside anything with a serious twist because a twisted piece will fight you the entire install. For paint-grade work, buy the pre-primed finger-joint and you can skip a step. For stain-grade, hand-select the clearest, straightest solid boards you can find, since knots and grain irregularities you accept at the rack become the flaws you stare at every day once the base is finished and lit by a lamp.
Pine vs MDF and Poplar
Every trim material is a set of trade-offs. MDF baseboard is cheaper and comes perfectly smooth with no knots to bleed, which makes it wonderful for paint, but it is heavy, it swells permanently if it ever gets wet, and it dents easily. Poplar is a hardwood that paints beautifully and resists dents better than pine, but it costs more and, like pine, it is really only a paint-grade wood since its green streaks make it poor for staining.
Pine’s sweet spot is versatility and value. It is the only common option that credibly does both paint and stain, it handles moisture far better than MDF, and it is light and easy to cut and nail. For a homeowner who wants solid wood, natural stainability, and a friendly price, pine baseboard trim remains the practical, proven choice, provided you respect the knots and prep it properly. Do that, and it will look great and hold up for the life of the house.