Bathrooms punish flooring harder than almost any other room in the house — standing water, humidity swings, dropped shampoo bottles, and daily foot traffic all take their toll. That is exactly why porcelain bathroom floor tile remains the default recommendation from tile setters across the country. Porcelain absorbs less than 0.5 percent of its weight in water, shrugs off stains, and outlasts nearly every competing material when it is installed correctly. This guide walks through what porcelain actually is, what it costs, which sizes and finishes make sense in a bathroom, and the installation details that separate a 30-year floor from a cracked mess.
- What Makes Porcelain Different From Ceramic
- What Porcelain Bathroom Floor Tile Costs
- Slip Resistance: The Spec Most Homeowners Miss
- Choosing a Size and Format
- Installation Details That Determine Longevity
- Grout, Sealing, and Everyday Maintenance
- Heated Floors: Worth Considering Under Porcelain
- Is Porcelain the Right Call for Your Bathroom?
What Makes Porcelain Different From Ceramic
Both porcelain and standard ceramic tile start as clay, but porcelain is made from finer, denser clays fired at higher temperatures — typically 2,200 to 2,500°F versus roughly 1,800 to 2,000°F for ordinary ceramic. That extra heat vitrifies the body of the tile, closing off the microscopic pores that would otherwise soak up water. The Tile Council of North America certifies a tile as porcelain only if its water absorption rate is 0.5 percent or lower.
In a bathroom, that density matters in practical ways. Water that seeps past grout lines cannot saturate a porcelain tile body the way it can with a softer ceramic. Porcelain also resists chipping better, and many porcelain tiles are through-body or color-body, meaning a chip reveals a similar color underneath instead of a stark white or red clay core. The trade-off is workability: porcelain is harder to cut and drill, which is one reason labor quotes for porcelain often run slightly higher than for ceramic.
What Porcelain Bathroom Floor Tile Costs
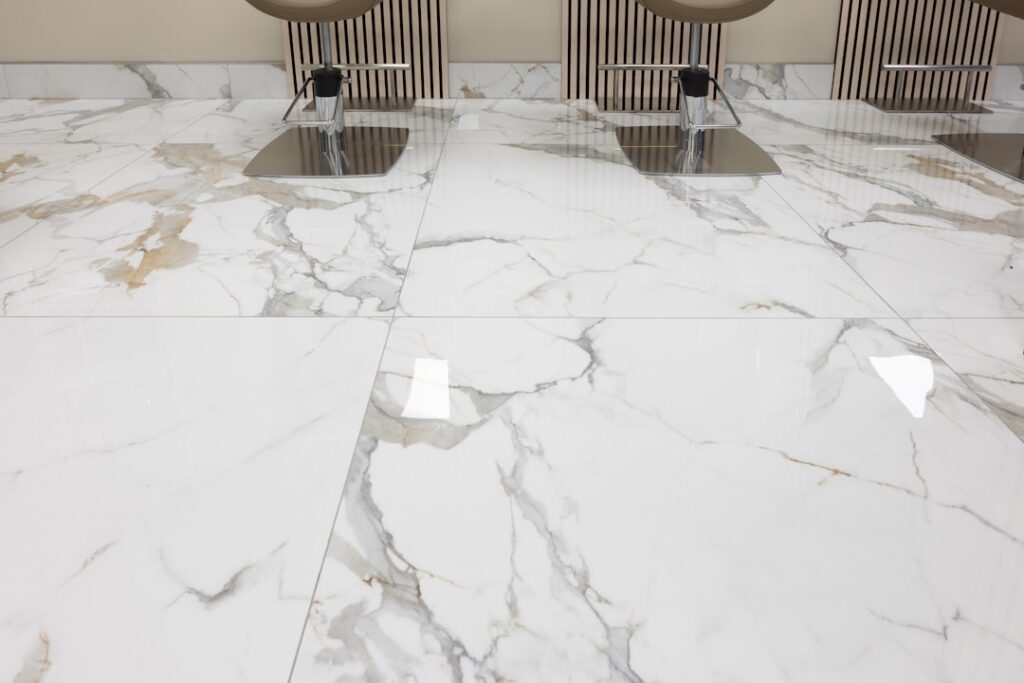
Material prices span a wide range, but most homeowners land between $3 and $10 per square foot for quality porcelain floor tile. Builder-grade options at big-box stores start around $1.50 to $3 per square foot, while designer lines, large-format planks, and marble-look slabs can run $12 to $25 per square foot. Wood-look porcelain planks, one of the most popular bathroom choices right now, typically fall in the $4 to $8 range.
Installation is where the budget really moves. Professional tile labor for a bathroom floor generally runs $7 to $15 per square foot in 2026, and small bathrooms often carry a minimum job charge of $500 to $800 because setup and layout time is the same whether the room is 40 square feet or 120. Add these common line items when budgeting:
- Cement backer board or uncoupling membrane: $2 to $4 per square foot installed
- Old floor tear-out and disposal: $2 to $5 per square foot
- Self-leveling underlayment if the subfloor is out of flat: $2 to $4 per square foot
- Grout, thinset, spacers, and sealer for a DIY job: $75 to $200 for a typical bathroom
All in, a professionally installed 60-square-foot bathroom floor usually totals $900 to $2,000 depending on tile choice and prep work.
Slip Resistance: The Spec Most Homeowners Miss
A glossy polished tile looks stunning on a showroom wall and becomes a skating rink the first time wet feet hit it. For bathroom floors, look for the DCOF (dynamic coefficient of friction) rating printed on the spec sheet or box. The industry standard for level interior floors that get wet is a DCOF of 0.42 or higher. Many manufacturers now market bathroom-appropriate lines as “anti-slip” or grip-finish tile, and matte or textured finishes almost always outperform polished ones.
Tile size plays into slip safety too. Smaller tiles mean more grout joints per square foot, and grout lines add traction. That is why 2-inch hexagons and penny rounds dominate shower floors, where the mosaic format also allows the tile to follow the slope to the drain. For the main bathroom floor, a matte 12×24 or wood-look plank with a DCOF above 0.42 gives you a good balance of easy cleaning and safe footing.
Choosing a Size and Format
Format changes both the look of the room and the difficulty of the install. Here is how the common options stack up in bathrooms:
- 12×24 rectangles: The current standard. Fewer grout lines than 12×12, visually enlarges small rooms, and works with a 33 percent offset pattern to minimize lippage.
- Wood-look planks (6×24, 6×36, 8×48): Warm appearance without wood’s water problems. Longer planks demand a flatter subfloor.
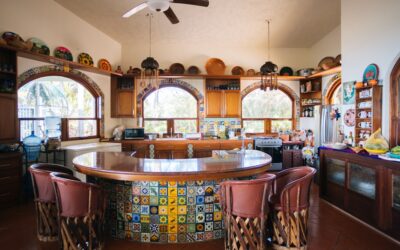
- Hexagons and mosaics: Classic in vintage-style baths and mandatory on most shower pans. Sheet-mounted mosaics install faster than they look.
- Large-format 24×24 and up: Dramatic and seamless, but they require a subfloor flat to within 1/8 inch over 10 feet and a skilled setter.
Rectified tiles — tiles ground to precise dimensions after firing — allow grout joints as tight as 1/8 inch, which reads cleaner and reduces the grout you have to maintain. Non-rectified tile needs 3/16-inch or wider joints to hide size variation.
Installation Details That Determine Longevity
Porcelain itself almost never fails; installations do. The single most common cause of cracked bathroom tile is deflection — a bouncy subfloor flexing under load. Before any tile goes down, the subfloor should meet the L/360 deflection standard, which in practice usually means a solid 3/4-inch plywood or OSB subfloor over joists 16 inches on center, topped with 1/4- or 1/2-inch cement board or an uncoupling membrane such as Schluter DITRA.
Thinset choice matters more with porcelain than with ceramic. Because the tile body is nearly non-porous, it does not absorb moisture from the mortar to create a mechanical bond, so you need a polymer-modified thinset rated for porcelain (look for ANSI A118.4 or A118.15 on the bag). Large-format tile requires back-buttering and a 1/2-inch notched trowel to hit the 80 percent mortar coverage minimum recommended in wet areas.
Finally, plan the layout before mixing any mortar. Center the field on the room’s dominant sight line, avoid slivers narrower than half a tile at the walls, and dry-lay a row in both directions. An hour of layout work saves an ugly cut row in front of the vanity you will stare at for 20 years.
Grout, Sealing, and Everyday Maintenance
Porcelain tile itself never needs sealing, but cement-based grout does — plan on a penetrating grout sealer once a year, or skip the chore entirely by paying a bit more for epoxy or urethane grout up front. Epoxy grout costs $8 to $12 per pound versus $1 to $2 for cement grout, but it is stain-proof and waterproof for life, which is a compelling trade in a bathroom.
Day-to-day care is genuinely easy. Sweep or vacuum grit, then damp-mop with warm water and a pH-neutral cleaner. Skip vinegar, bleach, and oil-based soaps: vinegar slowly eats cement grout, and oily cleaners leave a film that dulls the finish and makes the floor slippery. A nylon brush and an alkaline tile cleaner handle grout lines that have darkened over time.
Heated Floors: Worth Considering Under Porcelain
Porcelain conducts and holds heat well, which makes it the best flooring partner for electric radiant heat mats. An electric heating system for a standard bathroom costs $400 to $800 in materials plus $200 to $500 for an electrician to wire the thermostat, and it transforms the one legitimate complaint about tile — cold feet on winter mornings. If you are already paying for tear-out and new tile, adding radiant heat mid-project costs a fraction of retrofitting it later. Install the mat over the subfloor prep layer, embed it in thinset or self-leveler, and tile directly on top.
Is Porcelain the Right Call for Your Bathroom?
For most bathrooms, yes — porcelain offers the best durability-to-cost ratio of any hard flooring in a wet room. Choose ceramic instead only if budget is extremely tight and the bathroom is a low-traffic powder room. Choose natural stone only if you accept annual sealing and higher cost for the sake of authenticity. Luxury vinyl is the softer, warmer, cheaper alternative, but it cannot match porcelain’s lifespan or resale perception.
Buy 10 to 15 percent extra tile for cuts and future repairs, verify the DCOF rating before you fall in love with a finish, and do not cheap out on subfloor prep. Get those three things right and a porcelain bathroom floor will still look current when everything else in the room has been remodeled twice.
Prefer to explore on your own?
See how new flooring looks in your actual room in seconds — free, no signup.
Try the free Floor Studio →