Hand-watering raised beds is a chore that gets old fast, and it wastes water by soaking foliage instead of roots. The Rain Bird GardenKit raised bed garden drip kit is designed to solve exactly that problem with a pre-planned set of tubing, emitters, and fittings sized for standard raised beds. I installed one across a pair of 4-by-8 cedar beds last spring, and after a full growing season I have a clear sense of where it excels and where you will want to buy a few extra parts. This is a real-world review, not a spec-sheet reprint.
What Comes in the Box
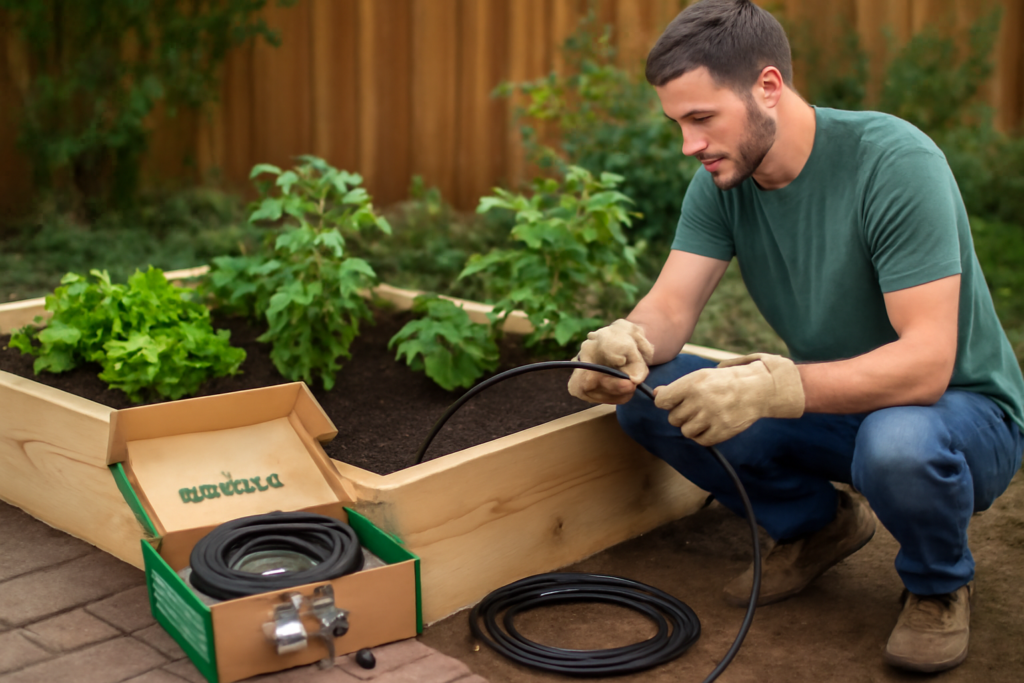
Rain Bird packs the GardenKit to cover roughly 75 square feet of bed space, which lines up with a couple of typical 4-by-8 beds or three or four smaller boxes. Inside you get a 50-foot roll of quarter-inch dripline with pre-installed emitters spaced at 12 inches, a length of half-inch supply tubing, a faucet connection with a built-in filter and pressure regulator, an assortment of tees, elbows, couplings, and end caps, plus tubing stakes to hold everything in place.
The pressure regulator is the part people overlook, and it is arguably the most important piece in the box. Drip systems run on low pressure, around 25 psi, while your house spigot pushes 45 to 80 psi. Without that regulator, the fittings blow apart and emitters spray instead of drip. Rain Bird including it is a genuine quality-of-life win over the bare tubing rolls sold elsewhere.
Coverage and How Far the Kit Stretches
The advertised 75 square feet is honest but tight. If you plant densely, you will want emitter lines running every 12 inches across the bed rather than every 18, and that eats the 50-foot roll quickly. Across two 4-by-8 beds I laid four parallel runs per bed and came up about 15 feet short. A second roll of quarter-inch emitter tubing, which Rain Bird sells for around $18, closed the gap with room to spare.
- One 4×8 bed: the kit covers it comfortably with tubing left over.
- Two 4×8 beds: workable but plan on a supplemental roll for dense planting.
- Three or more beds: buy the kit plus a bulk tubing roll and extra tees up front.
Installation: About an Hour Start to Finish
This is where the GardenKit earns its keep. There is no glue, no cutting threads, and no special tools. You thread the faucet fitting onto your spigot by hand, run the half-inch supply line to the beds, punch holes for the quarter-inch dripline with the included tool, and press the barbed fittings into place. Everything is push-fit.
My first bed took 40 minutes because I was reading the layout diagram. The second took under 20. The trickiest step is punching clean holes in the half-inch tubing without going all the way through the far wall, so go slow and use a firm, twisting motion. Cap the ends, turn the water on to a trickle, and walk the lines checking for leaks or geysers where a fitting did not seat fully.
Watering Performance
Once dialed in, the system delivers water right at the soil surface where roots need it. The 12-inch emitter spacing produces a continuous wetted band along the row rather than isolated wet spots, which matters for leafy crops and root vegetables. Over a July heat wave with temperatures in the mid-90s, a 30-minute run every morning kept tomatoes, peppers, and squash from wilting where hand-watering had struggled to keep up.
Water savings are real. Drip irrigation puts moisture at the base of plants with almost no evaporation loss or runoff, and studies consistently peg the savings at 30 to 50 percent over sprinklers or hose watering. My water bill dropped noticeably even as the garden grew larger.
Add a Timer and Walk Away
The GardenKit does not include a timer, and this is the single upgrade I recommend to everyone. A battery-powered hose timer runs $25 to $40 and screws in between your spigot and the kit’s faucet fitting. Set it for 20 to 30 minutes at dawn and your beds water themselves whether you are home or on vacation. The combination of a drip kit and a timer is the closest thing to a self-sustaining vegetable garden that money can buy at this price point.
Durability After a Full Season
After roughly six months outdoors, the tubing held up well. The quarter-inch dripline stayed flexible and none of the factory emitters clogged, thanks to the inline filter catching sediment. The push-fit connections that I seated firmly at install never leaked. The one weak point is the plastic tubing stakes, which are thin and a couple snapped when I moved lines around. Landscape staples from the hardware store are a sturdier $6 replacement.
Come winter, drain the system and either bring the faucet assembly indoors or wrap it. The regulator and filter are the components most likely to crack from a hard freeze if left charged with water.
How It Compares to a Soaker Hose
Many gardeners reach for a cheap soaker hose before considering a drip kit, so the comparison is worth making. A soaker hose weeps water along its entire length and costs $15 to $25, which is tempting. But soaker hoses water unevenly, delivering far more at the faucet end than at the far end, and they clog with mineral buildup within a season or two. There is no filtration, no pressure regulation, and no way to target water precisely to individual plants.
The Rain Bird GardenKit solves all three problems. The inline filter catches sediment that would clog a soaker, the pressure regulator ensures even delivery from the first emitter to the last, and the pre-spaced emitters put water exactly where you want it. Over a couple of seasons, the drip kit pays for its higher price in even watering, longer service life, and healthier plants. If you have tried a soaker hose and been frustrated by dry spots at the end of the row, the drip kit is the upgrade that fixes it.
Expanding the System Later
One of the underrated strengths of this kit is how easily it grows with your garden. The half-inch supply tubing acts as a backbone you can tap into anywhere with a simple punch and a barbed fitting. As you add beds, you run more supply line off a tee and drop in additional quarter-inch dripline. Rain Bird sells all the components individually, and they are cross-compatible with other quarter-inch drip parts on the market, so you are not locked into one brand for expansion.
I started with the base kit on two beds and over two seasons expanded it to five beds and a row of containers, all running off the same faucet connection. The pressure regulator and filter that come in the kit handle a surprising amount of additional tubing before you would need a second zone. Add micro-sprayers for seedlings, adjustable drippers for individual pots, and end-line flush valves as you grow. The GardenKit is best understood not as a fixed product but as the starter set for a modular system you build out over time.
Is It Worth the Money
The GardenKit typically sells for $35 to $55 depending on the retailer and season. For that, you get a genuinely complete starter system with the crucial pressure regulator and filter already included, which is more than you can say for cheaper generic kits that force you to source those parts separately. The value proposition is strong for anyone running one to two raised beds who wants a clean, reliable install without learning irrigation from scratch.
My honest verdict: buy the kit, add a $30 timer and a spare roll of dripline if you have more than one bed, and you will have a hands-off watering setup that pays for itself in saved time and lower water bills before the season is out. It is not the cheapest way to water a garden, but it is one of the easiest, and the Rain Bird GardenKit raised bed garden drip kit gets the fundamentals right where budget kits cut corners.
One final tip from experience: take a photo of your layout after the first install, noting where each line runs and where the fittings sit. When you expand the system next season or troubleshoot a dry spot, that reference saves you from guessing. The push-fit design makes changes quick, but only if you remember how the plumbing is arranged under the mulch and foliage. A five-minute photo now prevents a frustrating hour of tracing tubing later.