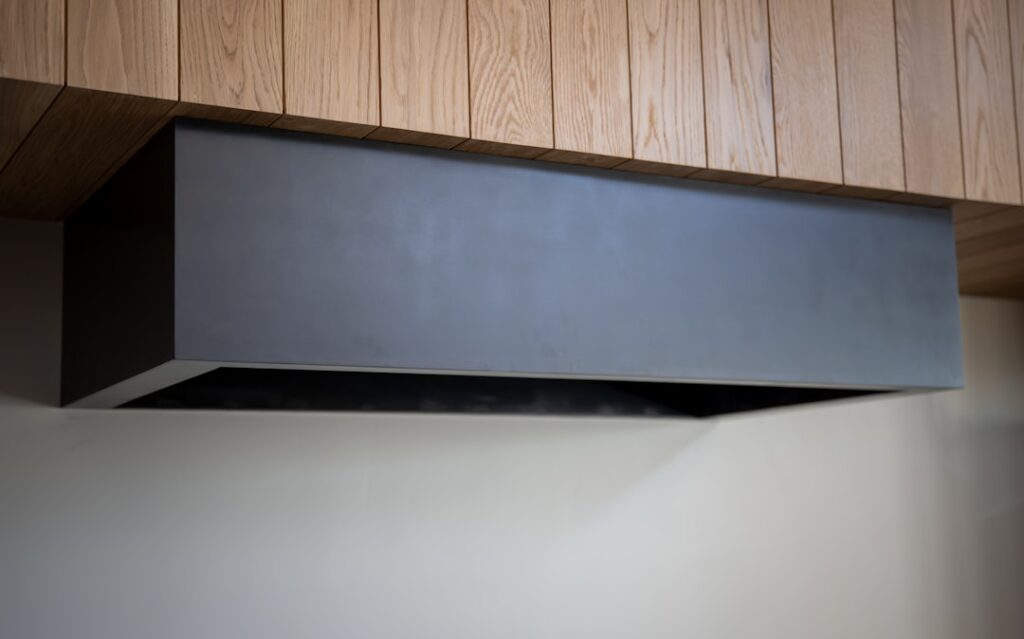
A range hood insert is the working guts of a vent hood, the blower, filters, and lights, built to slide up inside a custom surround you provide. Instead of buying a finished stainless chimney, you buy just the ventilation core and hide it in wood, plaster, or brick.
That is how designers get those seamless custom hoods you see in magazine kitchens. This guide covers what an insert is, how to size and vent one, and what the whole project actually costs.
What a Range Hood Insert Is
Think of the insert as a metal box holding the motor, a captured airflow path, baffle or mesh filters, and LED lights. Unlike a wall-mount or under-cabinet hood, it has no decorative shell. You build or buy a hood enclosure, the cabinetry, and the insert drops in from below so only the underside and controls show.
Also called a hood liner or a power pack, the insert lets you match the hood to any kitchen style. A shaker-panel wood hood, a curved plaster cove, a reclaimed-timber mantel over a range: all of them are just enclosures with an insert doing the real work inside.
Why Choose an Insert Over a Finished Hood
The appeal is design freedom, but there are practical wins too.
- Custom look: the hood matches your cabinetry or becomes a design centerpiece instead of a stainless box.
- Wider sizes: inserts come in large widths for oversized ranges, so a 48-inch pro range gets proper coverage.
- Serviceability: if the blower fails years later, you replace the insert without tearing out the surround.
- Value engineering: a well-built wood surround plus a mid-priced insert can cost less than a premium finished designer hood.
Sizing the Insert
Two dimensions drive the choice: the insert width and the opening in your surround.
The insert should be at least as wide as your cooktop, and capturing 3 inches of overhang on each side works better. Common insert widths are 28, 30, 34, 36, 40, and 46 inches. Match the insert to the cooktop first, then have the surround built with an opening sized to the insert’s cutout dimensions, which the manufacturer lists in the spec sheet. Building the wood hood before you own the insert is a classic mistake that leads to gaps or a unit that will not fit.
Leave clearance around the insert body inside the surround so the blower gets airflow and so filters can be removed for cleaning. Most makers call for a fraction of an inch to an inch of side clearance.
CFM and Airflow
Because inserts often sit under big ranges, they tend to move a lot of air. Ratings commonly run 600 to 1,200 CFM, with some pro-style inserts higher.
Size CFM to your cooking heat. For a gas range, add up all burner BTUs and divide by 100: a 60,000-BTU range wants about 600 CFM, and a 90,000-BTU pro range wants closer to 900. For electric, figure roughly 100 CFM per linear foot of cooktop. A multi-speed insert lets you run low for everyday cooking and open it up for high-heat searing.
One caution: anything moving 400 CFM or more can depressurize a tight, well-sealed house and cause backdrafting of gas water heaters or furnaces. High-CFM inserts of 600-plus often require a make-up air kit that opens a fresh-air damper when the hood runs, and local code may mandate it. Confirm this before you buy a powerful unit.
Ducting the Insert
Ductwork makes or breaks performance. Inserts use larger outlets than small hoods, commonly 6, 8, or 10 inches round depending on CFM, and you must keep the duct at that full diameter to the outside.
- Use rigid smooth metal duct, never flexible foil, to minimize airflow drag.
- Keep the run short and straight; each 90-degree elbow adds resistance like several feet of pipe.
- Do not reduce the diameter to fit an old duct, since choking a 600-CFM insert into a 6-inch pipe wastes the motor you paid for.
- Terminate at an exterior cap with a backdraft damper.
A high-power insert vented through an undersized or twisty duct will be loud and weak, so plan the duct path before you finalize the hood build.
Installation Overview
Fitting an insert is a two-stage job: build the surround, then mount the unit.
- Confirm the insert’s cutout dimensions and duct size from the spec sheet before framing anything.
- Build or buy the hood surround with a support ledge or brackets sized to hold the insert’s weight, which can run 30 to 50 pounds.
- Run the duct and a dedicated or appropriate electrical circuit to the hood location; many inserts hardwire into a junction box, so check whether yours is plug-in or hardwired.
- Lift the insert into the opening from below, secure it to the internal ledge or brackets, and connect the duct transition.
- Wire it, restore power, and test each fan speed and the lights.
Because of the overhead lifting and the wiring, many homeowners have the insert set by a pro even when they build the surround themselves. Budget $200 to $500 for professional installation where ducting already exists.
Common Mistakes to Avoid
A handful of errors show up again and again on insert projects, and every one of them is preventable.
- Building the surround first: frame the hood before you own the insert and you risk an opening that is the wrong size. Buy the insert, read its cutout spec, then build.
- Choking the duct: connecting an 8 or 10-inch outlet to a 6-inch pipe strangles the airflow. Match the duct to the outlet all the way outside.
- Skipping make-up air: a 600-plus CFM insert in a tight house needs a fresh-air path, or it will backdraft your water heater.
- No filter access: if the surround boxes the insert in too tightly, you cannot drop the baffles to clean them. Leave clearance.
- Undersized support: a 40-pound insert needs a solid ledge or steel brackets, not a couple of trim screws into thin plywood.
What a Range Hood Insert Costs
Insert-only prices span a wide band based on width and airflow. Basic 30-inch inserts around 400 to 600 CFM run $200 to $400. Mid-range 34 to 42-inch units with 600 to 900 CFM land at $400 to $800. Pro-grade wide inserts pushing 1,000-plus CFM reach $800 to $1,500.
Then add the surround. A stock or semi-custom wood hood runs $300 to $1,200, while a fully custom plaster or specialty build can go well beyond that. Make-up air kits, if required, add $200 to $600 plus install.
Maintenance and Longevity
Keep the baffle filters clean by pulling them every 2 to 4 weeks and running them through the dishwasher; grease-loaded filters kill airflow and are a fire risk over a hot range. Wipe the visible underside and controls as part of normal kitchen cleaning.
A quality insert lasts many years, and when the blower finally wears out you simply drop in a new range hood insert without disturbing the surround you built. That serviceability is one more reason the insert approach earns its place in a well-planned kitchen.
Is an Insert Right for Your Project?
Go with an insert if you want a custom hood that matches your cabinetry, you are running a wide or high-output range that needs serious airflow, or you value being able to service the ventilation without demolition down the road. The design freedom alone sells most people, and the ability to hit 900 or 1,000 CFM under a pro range is hard to match with a finished off-the-shelf hood.
Stick with a finished wall-mount or under-cabinet hood instead if you want the simplest possible install, you do not need a custom look, and you would rather not coordinate a cabinetmaker with the ventilation. But if a bespoke hood is part of your kitchen vision, the insert is the correct tool: plan the duct, size it to your cooktop, build the surround to the spec sheet, and address make-up air, and you will end up with a centerpiece that vents as well as it looks.