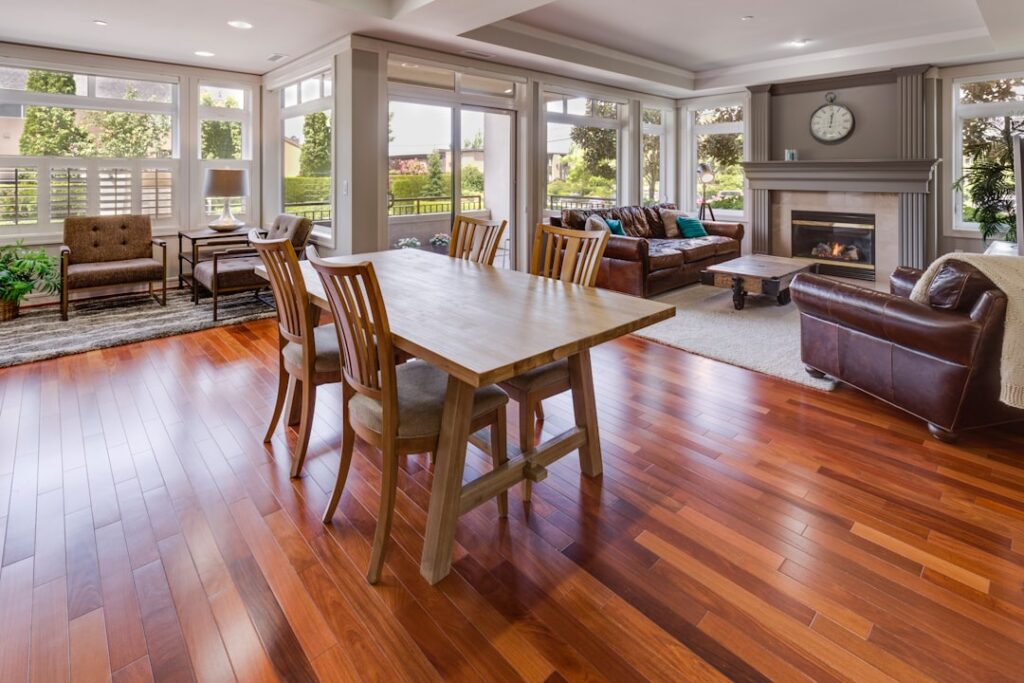
Refinishing your own wood floors can save thousands of dollars, and the first real decision is where and how to rent a hardwood floor sander. Renting the right machines, understanding the rental cost, and knowing how to run them without gouging your floor are what separate a showroom result from an expensive mistake.
This guide walks through the rental process step by step: which sanders you actually need, what they cost per day, where to get them, and the exact technique to sand a room evenly. Do it right and a typical living room can go from tired and gray to freshly finished in a weekend.
What Machines You Need to Rent
Most DIY floor refinishing jobs require two machines, not one. Renting only a drum sander is the classic rookie error because it cannot reach edges or corners.
- Main sander. You have two choices here. A drum sander removes material fast and is best for very worn or previously finished floors, but it is aggressive and unforgiving. An orbital or random-orbit floor sander (often sold as a U-Sand or Clarke OBS) is far more forgiving, leaves fewer marks, and is the better pick for first-timers.
- Edger. A handheld disc edge sander gets within about a half inch of walls, under cabinet toe-kicks, and around door casings where the big machine cannot reach.
- Corner tools. A detail sander, oscillating multi-tool, or a hand scraper finishes the tight corners the edger misses.
For beginners refinishing a floor in decent shape, many pros now recommend renting an orbital sander plus an edger instead of a drum. You give up a little speed but you dramatically lower the risk of sanding a permanent dish or chatter mark into the wood.
Where to Rent a Hardwood Floor Sander
You have several solid options, each with tradeoffs:
- Big-box home centers. Home Depot and Lowe’s rent floor sanders, edgers, and buffers from their tool rental desks in many stores. Convenient, predictable pricing, and you can grab sandpaper in the same trip.
- Independent rental yards. United Rentals, Sunbelt, and local equipment-rental shops often carry higher-end, better-maintained drum and belt sanders. Staff tend to be more knowledgeable about grit sequences.
- Flooring specialty stores. Some hardwood dealers rent professional-grade sanders and sell matching finish, which is handy if you want expert advice under one roof.
Call ahead. Popular machines get reserved, especially on weekends, and you want to confirm the shop has the edger and enough sandpaper before you load up.
What It Costs to Rent
Rental prices vary by region and machine, but these ranges are typical:
- Drum or orbital floor sander: $50 to $75 for four hours, $60 to $110 per day, or $200 to $350 per week.
- Edge sander: $25 to $45 per day.
- Sandpaper: $2 to $6 per sheet or disc; budget $40 to $90 in abrasives for an average room since you step through multiple grits.
- Deposit: $100 to $200, refundable, sometimes held on a credit card.
All in, a weekend rental for one or two rooms usually runs $150 to $300 including paper. Compare that to $3 to $8 per square foot for professional refinishing, and a 300-square-foot room that would cost $900 to $2,400 to hire out can be done yourself for a few hundred dollars plus finish.
Sandpaper and Grit Sequence
Buy your abrasives when you rent the machine, and buy more than you think you need. Most rental desks refund unopened paper. A standard grit progression is:
- 36 or 40 grit to strip old finish and level the surface.
- 60 grit to remove the scratches from the first pass.
- 80 or 100 grit for the final smoothing before finish.
Never skip more than one grit at a time or you will leave scratches the next pass cannot erase. Change worn paper often; a dull belt burnishes rather than cuts and leaves a blotchy floor that will not take stain evenly.
Step-by-Step Sanding Technique
Preparation makes or breaks the job. Follow this sequence:
- Prep the room. Remove furniture, pull shoe molding, and countersink any protruding nails with a nail set. A single nail head can shred a belt and gouge the machine.
- Ventilate and mask. Seal doorways with plastic and painter’s tape, open a window, and wear a respirator rated for dust plus hearing and eye protection.
- Start the machine moving. With a drum sander, always be walking forward or backward before you lower the drum, and lift it before you stop. Letting a spinning drum sit still burns a divot into the wood in seconds. Orbital sanders are far more forgiving and can rest in place.
- Sand with the grain. Work in the direction of the boards in long, overlapping passes, overlapping each pass by about one-third the machine width. Keep a steady, slow walking pace.
- Edge the perimeter. After each grit pass with the main machine, use the edger with the same grit around the walls so the edges match the field.
- Repeat through the grits. Vacuum thoroughly between grits so grit from a coarse pass does not scratch the next finer pass.
- Final tack. Vacuum, then wipe with a lightly damp cloth or tack cloth before applying finish.
Common Mistakes to Avoid
A rented sander is powerful enough to ruin a floor, so watch for these pitfalls:
- Pausing a running drum sander. The number-one cause of gouges. Keep it moving.
- Sanding across the grain. Cross-grain scratches show badly under finish, especially with stain.
- Using worn paper too long. It burns and glazes the wood.
- Skipping grits. You will see swirl and scratch marks after the finish coat dries.
- Forgetting the edger and corners. A perfect field with rough edges looks unfinished.
How Much Floor Can You Do in a Day?
A confident DIYer can sand a 200- to 400-square-foot room in a single day, including edging and corners. Add time for larger areas, heavily damaged wood, or old adhesive residue. Plan a full weekend for one or two rooms: sanding on day one, then finish coats over the following days with proper dry time between coats. Return the machines clean and on time to get your deposit back and avoid extra-day charges.
When you pick up the machines, ask the rental desk for a quick demonstration and confirm the belt or disc size so you buy the correct sandpaper. It also pays to reserve the sander for a full day rather than a four-hour window, since first-timers almost always work slower than they expect and a rushed job leads to gouges. Load the machines carefully too: a drum sander can weigh over 100 pounds, so bring a helper and a hand truck, and protect your vehicle’s interior from the residual dust these machines carry back from the yard.
Frequently Asked Questions
Is a drum sander or orbital sander better to rent?
For first-timers, an orbital or random-orbit sander is safer because it is much harder to gouge the floor. A drum sander cuts faster and is better for badly worn or heavily coated floors, but it demands careful technique.
Do I need to rent an edger too?
Yes, almost always. The main floor sander cannot reach within a half inch of walls, so an edge sander is essential to blend the perimeter with the rest of the floor.
How much does it cost to rent a hardwood floor sander for a weekend?
Expect roughly $150 to $300 for a weekend, including the main sander, an edger, and sandpaper. That is still far cheaper than professional refinishing on a typical room.
Rent the right pair of machines, buy plenty of grit, keep the sander moving, and work with the grain. Do those four things and your rented sander will leave you with a floor that looks like a pro refinished it, at a fraction of the price.
Prefer to explore on your own?
See how new flooring looks in your actual room in seconds — free, no signup.
Try the free Floor Studio →