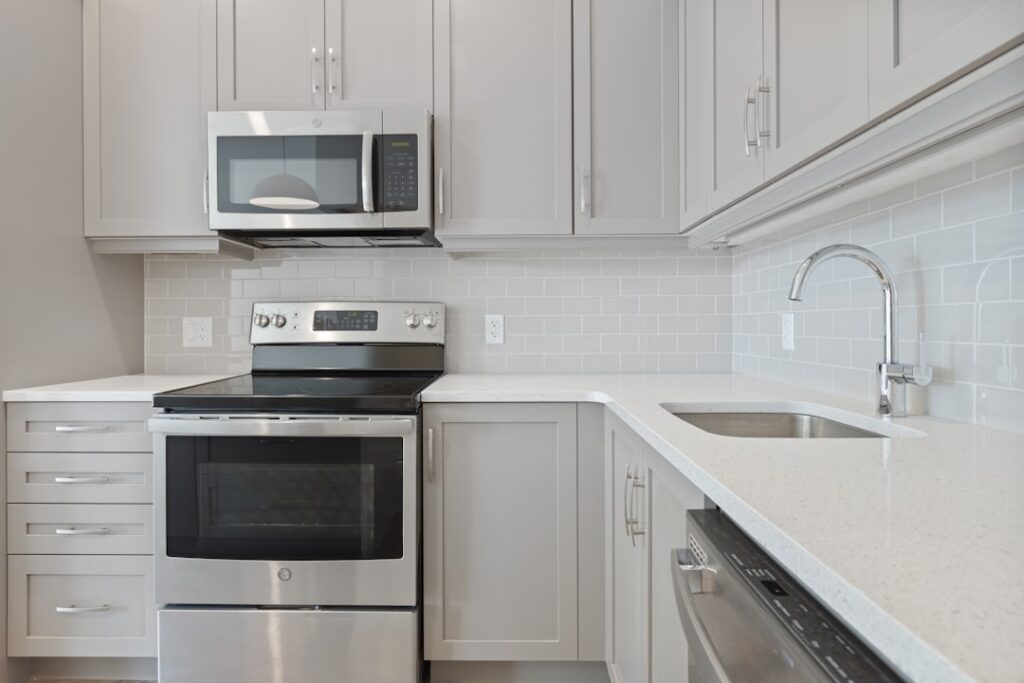
A neglected granite countertop will absorb a single drop of red wine in 90 seconds, and that stain is usually permanent. Routinely resealing granite counters is the single most important maintenance habit a homeowner can build, and it takes 20 minutes once a year for most kitchens. The catch is knowing when to reseal, which sealer to use for your specific stone, and how to apply it without leaving streaks or hazing. This guide walks through every step the way a stone fabricator would do it.
Part of our Countertops guide — explore the full guide →
- The Water Test That Tells You When to Reseal
- How Often Different Granites Need Sealer
- Choose the Right Sealer Type
- Materials and Tools You Need
- Step-by-Step Application
- Common Mistakes That Ruin the Job
- How to Test Sealer Effectiveness After 48 Hours
- Daily Care That Extends Sealer Life
- Stains That Can Still Happen Through Sealer
- When to Call a Pro
- Bottom Line
The Water Test That Tells You When to Reseal
Before buying any product, run the water test. Pour a quarter-sized puddle of water on the countertop and let it sit for 5 minutes. Then wipe it dry and look at the stone:
- Stone is unchanged: Sealer is still working. Skip the reseal.
- Slight darkening that fades within 5 minutes: Sealer is wearing thin. Reseal within the next month.
- Dark spot that persists 10+ minutes: Sealer is gone. Reseal this weekend.
Run this test in three or four spots — around the sink, near the stove, on the prep area, and a remote corner. Wear varies by location, and you’ll often find the cooktop side needs sealer twice as often as the dining-side overhang.
How Often Different Granites Need Sealer
Granite porosity varies dramatically by color and origin. Use these intervals as a starting point, then adjust based on water tests:
- Black granites (Black Galaxy, Absolute Black): Every 3 to 5 years. Very dense, low porosity.
- Mid-tone granites (Verde Butterfly, Uba Tuba): Annually.
- White and light granites (Kashmir White, Bianco Antico): Every 6 to 12 months.
- Highly variegated stones with natural fissures: Every 6 months in heavy-use kitchens.
Choose the Right Sealer Type
Three categories cover the consumer market:
Topical sealers sit on the surface and create a film. Cheap but they wear visibly and leave streaks. Skip them.
Penetrating impregnating sealers soak into the stone and form a hydrophobic barrier. The right pick for almost every kitchen. Look for fluoropolymer-based products like Stone Tech BulletProof, MB-4, or Granite Gold Sealer.
Permanent enhancers like StoneTech Enhancer Pro both seal and deepen the color, mimicking a wet look. Worth considering if you’ve always wished your stone were a touch richer.
Materials and Tools You Need
Resealing granite counters takes minimal gear. Have these on hand:
- Bottle of penetrating sealer (16 to 32 oz covers a typical kitchen).
- Two clean, lint-free microfiber cloths.
- Small spray bottle (some sealers come in spray; if not, transfer some).
- Paper towels for cleanup.
- pH-neutral stone cleaner (Method, Granite Gold, or just warm water).
- Painter’s tape if you want to protect grout lines or backsplashes.
Step-by-Step Application
The whole process takes 30 minutes, plus 24 hours of cure time:
- Clean the counter thoroughly with a pH-neutral stone cleaner. Remove all food residue, water spots, and oils.
- Let the stone dry completely — 4 hours minimum. Damp stone won’t absorb sealer.
- Apply the sealer in even passes. Spray or pour about 1 oz per square foot, then immediately spread with a microfiber cloth.
- Wait 5 to 10 minutes per the bottle instructions. The sealer should appear glossy as it absorbs.
- Apply a second coat the same way for porous stones (white, beige, gold tones).
- Wipe off all excess with the second clean microfiber cloth before the sealer dries on the surface. This is critical — leftover sealer creates streaks and a hazy film.
- Don’t use the counter for 24 hours. No water, no food prep, no cleaning. Full cure takes 48 to 72 hours.
Common Mistakes That Ruin the Job
Three errors show up repeatedly and force a redo:
The first is skipping the wipe-off step. Sealer that dries on top of the stone hazes and looks worse than no sealer at all. Strip with mineral spirits and start over if this happens.
The second is sealing damp stone. Water in the pores prevents the sealer from penetrating. Same outcome — surface haze.
The third is using the wrong cleaner afterward. Vinegar, lemon, ammonia, and bleach all strip stone sealer. Switch to pH-neutral cleaners or plain water with a microfiber cloth.
How to Test Sealer Effectiveness After 48 Hours
Once cured, run the water test again. The water should bead up like rain on a freshly waxed car. If you still see slight darkening, apply a third coat. Some highly porous white granites need two or even three full applications during the first sealing.
Daily Care That Extends Sealer Life
Habits matter as much as the seal itself. Wipe spills within 60 seconds. Use coasters under wine glasses, oil bottles, and citrus juice. Clean weekly with pH-neutral spray. Avoid abrasive scrubbers — even a green Scotch-Brite pad will scratch the sealer.
Stains That Can Still Happen Through Sealer
Even properly sealed granite isn’t bulletproof. Three categories of staining still occur:
- Oil stains: Cooking oils slowly penetrate even good sealer over hours. Wipe immediately.
- Etching from acids: Lemon juice, vinegar, and tomato sauce can dull the polish above the sealed layer.
- Heat damage: Direct contact with hot pans (above 480°F) can crack the polished surface.
For an oil stain that has set in, mix flour and acetone into a paste, apply over the spot, cover with plastic wrap, and let sit 24 hours. The poultice draws the oil out of the stone.
When to Call a Pro
Most kitchens can handle resealing themselves, but call a stone restoration specialist when you see deep etching, cracks, or persistent stains that don’t respond to a poultice. Pro restoration costs $5 to $12 per square foot but can save a damaged slab from full replacement at $50 to $150 per square foot.
Bottom Line
Consistent resealing granite counters every 6 to 12 months, paired with daily care, keeps a $5,000 stone counter looking like the day it was installed for 25 years or more. Skip the routine and the same counter looks tired by year three. The choice takes 20 minutes a year.