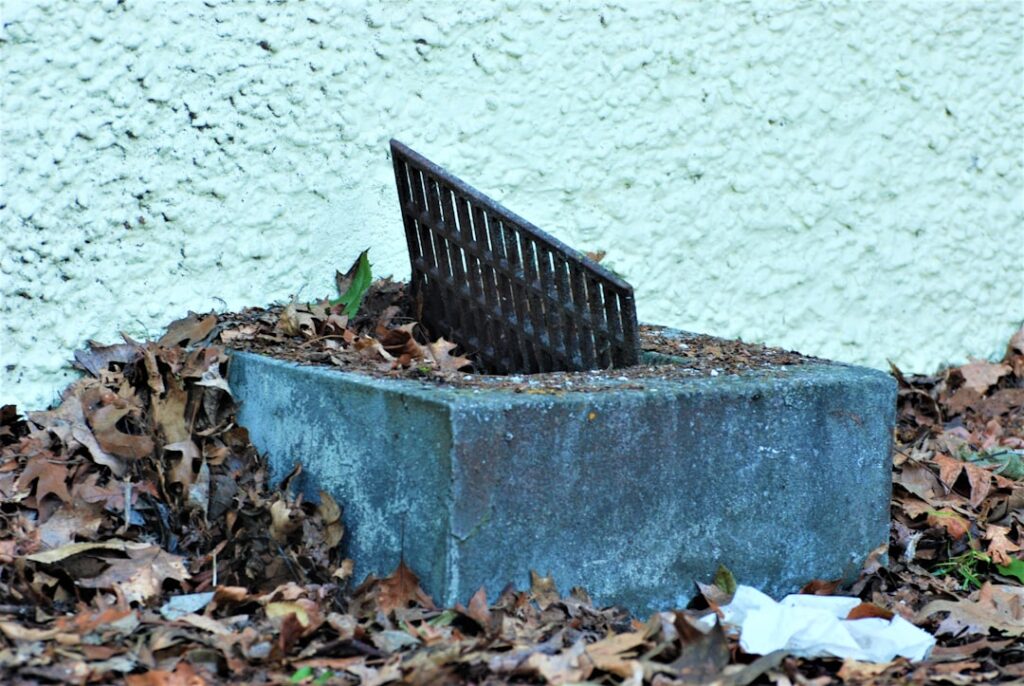
Retaining walls almost never fail because the blocks were weak. They fail because water had nowhere to go. A proper retaining wall drain outlet — the visible end of a buried drainage system that collects water behind the wall and discharges it somewhere harmless — is the difference between a wall that stands plumb for fifty years and one that bows, cracks, and leans within ten. Saturated soil pushes on a wall with roughly double the force of dry soil, and in freeze climates, trapped water becomes an ice ram. Every part of the drainage assembly exists to keep that pressure from ever building, and the outlet is the part most walls get wrong.
Hydrostatic Pressure: Why Walls Actually Fail
Soil alone pushes laterally on a wall — that is the load walls are designed for. Add water and the physics turn ugly: water filling the soil pores exerts its own pressure (62.4 pounds per cubic foot of head) on top of the soil load, and it lubricates the soil so more of the mass mobilizes against the wall. A 4-foot wall designed for drained soil sees its lateral load roughly double when the backfill saturates after a wet week. Clay soils are the worst offenders, holding water against the wall for days and swelling as they do. Winter finishes the job: water trapped behind the wall freezes, expands 9 percent, and jacks the wall outward a little more every cycle. Bowed block walls, horizontal cracks in poured walls, and walls rotating at the top all trace to the same root cause. Drainage is not an accessory to wall design — it is half the design.
The Perforated Pipe: Placement Rules
At the heart of the system is a perforated collection pipe running the wall’s length. The rules that matter:
- Elevation: At or just above the wall’s base — behind the bottom course of block or at the footing heel — never halfway up. Water drains to the lowest point; a high pipe leaves a saturated zone below it doing exactly the damage you built the pipe to prevent.
- Pipe type: 4-inch rigid PVC (SDR-35 or Schedule 40) with two rows of holes laid downward outlasts and outperforms corrugated black poly, which crushes under compaction and sags into bellies that trap silt. Corrugated is acceptable on short garden walls; rigid is the pro spec.
- Holes down, not up. Counterintuitive but correct: water enters from the saturated gravel below and around the pipe, and holes-down lets the pipe pick up water at the lowest possible elevation.
- Slope: 1 percent minimum (1/8 inch per foot) toward the outlet. Long walls should crown in the middle and fall toward outlets at both ends.
- Wrap: A filter-sock pipe or a fabric-wrapped gravel zone — one or the other, and the gravel-zone wrap (below) is the better engineering.
The Gravel Zone and Filter Fabric
Pipe without a proper gravel envelope is a drain in name only. The backfill column directly behind the wall must be free-draining stone: a minimum 12-inch-wide chimney of 3/4-inch clean, angular, washed gravel (ASTM #57 stone is the standard call-out — “clean” meaning no fines) running from the pipe at the base up to within 6 to 12 inches of grade. Crusher run, road base, and anything with dust in it defeats the purpose — fines migrate, clog, and turn your drain zone into concrete-adjacent sludge. The top of the gravel gets capped with 6 inches of compacted native soil or topsoil to shed surface water toward — not into — the wall zone.
Filter fabric (non-woven geotextile, 4-ounce class) belongs between the gravel and the native soil: run it up the excavation’s soil face, then over the top of the gravel chimney like a burrito wrap. Its job is keeping soil fines out of the gravel and pipe for the wall’s lifetime. Two placement mistakes appear constantly: fabric against the back of the wall (wrong side — it belongs at the soil interface), and no fabric over the top of the gravel, which lets surface silt wash straight down into the drain zone and clog it from above within a few seasons.
Outlet Options: Getting Water Out
Collection means nothing without discharge, and the outlet is where systems succeed or quietly fail:
- Daylight ends are the gold standard — the pipe simply exits at grade past the end of the wall, where the ground falls away. Gravity does everything, nothing clogs invisibly, and inspection means looking at the pipe end. Protect it with a rodent grate and mark it so string trimmers and mulch do not bury it. If your site slopes at all, engineer the pipe run to daylight.
- Weep holes — openings through the wall face — are the traditional supplement: 2-inch minimum diameter, spaced every 6 to 8 feet along the bottom course, with gravel behind each opening. On segmental block walls the unmortared joints weep on their own; poured and mortared walls need them cast or drilled in. Weeps alone (no base pipe) are adequate only for short garden walls under about 3 feet; they clog, they dribble onto whatever is in front of the wall, and they cannot move the volume a saturated tall wall produces. Treat them as backup relief, not the system.
- Pop-up emitters serve flat sites where nothing daylights: the perforated pipe transitions to solid pipe, runs to a low point in the lawn, and terminates in a spring-loaded pop-up (NDS is the common brand, about $15) that opens under flow. They work, with caveats — the buried elbow needs a sump of gravel to drain the standing water between storms (critical in freeze climates), and the emitter needs occasional cleaning. A French-drain connection to an existing yard drain system or, as a last resort, a dry well sized for your soil’s percolation are the other flat-site answers. Never tie the wall drain into a foundation footing drain or a municipal sanitary line.
Retrofitting Drainage Into an Existing Wall
An existing wall showing water stress can often be saved without rebuilding, in escalating order of effort. First, cut off the supply: extend downspouts past the backfill zone, regrade the surface above the wall to shed water away, and add a shallow swale or surface drain uphill to intercept runoff before it reaches the wall — this alone rescues many marginal walls. Second, drill weep holes: 1-1/2-to-2-inch holes through the face at the bottom course every 4 to 6 feet, angled slightly upward into (ideally) whatever gravel exists behind; sleeve them with pipe and screen. Third, the serious retrofit: excavate a trench along the back of the wall down to the base, install the full pipe-gravel-fabric assembly described above, and backfill properly — essentially rebuilding the drainage half of the wall while leaving the structure standing. That costs a fraction of wall replacement and is standard practice when a good wall got bad backfill. A wall already bowed more than an inch or two needs structural help (anchors, regrading, or rebuild) alongside the drainage; drainage stops progression but does not pull a wall back.
Signs of Drainage Failure
Walls announce drainage trouble before they fail. Take these seriously in roughly this order of urgency: persistent damp patches or algae streaks on the wall face days after rain (water is passing through the structure because it cannot get out any other way); efflorescence — white mineral crust — blooming across block or concrete; weep holes or outlet pipes that never flow even in storms (clogged system, not a dry site); soil subsiding in a trench line behind the wall (fines washing into the gravel zone, meaning the fabric was skipped); frost heave scalloping at the base each spring; and finally bulging, leaning, or a horizontal crack — the pressure has arrived. Catch the problem at the damp-patch stage and the fix is downspouts and a drilled weep. Catch it at the bulge and you are pricing anchors. Walk your walls the day after the next heavy rain; ten minutes of looking is the cheapest drainage inspection there is.