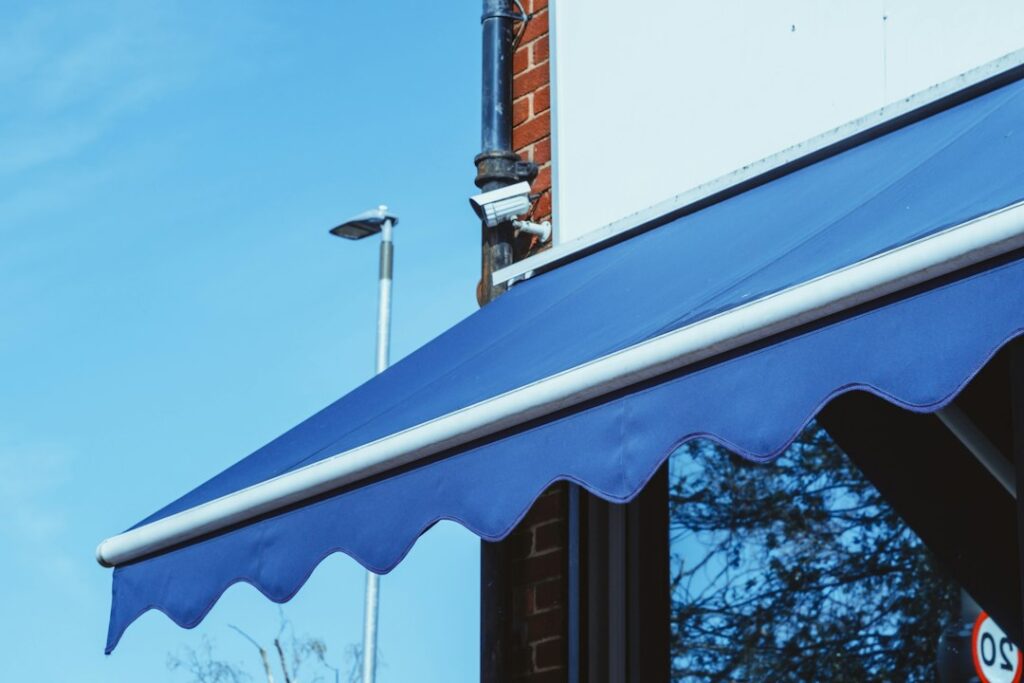
A retractable awning looks light, but a fully extended 12 foot arm assembly works like a long lever pulling on the house every time the wind catches it. That is why most failures trace back to the mounting, not the fabric or motor. Good retractable awning installation comes down to three things: bolting the brackets into real structure (studs, a header or the rim joist), sealing every penetration against water and setting the pitch so rain runs off instead of pooling.
A typical manual awning can be installed by two capable people in a day if the wall has solid framing in the right place. Motorized units add a power requirement that belongs to a licensed electrician. Brick and stucco walls, soffit mounts and roof brackets each add their own complications, and second story installs are a job for a professional crew with proper staging.
- How Retractable Awning Installation Works
- Choosing a Mount: Wall, Soffit or Roof
- Finding Studs, Headers and the Rim Joist
- Fasteners for Wood, Brick and Stucco
- Tools and Materials
- Step-by-Step Installation
- Ladder and Lifting Safety
- Wiring a Motorized Awning
- Troubleshooting After Installation
- Wind Safety and Care
- Cost Ranges
- When to Call a Licensed Professional
- Frequently Asked Questions
Here is how mounting choices work on different walls, the tools you need, a step-by-step sequence and the point where hiring retractable awning installers is the smarter call.
How Retractable Awning Installation Works
Every retractable awning has a front bar, folding lateral arms, a roller tube that holds the fabric and a set of mounting brackets. The brackets carry the entire weight of the unit plus the leverage from the arms when the awning is open. On a 16 foot wide awning with 10 foot projection, the assembly can weigh well over 100 pounds before wind adds force.
Manufacturers specify how many brackets to use, where they go relative to the arms and what kind of structure each must hit. Read that sheet before you buy hardware. It overrides any general advice, and following it is usually a condition of the warranty.
Choosing a Mount: Wall, Soffit or Roof
Wall Mount
The most common and usually strongest option. Brackets attach directly to the exterior wall above a door or window. You need at least 8 to 10 inches of clear wall above the opening for the brackets and roller housing, plus enough height that the front bar clears heads when the awning is at its chosen pitch. On a single story home, the ideal spot is often the band of framing just under the eave.
Soffit Mount
When there is no room on the wall, brackets can attach under the eave overhang. Soffit material itself (vinyl, aluminum or thin plywood) holds nothing. The brackets must reach the rafter tails or added blocking above the soffit. This often means removing soffit panels to install solid blocking between rafters, then reinstalling the panels around the brackets.
Roof Mount
Roof brackets clamp over or bolt through the roof to reach rafters, letting the awning sit beyond the gutter line. They work on low-slope roofs or where eaves are too shallow, but every roof penetration needs proper flashing and sealant. Roof mounts are the most leak-prone option and usually best left to a pro familiar with roofing.
Finding Studs, Headers and the Rim Joist
On a wood-framed house, brackets need to land in framing, not just sheathing. A stud finder helps through siding, but it can mislead. Confirm with a small test hole hidden where the bracket will cover it. Studs usually sit 16 inches on center, although bracket spacing rarely lines up perfectly with them.
Better options often exist. The header above a sliding door or wide window is a solid band of lumber. On a two story house, the rim joist (the board that caps the floor framing between stories) runs the full width of the wall and gives a continuous target for lag bolts. Where brackets fall between studs, a common solution is a mounting board: a pressure-treated ledger bolted into every stud it crosses, with the brackets then attached to the ledger. Seal the ledger behind with flashing so water cannot run behind it.
Fasteners for Wood, Brick and Stucco
- Wood framing: hot-dip galvanized or stainless lag bolts, typically 3/8 or 1/2 inch diameter, long enough to penetrate several inches into solid framing. Predrill pilot holes to avoid splitting.
- Brick: drill into the brick itself, not the mortar joints, and use sleeve anchors, wedge anchors or chemical (epoxy) anchors rated for the load. Brick veneer has an air gap behind it and may not carry the load alone; through-bolting to framing behind the veneer or using a structural backer is often needed.
- Stucco: stucco is a thin finish over sheathing. Bolts must pass through to framing behind it. Use spacer blocks or standoffs so brackets bear on solid material without crushing the stucco, and seal around every hole.
- Concrete block: wedge or epoxy anchors into solid-grouted cells, or through-bolts with plates where hollow cells cannot hold.
Drilling brick, block or stucco creates fine silica dust. Wear eye protection and at least an N95 respirator, and drill with a hammer drill and masonry bits sized exactly to the anchor.
Tools and Materials
- Two sturdy extension ladders or a work platform, plus a helper
- Stud finder, 4 foot level, chalk line and tape measure
- Drill and hammer drill with wood and masonry bits
- Socket set or impact driver for lag bolts
- Lag bolts, masonry anchors or through-bolts per the manual
- Exterior sealant and flashing tape or metal flashing
- Pressure-treated mounting board if needed
- Safety glasses, gloves and dust mask
Step-by-Step Installation
- Plan the height and pitch. Decide how far the awning will project and how low the front bar can sit. A drop of roughly 2 to 3 inches per foot of projection sheds rain well. Mark the bracket line with a level and chalk line.
- Locate structure. Mark studs, header or rim joist positions. Adjust bracket spacing within the manufacturer’s allowed range or install a mounting board.
- Predrill and flash. Drill pilot holes, apply sealant into each hole and use flashing where a board or bracket sits against siding.
- Mount the brackets. Drive lag bolts snug, check level across all brackets, then tighten fully. Recheck level; a bracket that is off by even 1/4 inch makes the roller bind.
- Lift the awning. With at least two people on secure ladders, lift the unit into the brackets and fasten the locking bolts. Keep the awning strapped closed until it is secured; the arms are spring loaded and can snap open with real force.
- Set the pitch. Adjust the arm shoulders per the manual so the awning opens at the planned angle.
- Test. Open and close several times, checking that the fabric rolls straight and the arms fold fully.
Ladder and Lifting Safety
Awning installs put people high on ladders with heavy, awkward loads, which is a classic recipe for falls. Set extension ladders on firm, level ground at about a 4 to 1 angle (one foot out for every four feet up), extend them at least 3 feet above the working edge and keep three points of contact. Never stand on the top rungs. A two-person lift means one person per end, each on a stable ladder, with no one reaching sideways beyond the rails. For any second story wall or roof mount, hire a pro with scaffolding or a lift. The fall risk is not worth the savings.
Wiring a Motorized Awning
Motorized awnings need power at the motor end, usually a weatherproof outlet or a hardwired connection. Running a new circuit or adding an outdoor outlet is work for a licensed electrician, and it typically requires a permit. Outdoor outlets must be GFCI protected and fitted with an in-use (bubble) weatherproof cover.
If you are connecting a plug-in motor to an existing outlet, or touching anything in an electrical box, first turn off the breaker and confirm power is off with a non-contact voltage tester. Never work on or test a live circuit. Some awnings use a low-voltage motor and transformer; others run on standard 120 volt line voltage. Line-voltage connections should be done by an electrician. Wind and sun sensors are usually wireless or low voltage and can be mounted by a homeowner following the manual.
Troubleshooting After Installation
Fabric rolls up crooked: the brackets are out of level or the roller is not centered. Recheck level and adjust.
Water pools on the fabric: the pitch is too shallow. Increase the drop at the arm shoulders.
The awning sags at one end: one arm’s pitch setting differs from the other, or a bracket is pulling loose. Stop using the awning and inspect fasteners immediately if any bracket moves.
Motor does not respond: check the breaker and GFCI reset, then the remote batteries. Beyond that, call the electrician or dealer rather than opening the motor housing.
Leaks inside near the brackets: a penetration is not sealed. Remove, reseal and add flashing.
Wind Safety and Care
Retractable awnings are shade devices, not storm shelters. Retract the awning whenever winds pick up, during rain heavy enough to pool and any time you leave home. A wind sensor that retracts motorized units automatically is well worth adding. Clean the fabric with mild soap and water, let it dry fully before retracting for long periods and inspect the brackets every spring.
Cost Ranges
Professional installation of a standard wall-mounted unit commonly adds a few hundred dollars to the purchase, more for brick, stucco, soffit blocking or roof brackets. Electrical work for a new outdoor outlet is an additional cost that varies by distance to the panel. DIY saves labor but not hardware; budget for upgraded fasteners, flashing and a mounting board if your framing does not line up.
When to Call a Licensed Professional
Hire experienced retractable awning installers for second story or roof mounts, brick veneer, stucco over unknown framing, soffit installs that need blocking, or any awning over about 14 feet wide. A licensed electrician should handle new circuits, outdoor outlets and hardwired motors. Some towns require a permit for awnings or for the electrical work, and HOAs often regulate color and projection, so check both before ordering.
Frequently Asked Questions
Can I install a retractable awning myself?
A manual awning on a single story wood-framed wall is a reasonable DIY job for two people with solid ladder skills. Masonry, stucco, roof mounts, second story walls and motor wiring are better left to professionals.
How high should a retractable awning be mounted?
High enough that the front bar clears about 7 feet at its lowest point when extended at your chosen pitch. On most single story homes that means mounting 8 to 10 feet above the patio.
Can a retractable awning be mounted on vinyl siding?
Yes, but the bolts must pass through the siding into framing, and a mounting block or spacer is needed so the bracket sits flat without crushing the siding.
Does a motorized awning need a dedicated circuit?
Most residential awning motors draw little power and can share a circuit, but the outlet must be GFCI protected and weatherproof. A licensed electrician can confirm what your panel and code allow.
Should I retract my awning in the rain?
Light rain is usually fine if the pitch is steep enough to shed water. Retract it in heavy rain, wind or snow to protect the fabric and the mounting.