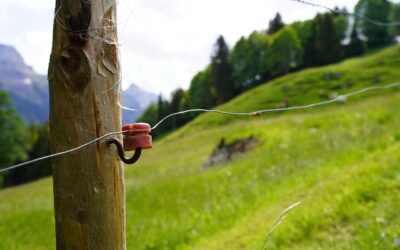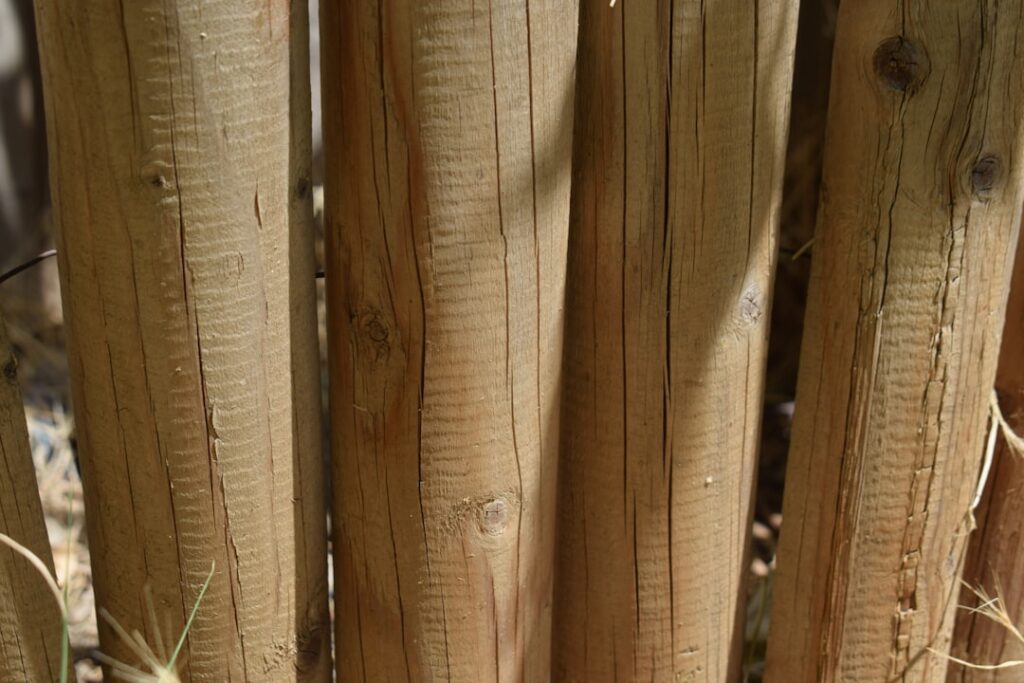
Square posts read formal and manufactured, but there is a reason ranches, vineyards, and rustic properties reach for a different shape entirely. Round wood fence posts bring a natural, timeless look while offering real structural advantages, since a cylinder distributes stress evenly and has no weak corners to split. Whether you are building a rail fence, a wire enclosure for livestock, or a privacy fence with a country feel, understanding post diameter, wood type, and proper setting depth is what separates a fence that lasts 20 years from one that leans after two.
Part of our Decks & Outdoor guide — explore the full guide →
Why Choose Round Posts
Round posts are not just an aesthetic choice; the shape delivers genuine performance benefits. Their geometry and typical manufacturing method give them an edge in certain applications.
- Even strength: A round cross-section has no corners, so stress spreads uniformly and the post resists splitting.
- Natural look: Ideal for rustic, ranch, farmhouse, and woodland properties.
- Peeled from whole logs: Many round posts retain the strong outer wood rather than being cut from a larger timber.
- Versatility: Works for split-rail, post-and-wire, board, and privacy fences alike.
Square posts still dominate formal privacy fences where flat pickets attach cleanly, but for rail, wire, and rustic styles, round posts are often both stronger and better looking.
Common Diameters and Their Uses
Post diameter should match the load the fence will carry. A decorative garden border needs far less than a corner post anchoring a run of tensioned wire. Choosing too thin is a frequent mistake that leads to leaning and snapping.
- 2.5 to 3.5 inches: Light-duty line posts for wire or low rail fences.
- 4 to 5 inches: Standard line posts for most residential rail and privacy fences.
- 5 to 7 inches: Corner, gate, and end posts that bear the most stress.
- 8 inches and up: Heavy corner and brace posts for livestock and high-tension fencing.
The rule of thumb: corner, end, and gate posts always go up a size or two from your line posts, because they carry the tension and swing loads that make or break a fence.
Wood Types and Treatment
Since fence posts spend their lives partly buried in wet soil, the wood species and its rot resistance determine longevity above all else. The ground line is where posts rot first, so this choice is critical.
Pressure-Treated Pine
The most common and affordable option, pressure-treated pine is infused with preservatives rated for ground contact. Always confirm the post is labeled “ground contact” or “UC4,” not just “above ground,” since standard treatment rots quickly when buried. Expect 20 to 30 years from a properly rated post.
Cedar and Cypress
Naturally rot- and insect-resistant, cedar and cypress posts weather to a handsome gray and need no chemical treatment. They cost more than treated pine and, in constant ground contact, may not outlast a top-rated treated post, but they excel above grade and for a natural look.
Black Locust and Osage Orange
These dense hardwoods are the champions of rot resistance and can last 50 years or more in the ground. They are heavy, hard to work, and regionally available, but for a fence you never want to rebuild, they are unmatched.
How Deep to Set Posts
Setting depth is the single biggest factor in whether your fence stays plumb. The classic rule is to bury at least one-third of the post’s total length, and always below the frost line in cold climates.
For a standard fence, that means a 6-foot-tall fence needs posts about 9 feet long, with 3 feet in the ground. In regions with deep frost, the hole must extend below the frost depth, sometimes 3 to 4 feet, or freeze-thaw heaving will push the posts up and out over the winters. Corner and gate posts often go deeper still because of the extra load they bear.
- Line posts: One-third of length buried, minimum 2 feet, below frost line.
- Corner and gate posts: Deeper and wider holes, often 3 feet or more.
- Hole diameter: Roughly three times the post diameter for a solid concrete collar.
Setting Posts: Concrete vs Gravel
How you backfill the hole is a genuine debate among fence builders, and both methods work when done right. The choice affects drainage, which affects how fast the buried wood rots.
Concrete gives the strongest, most immovable set and is standard for gate and corner posts. The catch is that concrete can trap water against the post if it forms a cup around the base, accelerating rot. To avoid this, slope the top of the concrete collar away from the post so water sheds off, and add a few inches of gravel at the very bottom of the hole for drainage.
Tamped gravel, by contrast, lets water drain freely away from the post and is favored in rainy climates for line posts. It is easy to reset if a post fails and keeps the wood drier. Many builders compromise: gravel for line posts, concrete for the high-load corners and gates.
Installation Best Practices
A methodical process keeps your fence line straight and your posts plumb. Rushing leads to a wavy fence that no amount of good lumber can fix.
- Set the corner and end posts first, then run a string line between them as your guide.
- Space line posts evenly, typically 6 to 8 feet apart, marking each hole along the string.
- Dig holes to depth with a manual digger, powered auger, or rented skid-steer auger.
- Add gravel at the base, set the post plumb with a level on two sides, and brace it.
- Backfill with concrete or tamped gravel, checking plumb again before it sets.
- Let concrete cure fully, usually 24 to 48 hours, before attaching rails or wire.
Attaching Rails and Fencing to Round Posts
Round posts pose one small challenge that square posts do not: their curved surface makes attaching flat rails and panels slightly trickier. Knowing the standard techniques keeps your fence tight and professional-looking.
- Split-rail fences: Use posts pre-drilled with mortise holes that accept the tapered rail ends, the traditional and cleanest method.
- Wire and mesh: Staple or clip wire directly to the round post; the curve actually helps tension wrap around corners.
- Flat rails or boards: Attach a flat cleat or bracket to the post first to create a level mounting surface, or notch the post to seat the rail.
- Board privacy fences: Fasten horizontal 2×4 stringers to the posts with brackets, then attach vertical pickets to the stringers.
For livestock fencing, round posts and woven wire are a classic pairing because the wire tensions smoothly around the cylindrical surface without the wire snagging on corners. Pre-drilled mortise posts are the gold standard for a rustic split-rail look and require no hardware at all.
Extending Post Life
Since the buried section rots first, a few preventive steps at installation dramatically extend how long your posts last. These small efforts pay off in years of added service and fewer replacements down the line.
Even with ground-contact-rated wood, treat any cut ends with a copper-based wood preservative before setting, because cutting exposes untreated inner wood that the factory treatment never reached. Some builders apply a coat of preservative or wrap the below-grade portion in a protective membrane for extra insurance. Ensure water drains away from the post base rather than pooling; a gravel bed at the bottom of the hole and a sloped concrete collar both help. Above grade, a quality exterior stain or sealer applied every two to three years protects the exposed wood from UV and moisture, keeping the posts sound and attractive. With ground-contact treated pine or a naturally durable species like cedar, and these precautions, your posts can easily outlast the rails and pickets they support.
Building a Fence That Lasts
Round wood fence posts combine rustic character with real structural strength, making them a smart pick for rail, wire, and country-style fences. Size your posts to the load, going thicker for corners and gates, and choose a ground-contact-rated or naturally rot-resistant wood so the buried section survives the decades. Set every post at least a third of its length deep and below the frost line, slope any concrete to shed water, and set your corners first to keep the line true. Follow those fundamentals and your fence will stand straight and solid long after a carelessly built one has started to lean.