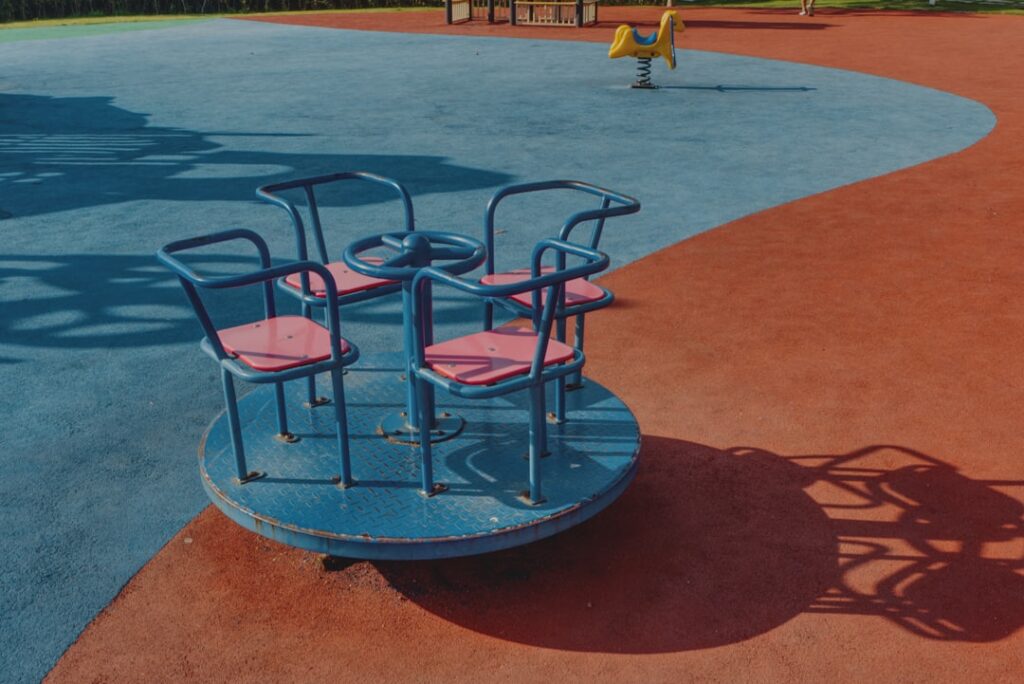
When a school, daycare, or homeowner needs a safe surface under a swing set or climber, rubber playground flooring tiles are almost always the smartest answer. These interlocking tiles combine measurable fall protection with a clean, low-maintenance, ADA-accessible surface that loose fill materials like wood chips and pea gravel simply can’t match. Getting the specification right, meaning the correct thickness for your equipment height, the right rubber blend, and a proper base, is what separates a surface that prevents injuries from one that merely looks the part.
How These Tiles Protect Against Falls
The entire point of a rubber safety surface is impact attenuation, its ability to absorb the energy of a child hitting the ground. This is governed in the United States by ASTM F1292, which measures a Critical Fall Height, the maximum height from which a fall onto that surface is unlikely to cause a serious head injury. Every legitimate playground tile is tested and rated to a specific fall height, and matching that rating to your tallest piece of equipment is non-negotiable.
Thickness drives the rating directly. A 1.5 to 2 inch tile typically protects for falls up to about 4 ft, a 2.5 to 3.25 inch tile handles roughly 6 to 8 ft, and thicker 4.25 inch tiles are rated to 10 to 12 ft. Measure the highest accessible surface a child can stand on, a platform, the top of a climber, or the swing seat height, and buy the tile rated at or above that number. Under-specifying to save money defeats the entire purpose of the surface.
EPDM Versus SBR Rubber
Most playground tiles are built in two layers: a resilient SBR (styrene-butadiene rubber) base made from recycled tire crumb for shock absorption, topped with a colored EPDM (ethylene propylene diene monomer) wear layer. SBR is durable and economical but only comes in black, so it’s used where it won’t show. EPDM is a virgin synthetic rubber that holds bright, UV-stable color, resists fading, and provides the finished appearance and top-surface durability.
You’ll see three grades on the market. All-black SBR tiles are the cheapest and fine for utility areas or where you’ll cover them. EPDM-topped tiles add color and better weathering at a moderate premium. Full-depth EPDM tiles are the most expensive and most colorfast but rarely necessary for a playground, since the SBR base does the shock work invisibly. For most installations, an EPDM-topped SBR tile is the right balance of safety, color retention, and cost.
Meeting ADA and Accessibility Requirements
Unitary rubber surfaces have a major advantage over loose fill: they are firm, stable, and slip-resistant enough to be accessible under the ADA and the CPSC Public Playground Safety Handbook. A wheelchair rolls across bonded rubber tiles easily, whereas it bogs down in wood chips or sand. For any public playground, at least a portion of the route and use zones must be accessible, and rubber tiles satisfy that requirement out of the box.
Beveled ramp edge pieces are part of that accessibility. Where the tile field meets a lower surface, sloped border ramps eliminate the trip and roll hazard of an abrupt 2 to 4 inch edge. When you order, include perimeter and corner ramp tiles in your quantity; they’re a small line item that’s easy to forget and essential for both safety and ADA compliance. Skipping them leaves an exposed vertical edge that fails inspection and creates a tripping hazard.
What They Cost and How to Budget
Expect rubber playground tiles to run roughly $8 to $20 per sq ft for the tiles themselves, with the price climbing as thickness and EPDM content increase. Thin 1.5 inch black tiles sit near the bottom, while 4.25 inch color-topped tiles for tall equipment reach the top. Ramp border pieces cost more per unit than field tiles, and adhesive, if you glue the installation down, adds another $0.50 to $1.50 per sq ft.
Compare that to alternatives honestly. Poured-in-place rubber costs $15 to $25 per sq ft installed but requires specialized crews; loose fill like engineered wood fiber is cheaper up front at $1 to $3 per sq ft but demands constant topping up and raking to maintain its rated depth. Tiles land in the middle on price but win on lifespan and low maintenance, often lasting 8 to 15 years, and their modular nature means you can replace a single damaged tile instead of the whole surface.
Installation and the Critical Base
These tiles are only as safe as what sits under them. The ideal base is a compacted, level, well-draining substrate: a concrete or asphalt slab is best, but a properly compacted aggregate base also works for many products. The surface must slope slightly, about 1 to 2 percent, so water drains rather than pools, and it must be flat, because voids and high spots under the tiles create weak points that compromise the fall rating.
Tiles connect edge to edge, most commonly with hidden plastic dowels or interlocking puzzle profiles, and are either loose-laid over a stable base or glued with polyurethane adhesive for permanent installations. Over concrete, gluing is standard and prevents shifting. A crew can typically lay several hundred square feet in a day. The one step people botch is base prep; a rushed, uneven base telegraphs through the tiles and undermines both the safety rating and the tidy appearance you paid for.
Maintenance, Weather, and Lifespan
Compared with loose fill, upkeep is minimal. Sweep or blow off debris, hose down periodically, and inspect seams and edges a few times a year for lifting or gaps. There’s no raking, no annual refilling, and no hiding place for sharp objects or animal waste the way there is in wood chips or sand. That reduced labor is a real budget factor for schools and municipalities managing many playgrounds.
Rubber handles temperature swings well but has limits. Dark surfaces get hot in direct summer sun, so light-colored EPDM tops and some shade help in hot climates. Quality EPDM resists UV fading for many years, while cheaper tiles chalk and lighten faster. In freeze-thaw regions, good drainage under the tiles prevents heaving. Expect a well-installed surface to last 8 to 15 years, and because it’s modular, a torn or worn tile is a quick, inexpensive swap rather than a full replacement.
Use Zones and Coverage Requirements
Fall height dictates thickness, but the surface also has to cover the right area. The CPSC guidelines call for a protective use zone extending at least 6 ft in every direction around stationary equipment, and much farther around swings, where the zone reaches roughly twice the height of the pivot to the front and rear. Tiling only directly beneath a climber and stopping short leaves a child unprotected exactly where they’re most likely to land after a running fall.
Plan your square footage around those zones, not just the equipment footprint. For a typical backyard swing set this can mean surfacing several hundred square feet, which is why homeowners sometimes combine a full-thickness tile field under the equipment with a thinner border in the outer reaches of the zone. Sketch the layout, mark the fall zones, and calculate coverage before ordering so you don’t discover the protected area is too small after installation.
Choosing the Right Tile for Your Site
Start with your tallest equipment, choose a tile rated for that fall height, and never trade down on thickness to save money, since that’s the one specification injuries hinge on. Then pick your rubber grade, EPDM-topped SBR for most jobs, add ramp borders for every exposed edge, and confirm the base can be made flat and free-draining. Verify the product carries current ASTM F1292 test documentation before you buy.
Done right, rubber playground flooring tiles give you a surface that protects children from serious falls, welcomes wheelchairs, drains itself, and shrugs off years of hard use with almost no maintenance. For homeowners building a backyard play area or facilities managers outfitting a public park, they remain the most reliable, code-friendly, and cost-effective safety surface on the market, provided you match the thickness to the height and prepare the base properly.
Prefer to explore on your own?
See how new flooring looks in your actual room in seconds — free, no signup.
Try the free Floor Studio →