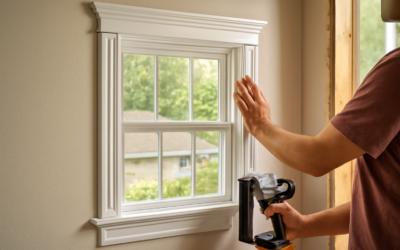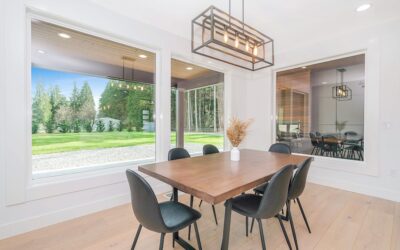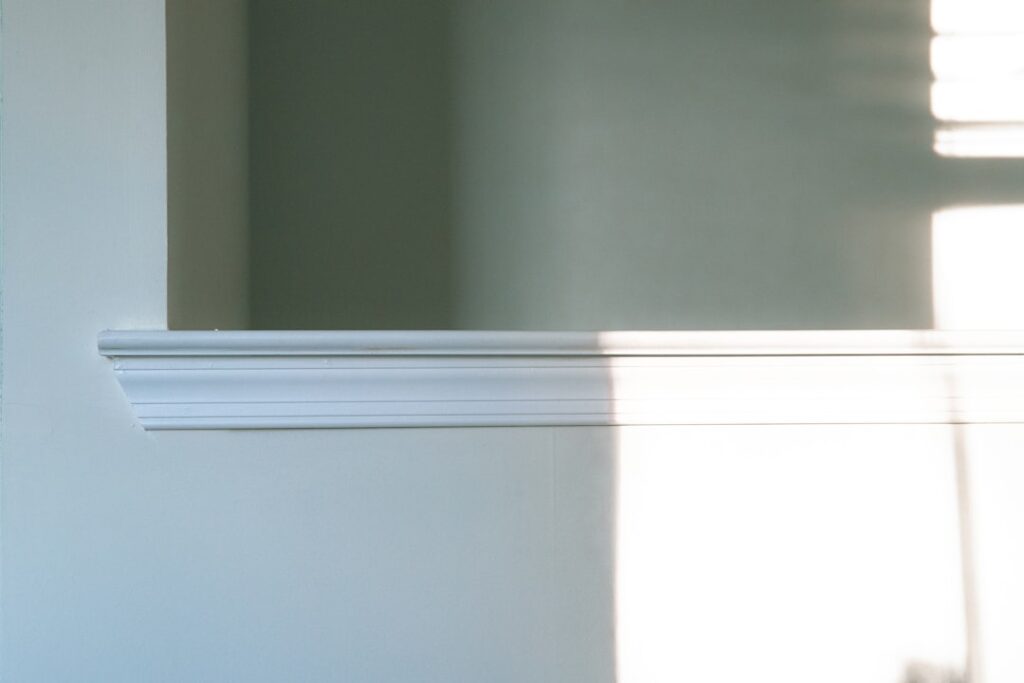
Few details transform a room faster than swapping out builder-grade colonial casing for chunky knotty pine or reclaimed barnwood. Rustic window trim brings warmth, texture, and intentional character to spaces that otherwise feel flat — and unlike cabinet replacements or floor refinishing, it’s a weekend project a confident DIYer can complete for $40-150 per window. The trick is choosing the right wood, profile, and finish for the rest of your home.
Part of our Windows & Doors guide — explore the full guide →
What Defines Rustic Trim
Rustic trim is identified by visible knots, prominent grain, hand-hewn texture, or distressed surfaces. Mill-run colonial casing is sanded smooth and milled to crisp 90-degree edges. Rustic trim deliberately keeps imperfections — saw marks, hairline checks, and irregular edges — that give each piece a one-of-a-kind look.
Profiles tend to run thicker than standard casing. Where suburban builder trim is typically 2-1/4 inches wide, rustic profiles often start at 3-1/2 inches and can reach 5-6 inches for craftsman-style applications. The thickness pulls the eye and visually grounds large windows.
Best Wood Species
Knotty alder is the most popular choice and runs $3-5 per linear foot. It takes stain evenly, has prominent knots, and machines easily. Alder is soft, so it dents under impact, which is actually a feature in rustic settings — every ding adds character.
Knotty pine runs $1.50-3 per linear foot and is the budget pick. The knots are larger and the wood is more dimensionally stable than alder. Pre-sand any pitch pockets before staining to avoid sticky spots.
Reclaimed oak, walnut, or chestnut from old barns runs $8-20 per linear foot but delivers texture and patina that no new wood can replicate. Be sure suppliers have de-nailed and kiln-dried the stock — green reclaimed wood will twist within months.
Profile Options
The simplest rustic profile is a flat 1×4 or 1×6 board with mitered corners or butted joints. This farmhouse-style approach reads clean and lets the wood character do the work. Material cost for an average 36″x48″ window: about $15-25 in pine.
Craftsman-style trim adds a head casing — a 1×6 or 1×8 board capped with a 1×2 or beveled cap — that creates a strong horizontal line above the window. This profile works especially well on bungalows and turn-of-the-century homes.
For a primitive or cabin look, leave saw-roughened lumber unsanded and accept the rough texture. Source from local sawmills rather than big-box stores.
Stain and Finish Choices
The stain you choose makes or breaks the rustic look. Steer clear of orange-toned stains like Golden Oak — they read dated. Better choices include Minwax Special Walnut, Provincial, or Early American, which all give warm but restrained brown tones.
For weathered gray, mix one steel-wool pad in white vinegar for 24-48 hours to make iron acetate. Brushed onto raw oak, it produces an authentic gray that mineral stains can’t match. Seal with a flat polyurethane or hardwax oil like Rubio Monocoat to lock in the color without gloss.
If you’re after a whitewashed cabin look, dilute white latex paint 1:3 with water and wipe on with a rag, removing immediately. Two thin coats beat one heavy coat every time.
Installation Step-by-Step
Most rustic profiles install with the same techniques as standard casing, with one key difference — the joints. Mitered corners work for thinner stock, but butted joints with a wide head casing actually look more authentic on chunky rustic trim.
- Remove existing trim using a 5-in-1 painter’s tool and a wide putty knife to protect the drywall.
- Check the window jamb is flush with the drywall. Shim or plane if needed; gaps over 1/4 inch require a back band.
- Cut your side casings to length with a 5/16 inch reveal off the jamb edge.
- Pre-stain or pre-paint all pieces before installing — it’s nearly impossible to cut stain in cleanly later.
- Nail with 16-gauge finish nails into the jamb (1-1/2 inch) and 15-gauge into the studs (2-1/2 inch).
- Set nails 1/16 inch below the surface and fill with stainable wood putty for stained finishes.
Common Mistakes to Avoid
Don’t sand rough lumber smooth — you’ll lose the character that justifies the rustic look. Knock off splinters and high spots with 80-grit, but stop there.
Don’t mismatch trim styles within sight lines. If your window casing is rustic alder, the door casing in the same room should be too. Mixing styles between visible openings reads as accidental rather than intentional.
Don’t underestimate finish steps. Bare wood absorbs moisture from indoor humidity swings, leading to cupping. Always seal all six sides of each piece — including end grain — before installation.
Pairing Trim with Walls and Floors
Rustic window trim looks best against simpler wall finishes — limewashed plaster, board and batten, or matte paint in earthy neutrals. Avoid busy wallpaper that competes with the wood grain. On floors, wide-plank engineered hardwood, hand-scraped laminate, or natural stone tile all complement the trim style without fighting for attention.
Budget the project realistically. A typical home with 12 windows will run $500-1,800 in materials plus a weekend or two of labor. The result is a noticeable upgrade in every room — and a feature appraisers and buyers respond to when it’s time to sell.
Coordinating with Door Casings and Baseboards
Trim that stops at the windows and reverts to colonial casing on doors looks unfinished. Plan a phased project that updates door casings to match within the same room, even if you tackle other rooms later. Baseboards don’t always need to match — many farmhouse and craftsman designs intentionally pair chunky window casings with simpler tall baseboards. The connection point between casing and baseboard often calls for a plinth block, a chunky rectangular piece that visually anchors the corner.
If your existing baseboards are 3-1/4 inch colonial profile, consider replacing them with a 5-1/2 inch or 7-1/4 inch flat board topped with a small cap. The visual weight matches modern rustic trim without the cost of full custom millwork. Material runs about $1.50-2.50 per linear foot in primed pine.