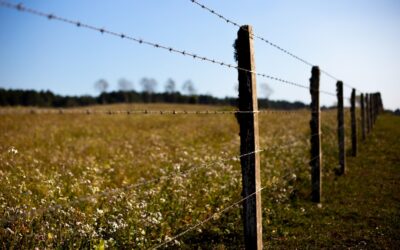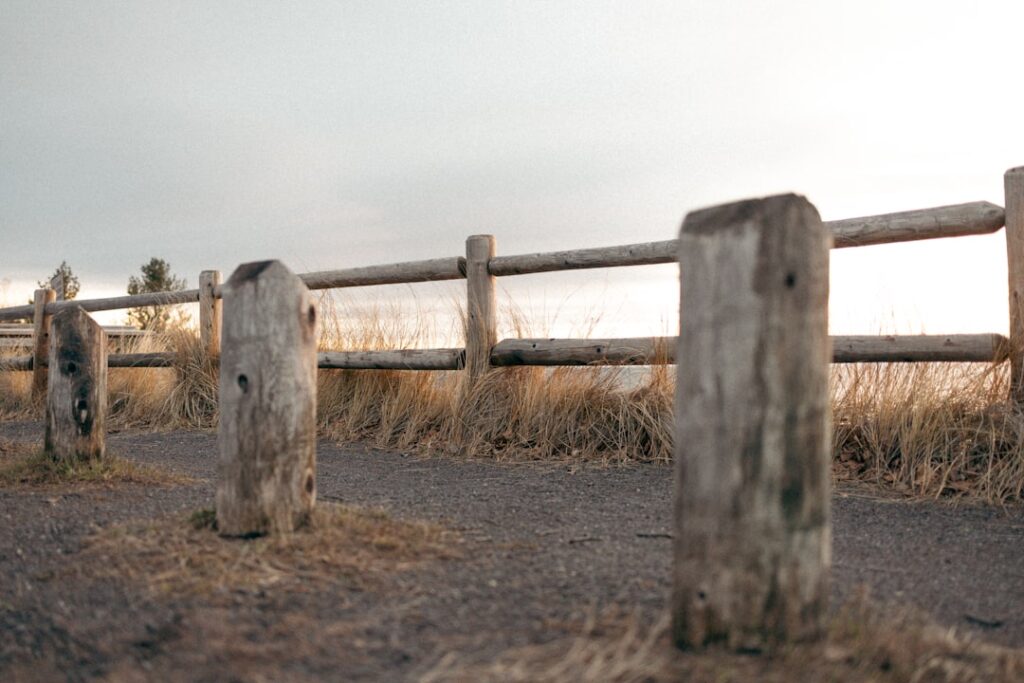
Concrete has long been the default for anchoring fence posts, but it is not always the best choice, and plenty of experienced builders skip it on purpose. Setting fence posts without concrete can actually make wood posts last longer, since concrete traps moisture against the wood and accelerates rot right at the ground line where posts fail first. The alternatives, packed gravel, tamped soil, and expanding foam, install faster, cost less or about the same, drain better, and make future post replacement far easier. This guide covers the three main no-concrete methods, the hole depth and drainage that make them work, and which one to choose for your fence.
Part of our Decks & Outdoor guide — explore the full guide →
Why Skip the Concrete
Concrete feels permanent and strong, but it has a hidden downside for wood posts. A concrete collar forms a bowl that collects water, and the wood sitting in that damp pocket rots from the outside in, often failing at the soil line within 10 to 15 years even on treated posts. When it fails, you are left chipping out a stubborn concrete footing to replace a single post.
The no-concrete methods flip that logic. Gravel and tamped soil let water drain away from the post rather than pooling around it, which keeps the wood drier and extends its life. They also make replacement simple: pull the post, and the hole is ready for the next one. For most residential wood and vinyl fences, these methods are more than strong enough.
Get the Hole Depth Right First
No anchoring method compensates for a shallow hole, so depth is where every fence begins. The rule of thumb is to bury at least one-third of the post’s above-ground height, and deeper in loose or sandy soil.
- 6-foot fence: dig roughly 2 feet deep, using an 8-foot post.
- Frost line: in cold climates, set the base below the local frost depth, often 36 inches or more, so heaving does not lift the post.
- Hole diameter: about three times the post width, so 10 to 12 inches for a 4×4.
- Base gravel: always start with 4 to 6 inches of compacted gravel for drainage, regardless of the method above it.
That gravel base is non-negotiable in every no-concrete method, because it keeps the bottom of the post out of standing water and is the single biggest factor in how long the post survives.
Method 1: Packed Gravel
The gravel method is the favorite of many fence pros for wood posts because it drains beautifully and holds firm. After digging the hole and adding the gravel base, set the post, brace it plumb, and backfill in layers with crushed gravel or road base, three-quarter-inch angular stone works best because the sharp edges lock together.
The key is compaction. Add gravel a few inches at a time and tamp each layer hard with a tamping bar or a length of 2×4 before adding the next. Well-compacted angular gravel grips the post nearly as firmly as concrete while letting water flow straight through. Crown the top slightly and slope the surface soil away so runoff sheds off rather than seeping in. This method excels in well-draining soil and is the longest-lasting choice for wood.
Method 2: Tamped Soil (Earth-Set)
The oldest method is simply tamping the native soil back around the post, and it works well in firm, clay-heavy ground. Set the post on the gravel base, then backfill with the excavated soil in layers, tamping each layer aggressively so there are no soft pockets.
Tamped soil shines in dense clay that packs tight and holds a post like a vise. It is essentially free since you reuse the dirt you dug out. The tradeoff is that it grips less firmly in loose, sandy, or loamy soil, and posts can loosen over time in poor ground, so it suits gate-free line posts in stable soil better than heavily loaded corners. Many builders mix in some gravel with the soil to improve both drainage and grip.
Method 3: Expanding Foam
Two-part polyurethane fence-post foam is the modern shortcut. You set and brace the post on a gravel base, mix the two components in the provided bag or pour them in, and the foam expands to fill the hole and cure hard in a few minutes. One bag typically sets one post, and there is nothing to mix in a wheelbarrow or clean up.
The appeal is speed and weight: foam sets in about 5 minutes versus concrete’s day of curing, and a bag weighs a couple of pounds instead of an 80-pound bag of mix. It costs more per post than gravel or soil, usually $8 to $15 a bag, and it does raise some of the same moisture questions as concrete, though the closed-cell foam sheds water better than a concrete bowl. It is a solid choice when you want a fast, firm set and do not mind the premium.
Which Method to Choose
Match the method to your soil and your priorities. Packed gravel is my top pick for wood posts in most soils because it drains, grips well, and makes replacement painless. Tamped soil is the budget option and excels in firm clay. Foam is the speed option when you want to set a run quickly and move on.
For gate posts and corner posts that carry real lateral load, go deeper and wider, and consider gravel with extra tamping or foam for the firmest set. Whatever you choose for setting fence posts without concrete, never skip the gravel drainage base, brace every post plumb until the backfill is fully compacted, and slope the surface to shed water. Do that and your posts will outlast many a concrete-set fence next door.
Frost Heave and Cold-Climate Considerations
In northern climates, frost is the enemy that lifts fence posts out of the ground over a few winters, and the no-concrete methods actually handle it better than a concrete plug in some ways. Frost heave happens when water in the soil freezes, expands, and grips the post, jacking it upward. The defenses are depth and drainage: set the post base below your local frost line, often 36 to 48 inches in cold regions, and use free-draining gravel around the post so water does not linger and freeze against it.
Angular gravel is especially good here because it drains fast and does not grip the post the way frozen clay does, giving frost less to lift against. Some builders flare the bottom of the hole slightly wider than the top and pack gravel into that bell shape, creating a footing that resists both settling and uplift. Whatever the method, a post sitting in a wet, poorly drained hole will heave; a post on a deep gravel base in well-drained backfill stays put through the freeze-thaw cycles that wreck shallower installs.
Bracing and Curing Time
One real advantage of gravel and tamped soil over concrete is that there is no cure time; the post is fully load-bearing the moment you finish compacting, so you can hang rails and pickets the same day instead of waiting a day or two for concrete to set. Foam splits the difference, reaching full strength in minutes. That said, the bracing during installation is what determines whether the post ends up plumb and stays that way.
There is one situation where these methods fall short: a very tall or heavily loaded post with no fence structure to brace it. A standalone mailbox post, a basketball hoop, or a cantilevered gate post that swings a heavy gate all put constant lateral load on a single post, and in loose soil a gravel or tamped-soil set can eventually lean. For those, go deeper and wider, use well-compacted angular gravel, and consider foam, or accept that this is one case where concrete still earns its place.
Set two temporary braces at right angles to each post, screwed to stakes in the ground, and check plumb on two adjacent faces with a level before you commit the backfill. With gravel and soil, keep the level on the post as you tamp each layer, because aggressive tamping can nudge a post out of plumb if you are not watching. Leave the braces on corner and gate posts until the fence structure ties everything together. A run of posts set carefully plumb, on gravel, without concrete, gives you a fence that is faster to build, easier to repair, and every bit as solid as the traditional approach.