The term shower backsplash covers everything from a tiled accent strip on a half-wall beside the tub to the full waterproof surround that lines a walk-in shower. Wherever water sprays, splashes, or condenses, you need a surface that sheds moisture and survives years of daily use. Get the material and waterproofing right, and the same wall becomes a design centerpiece instead of a maintenance headache.
This is one bathroom area where cutting corners costs you later. Water that gets behind the wall rots framing and breeds mold long before you see a problem on the surface.
What Counts as a Shower Backsplash
People use the phrase a few different ways, so it helps to define the zone you’re protecting.
- Tub surround splash zone: The wall behind and beside a bathtub that catches spray and overflow.
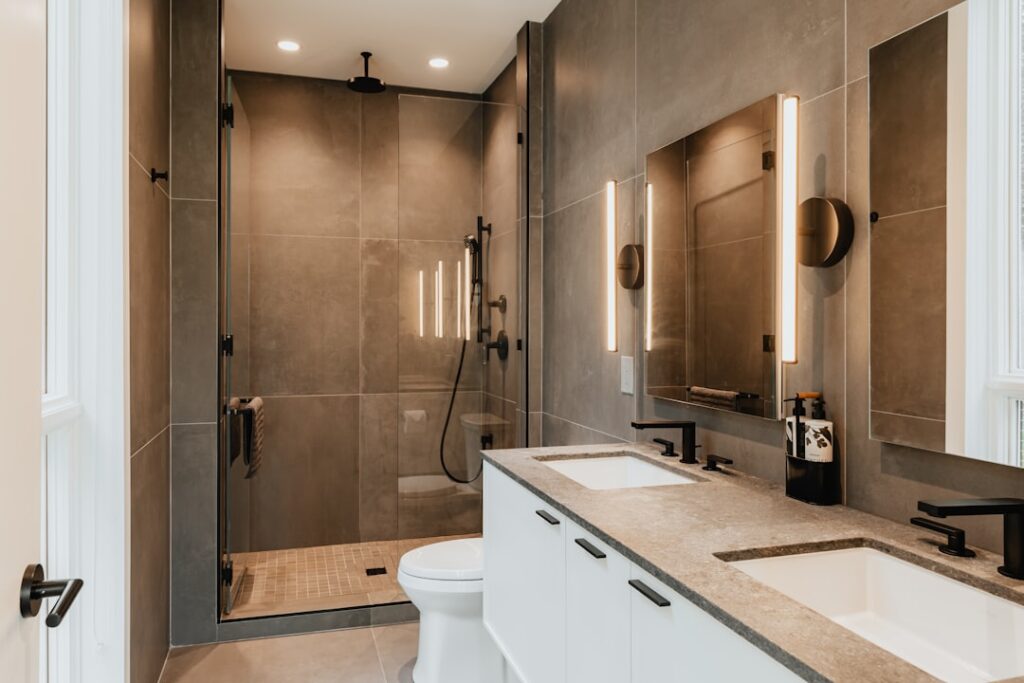
- Shower wall surround: The full tiled enclosure of a walk-in shower, where waterproofing is critical.
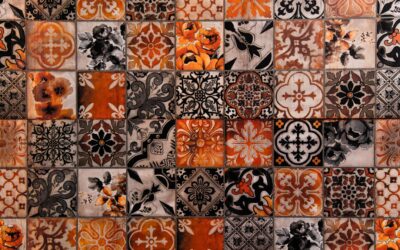
- Accent or feature strip: A band of decorative tile, often at niche height or as a vertical column, that breaks up a plain field of tile.
- Vanity-adjacent splash: Tile that continues from a sink area into a wet zone.
The wetter the location, the more demanding the material and waterproofing requirements become.
Best Materials for Wet Areas
Constant moisture rules out anything porous or absorbent. Stick with materials proven in showers.
- Porcelain: The gold standard for showers. Dense, nearly waterproof, and tough, with a water absorption rate under 0.5 percent. Expect $3 to $10 per square foot.
- Glazed ceramic: Affordable and water-resistant on the glazed face, a solid budget choice at $1 to $5 per square foot.
- Glass tile and mosaics: Nonporous, bright, and ideal for accent strips and niches.
- Natural stone (marble, travertine): Beautiful but porous, requiring sealing every 6 to 12 months to resist water and soap staining.
- Large-format porcelain slabs: Minimal grout lines mean fewer places for mold to take hold, a growing favorite for low-maintenance showers.
Waterproofing Comes First
Tile and grout are not waterproof on their own. Grout is porous, and water will eventually pass through it, so the layer behind the tile does the real work of keeping moisture out of your walls. This is the part homeowners can’t see and contractors can’t skip.
A proper shower wall starts with a moisture-resistant backer, never standard drywall in the wet zone. Cement backer board or a foam waterproof panel forms the substrate. Over that goes a waterproofing membrane, either a liquid-applied coating rolled on in two coats or a sheet membrane bonded to the board. Seams, corners, and the connection to the shower pan get extra reinforcement with banding. Only after this system is complete and watertight does tile go on.
Layout and Design Ideas
Once waterproofing is handled, the look is yours to shape. A few approaches consistently impress.
- Floor-to-ceiling tile: Maximizes protection and makes the shower feel taller and more luxurious.
- Vertical accent column: A strip of contrasting or mosaic tile running up one wall, often centered on the showerhead.
- Built-in niche: A recessed shelf lined with accent tile that adds storage and a focal point.
- Herringbone or vertical stack: Pattern choices that modernize a simple subway tile.
- Large-format with thin grout lines: Clean, contemporary, and far easier to keep clean.
Grout and Sealing in the Shower
Grout choice matters even more in a shower than elsewhere. Standard cement grout works but must be sealed and resealed to fight mold and staining. Epoxy grout costs more and is trickier to install, yet it’s effectively waterproof and stain-resistant without ongoing sealing, which makes it worth the upgrade in a heavily used shower.
Choose a grout color that hides soap residue and mineral buildup; mid-gray tones age better than bright white in a wet zone. Keep grout lines as narrow as the tile allows to reduce the surface area where grime collects.
Installation Overview
A shower surround is more demanding than a kitchen backsplash because the waterproofing has to be flawless. The general sequence looks like this.
- Frame and prep the walls, then install cement board or waterproof foam panels.
- Apply the waterproofing membrane, treating all seams, corners, and the pan transition.
- Test for leaks where possible before tiling.
- Set tile in thin-set mortar with spacers, cutting around the valve, showerhead, and niche.
- Let mortar cure, then grout and, if using cement grout, seal it.
- Caulk the changes of plane, like inside corners and the tile-to-tub joint, with a flexible silicone rather than grout.
Planning for Niches and Accessories
The details you build into a shower surround pay off every day, so plan them before tiling begins. A recessed niche is the most popular addition, giving you a permanent home for shampoo and soap without a hanging caddy. Position it on a wall that isn’t directly hit by the showerhead spray, usually at chest height, and slope the niche shelf slightly forward so water drains out rather than pooling.
Think about a built-in bench or a footrest ledge too, both of which need solid framing and careful waterproofing because they create horizontal surfaces where water collects. Plan the placement of grab bars in advance as well, even if you don’t install them now, by adding blocking behind the wall so they can be mounted securely later. These touches are far cheaper to incorporate during construction than to retrofit afterward.
When to Call a Professional
A small accent strip on a dry-ish wall is within reach of a confident DIYer. A full shower surround is a different matter. Because a single waterproofing failure can lead to hidden rot and expensive structural repairs, most homeowners are wise to hire an experienced tile setter for the full enclosure. Follow the membrane and thin-set manufacturer’s instructions precisely, ventilate the bathroom during and after the work, and wear gloves and eye protection when mixing mortar and grout.
Keeping It Clean and Watertight
After installation, a little routine care preserves both looks and waterproofing. Squeegee the walls after showers to cut down on mineral spots and mold. Use a pH-neutral cleaner and skip harsh acids on stone and grout. Inspect the silicone caulk in the corners once or twice a year and reapply when it cracks or pulls away, since that flexible joint is your first line of defense at the most vulnerable seams. Treated this way, a quality shower backsplash stays beautiful and leak-free for decades.