
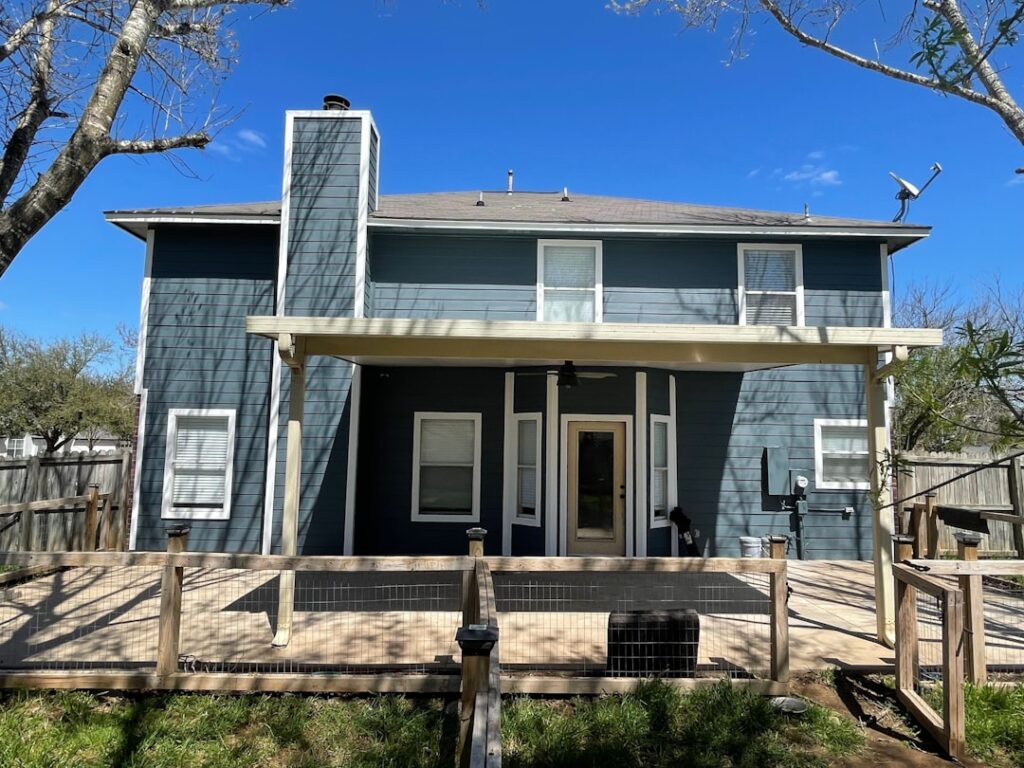
Siding underlayment is the layer of material installed between your home’s sheathing and its exterior siding, and it does far more work than most homeowners realize. While the siding takes the spotlight, the siding underlayment quietly manages moisture, blocks drafts, and gives your walls a second line of defense against the weather. Skip it or choose the wrong type, and you risk rot, mold, and energy loss that can cost thousands to repair down the road.
What Siding Underlayment Actually Does
Think of underlayment as the raincoat under your home’s outer shell. Siding alone is not waterproof. Wind-driven rain finds its way behind panels through seams, nail holes, and gaps around windows. The underlayment intercepts that water and channels it down and out before it can reach the wood sheathing or framing.
Beyond water management, a good underlayment serves several roles at once. It acts as an air barrier to cut down on drafts, allows trapped water vapor to escape so walls can dry, and in some products adds a modest layer of insulation. The combination keeps your wall assembly healthier and your heating and cooling bills lower.
The Main Types of Siding Underlayment
Not all underlayments are created equal, and the right pick depends on your climate, your siding material, and your budget. Here are the most common options you will encounter:
- Asphalt-saturated felt: The traditional choice, often called tar paper or building paper. It is inexpensive and time-tested but tears more easily and is less breathable than modern alternatives.
- House wrap (synthetic): Spun or woven polymer sheets that resist water while letting vapor pass. These are lightweight, large-format rolls that go up quickly and have become the default on many new homes.
- Rigid foam insulation board: Adds R-value while serving as a continuous layer behind the siding. Often paired with a separate water-resistive barrier or with a taped, integrated facing.
- Fluid-applied or self-adhered membranes: Premium options sprayed, rolled, or peeled-and-stuck onto the sheathing for a seamless, fully bonded barrier. They cost more but excel at tricky details.
- Rainscreen products: Mesh or dimpled mats that create a drainage and ventilation gap between siding and the wall, used with another barrier for maximum drying.
Matching Underlayment to Your Siding
Different siding materials place different demands on the layer underneath. Fiber cement and wood lap siding, for instance, can trap moisture against the wall, so pairing them with a drainable house wrap or a rainscreen gap is a smart move. Vinyl siding vents naturally but still needs a continuous water-resistive barrier behind it because its overlapping panels are not a true seal.
Brick and stone veneers require a drainage plane and weep system, so the underlayment must be rated to handle direct contact with mortar and prolonged dampness. Always check what your siding manufacturer recommends, since using an incompatible barrier can void the siding warranty.
Installation Basics
Proper sequencing is everything with underlayment. Water moves downhill, so each layer must shingle over the one below it, like roof shingles, so that any moisture runs onto the outside of the lower course rather than behind it. Getting the laps backward is one of the most common and damaging mistakes in residential construction.
- Confirm the sheathing is dry, sound, and properly fastened before you begin.
- Start at the bottom of the wall and work upward, overlapping horizontal seams by at least 6 inches and vertical seams by 6 to 12 inches per the manufacturer.
- Integrate the underlayment with window and door flashing so the barrier laps over flashing flanges at the sides and bottom and tucks behind at the head.
- Fasten with the cap nails or staples specified by the maker, spacing them tightly enough to keep the wrap flat against the wall.
- Seal seams and penetrations with compatible tape, paying special attention to corners, pipes, and electrical boxes.
If your wall design calls for a rainscreen gap, install the drainage mat or furring strips after the barrier and before the siding goes on.
Cost Expectations
Pricing varies widely with material and region, so treat the following as rough estimates rather than quotes. Asphalt felt is the budget pick, often landing in the range of $0.10 to $0.40 per square foot for materials. Standard synthetic house wrap typically runs about $0.20 to $0.70 per square foot, while premium drainable wraps and self-adhered membranes can climb to $1.00 to $2.50 per square foot or more.
Rigid foam adds material cost but can pay back through energy savings, generally falling between $0.50 and $1.50 per square foot depending on thickness and R-value. Labor is separate and depends on wall complexity, so getting a few local bids gives you the clearest picture for your project.
Common Mistakes to Avoid
The errors that cause the most trouble are usually small and easy to prevent. Reversed laps, untaped seams, and barriers that are not tied into window flashing all let water sneak behind the layer that was supposed to stop it. Driving fasteners too sparsely lets wind balloon the wrap, which can rip it loose over time.
Another frequent oversight is choosing a barrier that is too tight for the wall assembly. Walls need to dry, and a non-permeable layer in the wrong spot can trap moisture and breed rot. When in doubt about permeability ratings or climate suitability, consult a builder or building scientist before you commit to a product.
Do You Need a Professional?
Installing underlayment is within reach for an experienced DIYer on a simple, single-story wall, especially when re-siding a small section. The materials are forgiving to handle, and the techniques are learnable. That said, the consequences of a hidden mistake are expensive and slow to appear, often surfacing only after years of trapped moisture.
For full re-sides, multi-story homes, or any project involving complex flashing details around windows, doors, and rooflines, hiring a qualified siding contractor is usually money well spent. A pro will get the sequencing right, integrate the flashing correctly, and stand behind the work, giving you confidence that the layer you will never see again is doing its job for decades.


