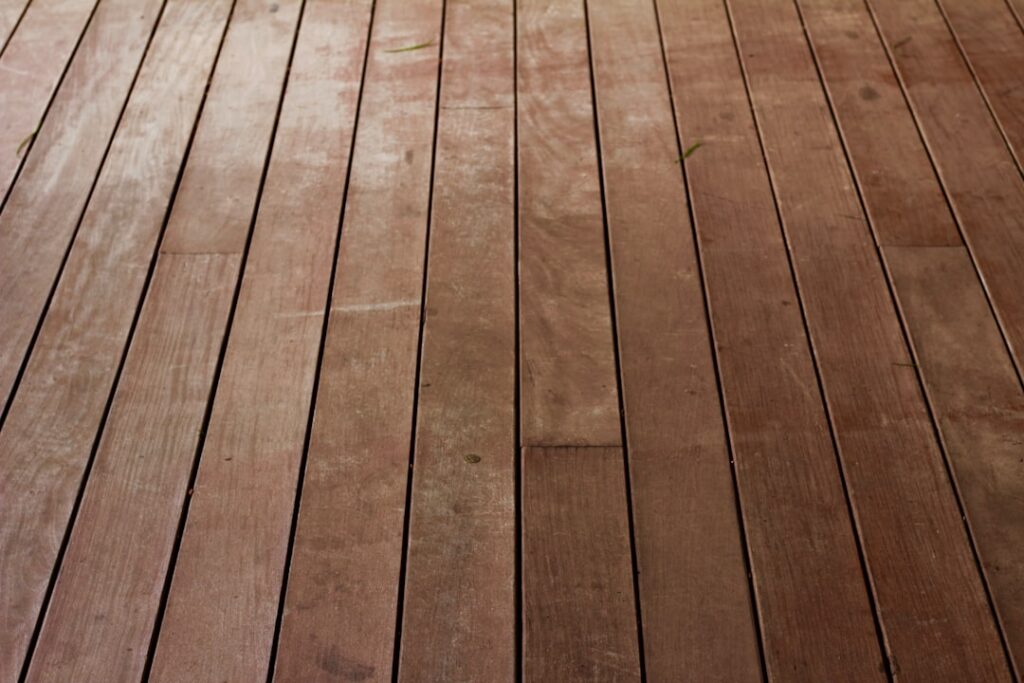
Painted white shiplap is everywhere, which is exactly why a wood-toned version stops people in their tracks. A stained shiplap wall trades the farmhouse-white look for warm, natural grain that reads richer and more custom, and the technique is well within reach for a confident DIYer. The catch is that staining wood is far less forgiving than painting it: the surface shows every drip, lap mark, and prep shortcut. Get the prep and application right, though, and you end up with an accent wall that looks like fine millwork rather than a weekend project.
Choose the Right Boards
Not all shiplap takes stain the same way, so your material choice matters before you buy a single can. Real wood, pine, cedar, or hardwood shiplap, accepts stain beautifully and shows authentic grain. MDF shiplap, by contrast, has no real grain and does not absorb stain like wood; it is made for painting, not staining. If your goal is a true stained look, buy solid wood boards. Pine is the budget-friendly standard, but it is soft and blotchy, which is why prep, especially conditioning, becomes so important.
Gather Your Materials
Have everything on hand before you start so the project flows. You will want:
- Wood stain in your chosen color, oil-based or water-based.
- Pre-stain wood conditioner, especially for pine and other softwoods.
- Sandpaper in 120 and 220 grit, plus a sanding block.
- Lint-free rags, foam brushes or staining pads, and a tack cloth.
- A clear topcoat such as polyurethane or a hardwax oil, plus gloves and drop cloths.
Prep Is Everything
Staining magnifies flaws, so prep carefully. Sand each board with 120-grit, then 220-grit, going with the grain to open the wood evenly and remove mill marks. Wipe away all dust with a tack cloth, because any grit left behind shows up in the finish. Many pros prefer to stain boards before installation, laid flat on sawhorses, which lets you reach every face and avoids drips on the wall and floor. If you stain after installing, mask the surrounding trim and floor and work in good light.
Don’t Skip the Wood Conditioner
Softwoods like pine absorb stain unevenly, producing blotchy dark and light patches. A pre-stain wood conditioner partially seals the wood so it takes color uniformly, and it is the single biggest difference between an amateur and a professional result on pine. Brush or wipe the conditioner on, let it penetrate for the time the label specifies, usually a few minutes, then wipe off the excess and apply your stain within the window the product recommends. On open-grained hardwoods you may skip it, but on pine it is essential.
Applying the Stain Evenly
Work methodically for a consistent tone across the whole wall. Follow this sequence:
- Stir the stain thoroughly; never shake it, which introduces bubbles.
- Test on a scrap board from the same lot to confirm the color and absorption.
- Apply with the grain using a rag, pad, or foam brush, one board at a time so you keep a wet edge.
- Wipe off the excess with a clean rag after a few minutes; the longer stain sits before wiping, the darker it gets.
- Add a second coat only after the first dries if you want a deeper tone, wiping each coat consistently.
Keep your wiping time consistent from board to board so the wall reads uniform rather than patchy.
Sealing and Protecting the Finish
Stain colors the wood but does not protect it, so a clear topcoat is what makes the wall durable and easy to dust. Let the stain cure fully, often 24 to 72 hours depending on the product, before sealing. Apply a thin coat of water-based polyurethane for low odor and minimal color shift, or oil-based poly for a warmer amber tone and extra durability. A hardwax oil gives a softer, natural matte look. Lightly scuff with 220-grit between coats, wipe clean, and apply two to three thin coats for a wall that holds up to handling.
Installation Tips for a Clean Look
Whether you stain before or after hanging, install with care. Locate the studs, acclimate the wood in the room for a few days so it does not shrink, and use a nail gun to fasten through the boards, staggering end joints for a natural pattern. Use spacers or the boards’ built-in rabbet to keep the signature shiplap reveal consistent. If you stained beforehand, keep a little stain on hand to touch up nail holes and any nicks from installation.
Choosing a Stain Color and Type
Color choice shapes the whole room. Light, natural stains keep a space bright and airy, medium walnut and golden tones add warmth, and dark espresso reads dramatic but shows dust and makes a small room feel smaller. Beyond color, decide between oil-based and water-based stain. Oil-based penetrates deeply, gives a rich, even finish, and is forgiving on softwoods, but it takes longer to dry and has stronger fumes. Water-based dries fast, cleans up with water, and resists yellowing, though it can raise the grain and demands quicker, more careful application. Test both on scrap from the same boards to see how your particular wood responds.
Maintenance and Touch-Ups
A sealed, stained wall is easy to live with. Dust it like any wood surface and wipe occasional marks with a barely damp cloth, avoiding harsh cleaners that can dull the topcoat. Because the boards are vertical and out of heavy traffic, they rarely take abuse, but if a knock chips the finish you can spot-sand, restain that spot to match, and reseal. Keep a small labeled jar of your stain and a little topcoat after the project so future touch-ups blend in seamlessly years later.
Honest Expectations
A stained accent wall takes more patience than painting, and the result depends heavily on your wood species, your prep, and your conditioning step. Pine will never look like walnut, and a quick once-over without sanding or conditioning will look blotchy. But invest the time, test your color, and seal it properly, and a stained shiplap wall delivers warmth and character that painted shiplap simply cannot match, a real wood-tone feature that anchors a room for years.