
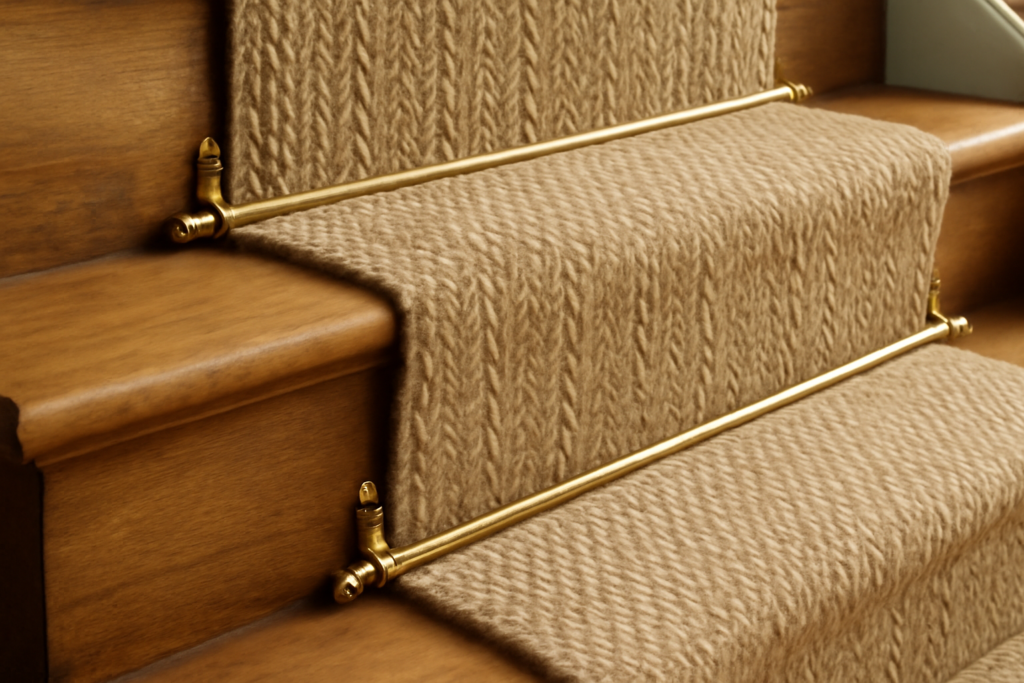
A stair runner that shifts even a quarter inch on each step becomes a trip hazard within a few months. Stair runner clips are one of the simplest ways to stop that creep, pinning the runner into the crotch of each step where the tread meets the riser. They cost less than stair rods, install with a screwdriver, and are far easier to remove than a runner stapled every two inches. Knowing which clip style fits your runner, how to size it, and how to space it is what separates a tight, safe staircase from one that constantly needs tugging back into place.
Part of our Stairs & Stair Flooring guide — explore the full guide →
- What Stair Runner Clips Do and How They Differ From Rods
- Main Types of Stair Runner Clips
- Sizing Clips to Your Runner
- How Many Clips You Need and Where to Place Them
- Step-by-Step Installation
- Material and Finish Choices
- Protecting Your Stairs and Future Removal
- Common Problems and Fixes
- Frequently Asked Questions
What Stair Runner Clips Do and How They Differ From Rods
A stair runner has two enemies: the forward push of feet walking down and the sideways drift that happens when people step off-center. Traditional installations fight both with tackless strip, carpet pad, and heavy staple patterns. Stair rods, the decorative bars that span the runner at the base of each riser, look elegant but mostly serve as ornament; many rods do very little to hold the runner in place without hidden fasteners behind them.
Stair runner clips work differently. Each clip is a small bracket, usually 1.5 to 3 inches wide, that screws into the tread or riser at the back corner of the step and grips the runner edge or presses the fabric into the crotch. Instead of one bar across the full width, you get two clips per step, one at each edge of the runner, doing the actual holding. Some are visible and decorative; others hide under the runner’s edge entirely.
Main Types of Stair Runner Clips
Corner Clips (Crotch Clips)
Corner clips are L-shaped or angled brackets that sit in the joint between tread and riser. The runner passes under a lip on the clip, which pinches it tight into the crotch. They are the most common style for flat-woven wool, sisal, and cut-pile runners up to about 1/2 inch thick. Brass, nickel, bronze, and matte black finishes are widely available, and most sets of 26 to 30 clips cost $40 to $120.
Edge Grip Clips
Edge grips clamp the side edge of the runner along the tread, usually near the nosing or back corner. They hold against lateral shifting and are useful on wide staircases where runners tend to drift toward one wall. Because they are visible on top of the tread, choose a finish that matches your hardware or balusters.
Hidden Runner Clips and Grippers
Concealed clips are low-profile metal or plastic strips with small teeth that bite into the runner’s backing. They screw into the crotch and disappear once the runner is pressed over them. They are a smart option for rental properties and for homeowners who want a clean, rod-free look without heavy stapling.
Rod-and-Clip Combos
Some decorative rod systems include clips that secure the runner and also hold a rod. The clips do the work while the rod adds a traditional look. If you like stair rods, confirm the set includes actual gripping brackets rather than simple end finials.
Sizing Clips to Your Runner
Clip fit depends on runner thickness, not just width. Measure the runner’s total thickness with the pad compressed, since most runners are installed over a thin, dense pad. A flatweave with a 1/4-inch felt pad compresses to around 3/8 inch. A plush cut-pile over an 8 lb rebond pad might reach 5/8 inch or more.
- Up to 3/8 inch: Standard low-profile corner clips fit easily.
- 3/8 to 5/8 inch: Look for clips labeled for thicker runners or with adjustable depth.
- Over 5/8 inch: Clips alone may struggle; combine them with tackless strip or discreet staples.
Width matters too. Runners are typically 27 to 33 inches wide on a 36-inch stair, leaving 3 to 4.5 inches of exposed wood on each side. The clip should sit just inside the runner’s edge, overlapping the binding by 1/2 to 1 inch, so it grips without covering too much of the pattern.
How Many Clips You Need and Where to Place Them
Most straight staircases have 12 to 15 steps. Two clips per step is standard, one at each edge of the runner in the crotch, so plan on 24 to 30 clips. Heavily used stairs or wide runners over 30 inches benefit from a third clip centered in the crotch or a hidden gripper strip across the full width.
Winder steps and landings need extra thought. On a winder, the crotch runs at an angle, so place clips where the runner naturally wants to lift and add one more where the runner folds. On a landing, clips are usually unnecessary if the runner is secured to the floor with tackless strip or carpet tape, but clip the first step down from the landing to lock in tension.
Step-by-Step Installation
You will need a drill, a 1/16-inch pilot bit, a screwdriver, a stair tool or bolster chisel, a tape measure, a pencil, and the screws supplied with your clips. Budget about 2 to 4 hours for a standard 13-step staircase.
- Center the runner. Measure the tread width, subtract runner width, and divide by two. Mark the reveal on each tread with light pencil lines so the runner runs straight.
- Install the pad. Cut pad pieces about 1.5 inches narrower than the runner so they do not peek out. Staple or tape them to the tread, wrapping over the nosing.
- Anchor the bottom. Start at the lowest riser. Secure the runner’s cut end to the base of the riser with staples or a hidden clip.
- Tuck into the crotch. Pull the runner over the first tread, then push it firmly into the crotch using a stair tool.
- Drill and fasten clips. Hold a clip at each runner edge in the crotch, drill pilot holes, and drive the screws until the clip pinches the runner tight. Do not overtighten brass screws; they strip easily.
- Repeat on every step. Keep steady tension as you work upward, checking your pencil lines to prevent the runner from wandering.
- Finish the top. Secure the runner at the top riser or under the nosing of the landing, and trim or fold the end neatly.
A pro tip: before final screws go in, walk up and down the stairs twice in socks. If the runner shifts, adjust tension on the steps that moved before locking the clips down.
Material and Finish Choices
Solid brass clips are durable and can be polished, but they will tarnish without a lacquer coating. Stainless steel and nickel-plated steel resist corrosion and suit modern interiors. Oil-rubbed bronze and matte black pair well with iron balusters and farmhouse-style staircases. Plastic hidden clips cost the least, around $15 to $30 for a set, but they can crack on stairs that get heavy daily traffic.
Match clip finish to at least one other metal on the staircase, such as baluster shoes, newel post caps, or nearby door hardware. A consistent metal thread makes the runner look intentional rather than added later.
Protecting Your Stairs and Future Removal
Clips leave two small screw holes per step instead of dozens of staple holes. That matters if you have oak or maple treads you may want to refinish or expose later. When you remove clips, fill holes with a wax filler stick or tinted wood putty matched to the tread stain. On painted risers, a dab of spackle and touch-up paint makes them disappear.
If your treads are already finished with polyurethane, place clips where they will be hidden in the crotch and pre-drill carefully to avoid chipping the finish. On softwood stairs like pine or poplar, use shorter screws and avoid overtightening so the clips do not pull out over time.
Common Problems and Fixes
- Runner still slides forward: Tension was too loose during install. Loosen clips on the affected steps, pull the runner up tight, and re-fasten.
- Clips visibly bend: The runner is too thick for the clip. Upgrade to heavy-duty clips or add tackless strip beneath.
- Runner edges curl: Add edge grips or double-sided carpet tape along the tread edges.
- Screws spin in old wood: Fill the hole with glue and a toothpick or wood dowel, let it dry, then re-drill.
Frequently Asked Questions
Do stair runner clips damage stairs?
They leave two small screw holes per step, which are easy to fill. That is far less damage than a full staple installation.
Can I install stair runner clips without a pad?
Yes, especially with thick flatweave or wool runners. Pad adds comfort and extends runner life, but clips still hold tightly without it.
How far apart should runner clips be placed?
Place one clip at each edge of the runner in every crotch, typically 27 to 33 inches apart on standard runners, with an optional center clip on wide ones.
Are stair runner clips safe for kids and pets?
Yes, when installed tight. They keep the runner from sliding, which reduces slip risk, and low-profile styles leave nothing sharp to catch toes.
Clips are a simple, reversible way to keep a stair runner secure and good-looking. Measure runner thickness first, buy two clips per step plus a few spares, center carefully, and pull the runner tight as you work upward. You end up with a staircase that feels solid underfoot and treads that come out almost untouched whenever you decide to change the look.


