Of all the small parts in a sump system, none causes more confusion — or more of that startling “clunk” at 2 a.m. — than one simple component. A sump pump check valve is a one-way valve on the discharge pipe that stops water from draining back into the pit after the pump shuts off. It sounds trivial, but without it your pump would re-pump the same water over and over, cycle itself to death, and hammer your pipes. Here’s exactly how it works, how to install it right, and how to quiet a noisy one.
Why You Need One at All
When your sump pump runs, it pushes water up the vertical discharge pipe and out of the house. The moment it shuts off, all the water still sitting in that vertical pipe wants to fall right back down — gravity pulls it straight back into the basin. Without a check valve, that backflow refills the pit, lifts the float again, and triggers the pump to run again almost immediately. The result is rapid short-cycling that overheats the motor, wastes electricity, and dramatically shortens pump life.
The check valve solves this by allowing water to flow only one direction — up and out. When the pump stops, the valve’s internal flapper or gate snaps shut, holding the column of water above it and keeping it from draining back.
How a Check Valve Works
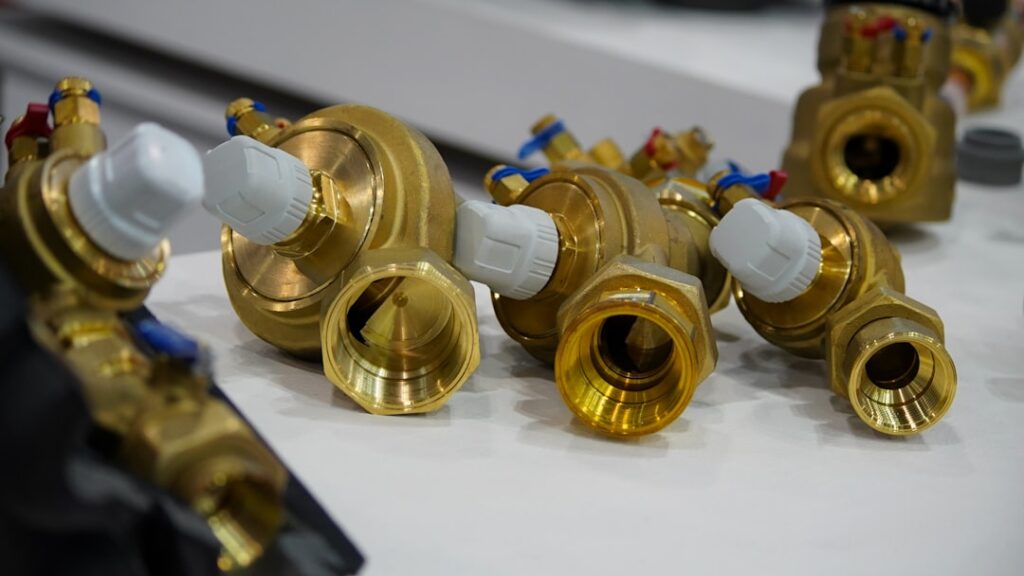
Inside the valve body is a movable element that opens under the pump’s upward pressure and closes when flow reverses. The main designs:
- Swing (flapper) check valve — a hinged disc swings open as water pushes up and swings shut when flow stops. Common and inexpensive, but the sudden slap of the flapper closing causes the notorious “water hammer” clunk.
- Spring-loaded check valve — a spring closes the valve gently and quickly, before much water reverses, which greatly reduces the slamming noise. A worthwhile upgrade.
- Silent / soft-close check valve — designed specifically to eliminate the clunk with a cushioned closure. Brands like the “Sump Pump Silent Check Valve” are popular for finished basements where the noise is audible in living space.
Installation: Get the Height Right
Where you place the check valve matters as much as which one you buy. Install it on the vertical discharge pipe, above the pump but low enough to be practical, typically 8 to 12 inches above the pump’s discharge outlet. Here’s why that range works:
- Mounting it low reduces the amount of water sitting above the pump that would otherwise dump back into the pit through the pump’s own weep hole — less backflow, less short-cycling.
- But it needs to sit above the basin lid and be accessible so you can service or replace it without disassembling everything.
Most valves connect with rubber couplings and hose clamps to standard 1.5-inch PVC discharge pipe, so installation is genuinely simple. Note the arrow on the valve body — it must point in the direction of flow, up and away from the pump. Install it backward and no water leaves the pit at all.
Step-by-Step Installation
- Unplug the pump and confirm the pit isn’t about to fill.
- Cut the discharge pipe at the chosen height (8–12 inches above the pump outlet) with a hacksaw or PVC cutter, leaving a gap equal to the valve body length.
- Deburr and dry-fit the check valve between the two pipe ends, confirming the flow arrow points upward.
- Slide the rubber couplings over each pipe end, insert the valve, and center it.
- Tighten the hose clamps firmly with a nut driver so the connections don’t leak.
- Restore power and test — pour water in until the pump cycles, and watch for backflow after it shuts off. There should be little to none.
Don’t Forget the Weep Hole
Here’s a detail that trips people up. Many pumps need a small weep hole (about 3/16 inch) drilled in the discharge pipe below the check valve, inside the basin, to prevent an “air lock.” Without it, air trapped below the impeller can stop the pump from moving water. Drill the weep hole at a downward angle so the small spray of water it releases goes back into the pit, not out at you. If your pump manual calls for a weep hole, add it — an air-locked pump runs but pumps nothing.
Fixing a Noisy Check Valve
That loud clunk every time the pump shuts off is the flapper slamming and the water column stopping abruptly — water hammer. Solutions, in order of ease:
- Swap to a spring-loaded or silent check valve. The single most effective fix; the cushioned closure eliminates most of the noise.
- Add a short section of rubber coupling in the discharge line to absorb vibration and isolate noise from the pipe.
- Secure loose pipes. Rattling often comes from the discharge pipe vibrating against joists or walls — add pipe straps with rubber cushioning.
- Install the valve at a slight angle per some manufacturers’ instructions, which can help the flapper seat more gently.
Signs Your Check Valve Is Failing
Check valves wear out — the flapper or spring degrades, or debris holds it partly open. Watch for these symptoms:
- The pump short-cycles again, running every minute or two, because backflow is refilling the pit.
- You hear water draining back down the pipe after the pump stops.
- The pump runs constantly or seems to work harder than before.
- Visible leaking at the valve body or couplings.
A replacement valve costs $10 to $30 and takes fifteen minutes, so there’s no reason to nurse a failing one. Replace it and the short-cycling stops.
Choosing the Right Valve for Your System
Not all check valves are worth the same money, and matching the valve to your setup saves headaches. Consider these factors:
- Pipe size: most residential sump discharge is 1.5-inch PVC, so buy a valve sized to match. Some pumps use 1.25-inch; check yours.
- Clear vs. opaque body: a clear-body check valve lets you see the flapper working and spot debris or failure at a glance — a small but genuinely useful feature.
- Full-flow design: cheaper valves restrict the pipe’s inner diameter, forcing the pump to work harder. A full-flow or “no-restriction” valve maintains the pipe’s full bore for better efficiency.
- Union or coupling connection: valves with rubber-coupling ends install and remove in minutes; glued-in valves are permanent and harder to service.
- Silent closure: if the discharge runs near living space, spend the extra few dollars on a spring-loaded silent model up front.
Given that a quality check valve costs $15 to $30 and a failed one leads to short-cycling that destroys a $150-plus pump, this is not the place to buy the absolute cheapest option.
Keep a Spare on the Shelf
Here’s a habit worth adopting: store a spare check valve with your other sump parts. When a big storm is bearing down and you notice the pump short-cycling, the last thing you want is to be driving to the hardware store in the rain. Swapping in a fresh valve takes fifteen minutes and a nut driver, and having the part on hand turns a potential basement flood into a minor chore. At under $30, it’s cheap insurance for a system whose entire job is keeping thousands of gallons of water out of your basement — and the failures always seem to happen at the worst possible moment.
Maintenance and Final Thoughts
Once a year, when you test your pump, watch the check valve’s behavior — confirm minimal backflow and listen for a healthy, quiet closure. Check the couplings for leaks and the flapper for debris if you can access it. A sump pump check valve is a cheap, simple part that protects an expensive pump from cycling itself into an early grave, so it deserves a moment of attention during your seasonal basement checks. Install it at the right height with the arrow pointing up, add a weep hole if your pump calls for one, and upgrade to a silent model if the clunk keeps you up at night. Get those details right and this small one-way valve will quietly keep your basement dry and your pump alive for years.