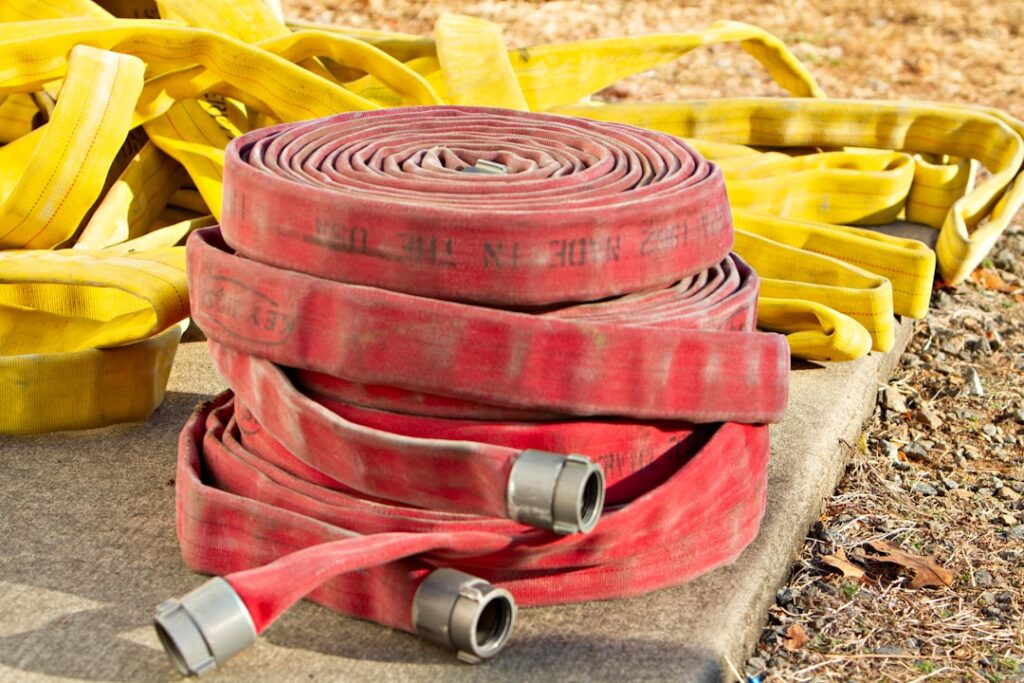
Everybody obsesses over which pump to buy and then bolts on whatever sump pump hose was hanging next to it at the store. That’s backwards. I’ve seen flooded basements that had nothing to do with the pump — the discharge line froze, kinked, or dumped water right back against the foundation.
- What the Discharge Line Really Does
- Flexible Hose vs. Rigid PVC
- Getting the Fittings Right
- Slope, Direction, and Distance
- Freeze Protection Is the Whole Game in Winter
- Handling the Winter Extension
- Choosing Hose Diameter and Wall Thickness
- Check Valve and Weep Hole
- Keeping Water Away From the Foundation
- Common Discharge Mistakes I See
- A Quick Word on Safety
- The Bottom Line
The sump pump hose is the part of the system that decides where all that water actually goes, and getting it right is cheap insurance. Here’s how I think about discharge lines, from fittings to freeze protection.
What the Discharge Line Really Does
Your pump lifts water out of the pit and hands it off to the discharge line. From there, gravity and pipe slope carry it away from the house. If the line is too small, kinked, uphill, or draining right beside the foundation, all that lifting was for nothing — the water finds its way back into the pit or the basement. Think of the hose as the second half of the pump. A great pump on a bad discharge line is a bad system.
Flexible Hose vs. Rigid PVC
You’ve got two basic paths, and each has a place.
- Corrugated flexible hose — cheap, fast to install, bends around obstacles, and pops on and off for seasonal moves. The downside is that corrugations create turbulence that cuts flow, and thin-wall hose kinks and crushes easily. Great for a temporary or seasonal run.
- Rigid PVC or ABS pipe — smooth bore for maximum flow, freeze-resistant when sloped and buried right, and durable for years. It takes more work to cut and glue and won’t flex around corners. This is what I use for a permanent installation.
My general advice: rigid PVC for the permanent buried run outside, and a short section of flexible hose only where you genuinely need the give.
Getting the Fittings Right
Most residential sump pumps use a 1.5″ discharge, though some smaller and utility pumps use 1.25″. This trips people up constantly. A few rules:
- Match the hose or pipe to the pump’s discharge size — don’t neck a 1.5″ outlet down to a garden-hose fitting and choke the flow.
- If anything, size up from the pump outlet on long runs to reduce friction loss, never down.
- Use proper adapters and hose clamps or glued couplings — a discharge that pops loose under pressure sprays water all over your basement.
Slope, Direction, and Distance
Where the water lands matters as much as the pipe itself. The whole point is to move it far enough that it can’t seep back to the pit.
- Slope the line consistently downhill away from the house — no dips or bellies where water can pool and freeze.
- Discharge at least 10 feet from the foundation; 15–20 feet is better on grade that runs back toward the house.
- Aim for a spot that drains — a swale, a dry well, or a graded run to the street, never a low spot that puddles against the wall.
- Don’t tie into a sanitary sewer; it’s against code in most places and can back up into your house.
Freeze Protection Is the Whole Game in Winter
The most common discharge failure I get called for is a frozen line. The pump runs, the water hits an ice plug, and it has nowhere to go — so it backs up and floods. A few defenses:
- Keep the outdoor run steeply sloped so water drains completely between cycles and nothing sits to freeze.
- Bury the pipe below the frost line where you can, pitched to daylight.
- Install an IceGuard or a similar discharge-line freeze-relief fitting near the foundation. If the far end ices over, this fitting lets the pump push water out at ground level instead of backing up.
- Some homeowners run a removable flexible extension in winter that can be pulled and cleared if it plugs.
An air gap or a simple downspout-style pop-up at the far end also helps water escape rather than dead-heading against ice.
Handling the Winter Extension
In cold climates I often set up a two-part discharge: a permanent buried run that carries water most of the year, plus a removable flexible sump pump hose extension for the coldest stretch. The idea is that if the far end of the buried line ices over, the removable section — teamed with an IceGuard fitting at the foundation — gives the water an escape route at grade instead of dead-heading against the ice and backing up into the basement. Lay the winter extension on a steep downhill pitch so it drains completely between cycles, and check it after every hard freeze. Because it pops off by hand, you can pull it, knock out any ice plug, and reset it in a couple of minutes. A little seasonal fussing here beats bailing a flooded basement in January.
Choosing Hose Diameter and Wall Thickness
Not all flexible hose is equal. The cheap thin-wall corrugated stuff kinks and crushes the moment something leans on it, and a crushed line is a blocked line. If you’re running flexible hose, buy the heavier reinforced wall in the correct diameter — 1.25″ or 1.5″ to match your pump — even though it costs a few dollars more per foot. For rigid runs, schedule 40 PVC is the standard; it’s stiff, smooth-bored, and solvent-welds into a leak-free system. Whatever you choose, resist the temptation to reduce down to a garden-hose adapter to reach an existing fitting. That single choke point can cut a capable pump’s output in half and leave water sitting in your pit.
Check Valve and Weep Hole
These two small parts protect the discharge system:
- Check valve — mount it a foot or two up the vertical pipe. It keeps the column of water in the discharge line from draining back into the pit every time the pump shuts off, which otherwise makes the pump short-cycle and shortens its life.
- Weep hole — drill a 3/16″ hole in the discharge below the check valve. It bleeds off trapped air so the pump doesn’t air-lock and spin without moving water.
Keeping Water Away From the Foundation
This is the mistake I see more than any other, so it earns its own section. A discharge line that dumps two feet from the wall is just recirculating your groundwater — the pump lifts it out, gravity pulls it back down along the foundation, and it seeps right back into the pit. You want that water gone for good. Grade the ground so it slopes away from the house at the discharge point, aim the outlet toward a natural low spot, swale, or the street, and consider a splash block or a buried pop-up emitter so the water spreads out and soaks in away from the structure. If your lot is flat or slopes toward the house, a dry well set well out in the yard gives the water somewhere to go. The whole system exists to move water away from the foundation; a lazy discharge undoes all of it.
Common Discharge Mistakes I See
- Dumping right next to the foundation — the water just recycles straight back into the pit.
- A kinked or crushed flexible hose behind a shelf or under a deck, throttling the flow.
- An uphill run that leaves standing water in the line to freeze.
- Undersized fittings choking a capable pump.
- No check valve, so the pump cycles constantly and burns out early.
A Quick Word on Safety
The hose is plumbing, but it lives next to electricity. Keep the pump on a GFCI-protected outlet, never cut the ground plug, and unplug the pump before you handle the discharge line or reach into the pit to clear a clog. Route the power cord up and away from any water pooling around the pit.
The Bottom Line
A good sump pump hose isn’t glamorous, but it’s the difference between water that leaves your property and water that comes right back. Use rigid PVC for the permanent run, match the fittings to your pump’s 1.25″ or 1.5″ outlet, slope everything downhill, get the discharge 10-plus feet from the foundation, and add freeze relief before winter. Fit a check valve and weep hole while you’re at it. Spend an afternoon getting the discharge line right and your pump can finally do the job you bought it for.