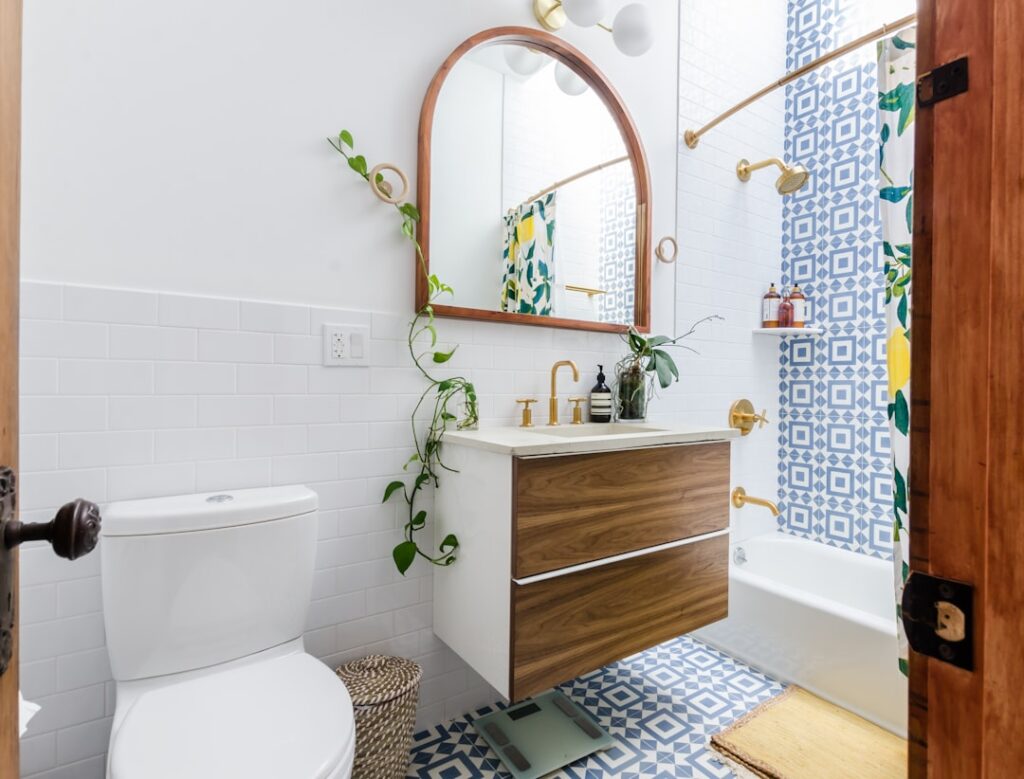
Where the floor meets the wall is the most vulnerable joint in any bathroom, and that is exactly where the right finish earns its keep. Installing a tile baseboard in bathroom spaces gives you a base trim that shrugs off the moisture, splashes, and mopping that quickly ruin painted wood. Instead of warping, swelling, or peeling, a tile base stays watertight and wipes clean, while tying the floor and walls together with a crisp, finished line. Here is everything you need to know to plan, choose, and install it well.
Why Tile Beats Wood at the Floor Line
Traditional wood or MDF baseboards are a poor match for a wet room. They absorb moisture from mopping and humidity, swell, and eventually rot or grow mold behind the paint. Tile has none of those weaknesses. A porcelain or ceramic base is impervious to water, easy to disinfect, and far more durable against the constant damp. It also creates a cleaner transition into the floor, eliminating the gap where water and grime collect behind wood trim. For a bathroom, that durability and hygiene are the whole point.
Common Types of Tile Baseboard
You have several ways to create a tile base, each with a different look and price:
- Cut field tile: The simplest and most economical approach. You cut strips from the same floor or wall tile, typically 3 to 6 inches tall, and run them along the base. This matches the room seamlessly.
- Bullnose tile: Field tile with one finished, rounded edge that gives the top of the baseboard a clean, professional finish instead of a raw cut.
- Manufactured base trim pieces: Purpose-made cove or sanitary base tiles, sometimes with a curved bottom that eases the transition to the floor and sheds water.
- Cove base: A concave profile at the floor joint that is especially easy to clean, common in commercial and accessible bathrooms.
The bullnose top edge is what most homeowners want, since a raw cut edge looks unfinished and can be sharp.
Choosing a Height and Style
Baseboard height is largely a design choice. A standard tile base runs about 4 inches tall, but taller bases of 5 to 6 inches feel more substantial and protect more wall. Match the tile to your floor for a unified, seamless look, or contrast it with the wall tile for definition. Keep the grout lines aligned with the floor tiles where possible; that small detail separates a professional job from an amateur one. In small bathrooms, a base that matches the floor visually expands the space, while a contrasting base draws a defining line around the room.
Tools and Materials
Before starting, gather what you need:
- Tile (field tile to cut, or pre-made base pieces) plus about 10 percent extra for cuts and breakage.
- Thinset mortar or a quality tile adhesive suited to vertical application.
- Grout and a flexible, waterproof silicone caulk for the floor and corner joints.
- A wet saw or tile cutter, notched trowel, rubber float, spacers, level, and sponge.
Installation Steps
Always follow the product instructions for your specific adhesive and grout, but the general process runs like this:
- Wait until the floor tile is fully set, then clean the wall and floor edge so they are dust-free.
- Dry-lay your base pieces around the room to plan cuts, keeping joints aligned with the floor tiles and avoiding tiny slivers in corners.
- Apply thinset to the back of each piece or to the wall with a notched trowel, then press the tile firmly into place.
- Leave a small, consistent gap at the bottom where the base meets the floor; this joint gets caulk, not grout, so it can flex.
- Use spacers to keep vertical joints even and a level to keep the top line straight.
- Let the adhesive cure fully, then grout the vertical joints between base tiles.
- Apply flexible silicone caulk along the floor-to-base joint and at inside corners to handle movement and seal out water.
That floor joint detail matters: filling it with rigid grout instead of flexible caulk almost guarantees cracking as the building moves and the materials expand and contract.
What It Costs
Cutting your own base from leftover field tile is the cheapest route, since you mainly pay for adhesive, grout, and caulk. Bullnose and manufactured base trim pieces cost more per linear foot than plain field tile. As a rough guide, expect material costs in the range of a few dollars per linear foot for cut field tile, more for specialty bullnose or cove pieces. Professional installation adds labor, which varies with the tile type and the complexity of the room’s corners and fixtures.
Design Ideas That Elevate the Look
A tile base does not have to be purely utilitarian. With a little thought, it becomes a design detail in its own right:
- Seamless match: Run the same tile and aligned grout lines from floor up the base for a continuous, expansive look that visually enlarges a small bathroom.
- Contrasting accent: Use a darker or patterned base against light walls to outline the room and add definition.
- Pencil trim cap: Top the base with a slim pencil-liner tile in a metallic or contrasting color for a crisp, finished edge.
- Continuing into the shower: Carrying the same base tile into the shower ties the whole room together and keeps the waterproofing consistent.
- Mosaic base: A band of mosaic at the floor adds texture and a custom, high-end feel.
Whatever direction you choose, keeping the proportions consistent around the room and aligning joints with the floor tile is what makes the result look intentional rather than improvised.
Maintenance and Care
Once installed, a tile base is wonderfully low-maintenance. Wipe it down with a pH-neutral cleaner during your regular bathroom cleaning, and it stays fresh. Keep an eye on the caulk line at the floor; over years it can shrink or discolor, and re-caulking that joint occasionally keeps the seal watertight. Cement-based grout in the vertical joints benefits from a penetrating sealer to resist staining, while epoxy grout needs no sealing at all.
Is It Right for Your Bathroom?
If you want a base trim that genuinely stands up to a wet environment, a tile baseboard in bathroom installations is hard to beat. It resists water, cleans easily, and creates a seamless, high-end transition that painted wood simply cannot match in a damp room. Plan your tile choice and heights, align your grout lines, caulk the floor joint correctly, and you will have a durable, polished finish that protects your walls and looks sharp for the life of the bathroom.
Prefer to explore on your own?
See how new flooring looks in your actual room in seconds — free, no signup.
Try the free Floor Studio →