Standing in a tile showroom surrounded by hundreds of samples, each one looking perfect under flattering display lights, paralyzes even decisive homeowners. Making the wrong tile choice means living with a floor or wall you regret for a decade or spending thousands to rip it out and start over. The right selection process starts not with aesthetics but with function — where the tile goes, what it needs to withstand, and how much maintenance you are willing to commit to over the long haul.
Tile Materials Explained
Every tile falls into one of five major material categories, each with fundamentally different properties that determine where it can and should be used:
- Ceramic: Made from natural clay fired at 1,800 to 2,000 degrees Fahrenheit. Softer and easier to cut than porcelain. Water absorption rate above 0.5%. Best for walls, light-traffic floors, and backsplashes. Cost: $1 to $8 per sq ft.
- Porcelain: Denser clay fired at 2,200 to 2,500 degrees Fahrenheit. Water absorption below 0.5%, making it suitable for outdoor use and wet areas. Harder to cut but far more durable. Cost: $3 to $15 per sq ft.
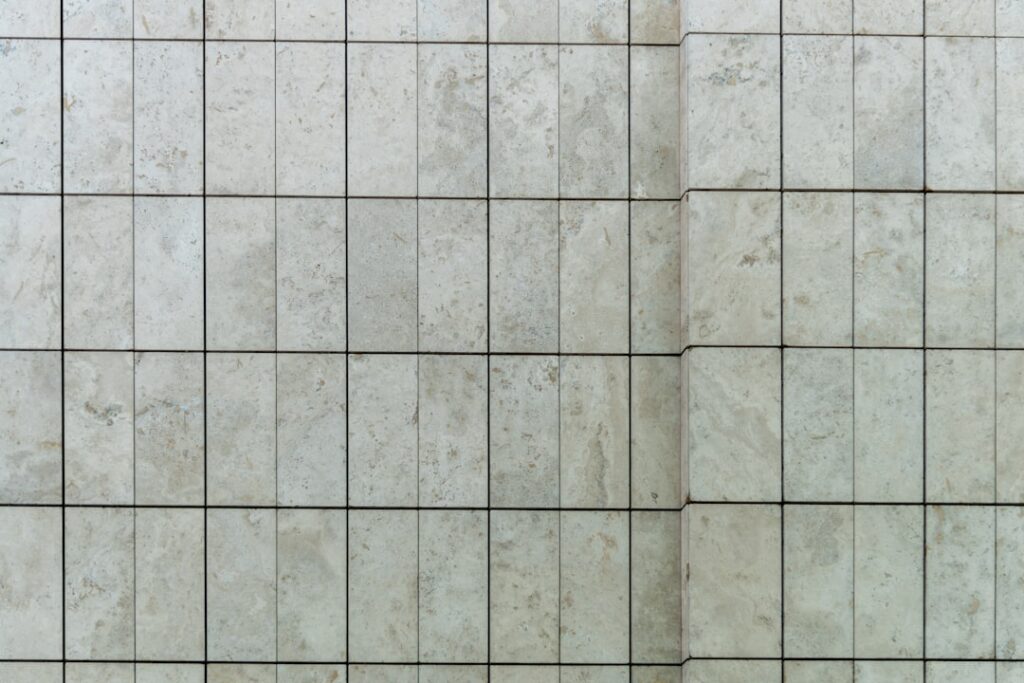
- Natural stone (marble, travertine, slate, granite): Quarried and cut from raw stone. Each piece is unique. Requires sealing every 6 to 12 months. Costs $5 to $50 per sq ft depending on the stone type.
- Glass: Non-porous, reflective, and available in vivid colors. Used primarily for backsplashes and shower accents. Scratches visibly and is not suitable for floors. Cost: $7 to $30 per sq ft.
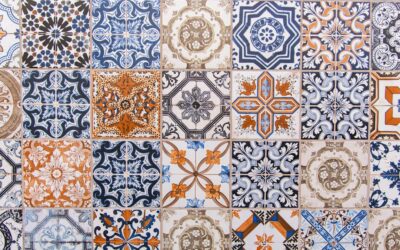
- Cement/encaustic: Handmade with colored cement layers. Bold patterns and artisan quality. Requires sealing and is more porous than ceramic. Cost: $8 to $20 per sq ft.
Choosing Tile by Room
The demands placed on tile vary dramatically from room to room. A tile that excels in your entryway could fail in your shower within a year.
Kitchen Floor
Kitchens need tile that handles dropped pots, spilled liquids, and heavy foot traffic without cracking or staining. Porcelain rated PEI Class 4 or 5 is the standard recommendation. Matte or textured finishes provide better grip when wet. Large-format tiles (12×24 or larger) mean fewer grout lines to clean — a significant advantage in a room prone to grease and food spills.
Bathroom Floor and Shower
Slip resistance is the top priority. Look for tiles with a Dynamic Coefficient of Friction (DCOF) rating of 0.42 or higher. Smaller mosaic tiles (2×2 or hexagonal) work best on shower floors because they conform to the slope toward the drain. Porcelain outperforms ceramic here due to its lower water absorption rate.
Backsplash
Weight and water exposure are minimal behind a stove or sink, opening the door to decorative options like glass mosaic, hand-painted ceramic, and zellige tiles. This is where you can let aesthetics lead the tile choice without worrying about durability or slip resistance.
Entryway
First impressions and brutal wear converge at the front door. Porcelain, slate, and granite handle tracked-in dirt, sand, and moisture without showing wear. Avoid polished tiles — they become dangerously slippery when wet and scratch from grit underfoot.
Tile Size and Layout
Tile size affects how a room feels more than most people expect. Large tiles (18×18 and above) create an open, expansive feel by reducing visual clutter from grout lines. They work best in rooms larger than 80 square feet. Small rooms with large tiles can actually feel bigger, but only if you minimize grout contrast.
Small tiles (4×4, mosaics) add texture and visual interest but require more grout, which means more maintenance. They are ideal for accent features, shower floors, and small powder rooms where intricate patterns create character.
Layout patterns change the visual effect without changing the tile itself. Straight lay is clean and modern. Brick offset (running bond) adds subtle movement. Herringbone creates energy and draws the eye along the pattern. Diagonal layouts make narrow spaces feel wider.
Grout Selection Matters
Grout is half the installation but gets 5% of the decision-making attention. Sanded grout fills joints wider than 1/8 inch and is standard for floor tiles. Unsanded grout works for thin joints on wall tiles and glass. Epoxy grout ($8 to $15 per unit versus $3 to $6 for cement grout) resists stains, mold, and cracking permanently but is harder to work with during installation.
Grout color transforms the look. Matching the grout to the tile creates a seamless, monolithic appearance. Contrasting grout highlights the tile pattern and individual pieces. When in doubt, go one shade darker than the tile — it hides dirt better than white or light grout and still maintains a clean look.
What to Look for When Shopping
Request at least three full-size samples to take home before committing. View them in the actual room at different times of day. Showroom lighting is designed to flatter, and many homeowners discover their perfect tile looks completely different under their kitchen’s north-facing window light.
- Check the PEI rating for floor tiles (Class 3 minimum for residential, Class 4 for kitchens and entries)
- Verify the DCOF slip resistance rating for wet areas (0.42 or higher)
- Order 10% to 15% extra for cuts, breakage, and future repairs
- Confirm the tile is rectified (precision-cut edges) if you want thin grout lines under 1/8 inch
- Ask about shade variation (V1 is uniform, V4 is dramatic variation) to match your design intent
Cost Planning and Budgeting
Material cost is only part of the equation. Professional tile installation runs $5 to $15 per square foot for labor, plus $2 to $4 per square foot for setting materials (thinset, grout, backer board). A 100 sq ft bathroom tile project with $6/sq ft porcelain totals roughly $1,300 to $2,500 fully installed.
Making a confident tile choice saves money by avoiding costly do-overs. Invest time in samples, research the technical ratings, and match the material to the room’s demands. A well-chosen tile installed properly lasts 25 to 75 years — making it one of the best long-term values in home improvement.
Prefer to explore on your own?
See how new flooring looks in your actual room in seconds — free, no signup.
Try the free Floor Studio →