Removing old grout is tedious work, and the wrong approach chips tile edges you cannot un-chip. The right tile grout removal tool depends on how much grout you are removing, how hard it is, and how much control you need to protect the tile. From powered oscillating blades to simple carbide hand rakes, each option has a job it does best. This guide covers the main tool types, the technique that keeps tiles intact, and the dust safety that too many DIYers ignore.
Part of our Tile & Grout guide — explore the full guide →
Why the Tool Choice Matters
Grout sits in a narrow joint flanked by tile you want to keep. Go too fast or too wide and you nick the glaze, crack a corner, or gouge the tile body. The goal is to remove grout cleanly down to the depth you need while staying centered in the joint. Matching the tool to the job is the difference between a clean re-grout and a room full of damaged tile.
Oscillating Multi-Tool With Grout Blade
For most removal jobs, an oscillating multi-tool fitted with a carbide or diamond grout blade is the fastest, most controllable powered option. The blade vibrates side to side in a tight arc, so it cuts grout without the grabbing tendency of a spinning bit.
- Best for: medium to large areas, floor and wall joints, and moderately hard grout.
- Blades: carbide-grit for general work, diamond-grit for very hard or epoxy grout.
- Control: excellent, since you guide it in straight passes along the joint.
Match the blade width to your grout line so it rides inside the joint rather than scraping the tile.
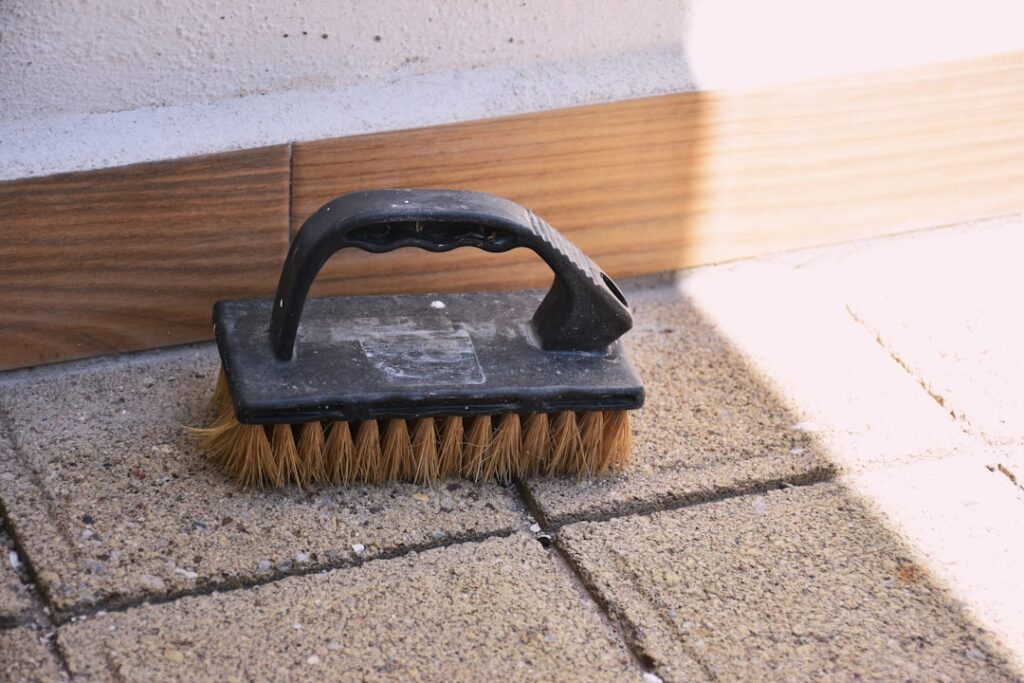
Carbide Hand Rake or Grout Saw
A manual grout saw has a handle and a carbide-coated blade you drag through the joint by hand. It is slow but gives total control, which is exactly what you want in delicate or small jobs.
- Best for: small repairs, a few cracked joints, tight corners, and softer grout.
- Upside: no power, no dust cloud, and almost no risk of the tool running away into a tile.
- Downside: hard on the hands and impractical for a whole floor.
Keep a hand rake around even if you own power tools; it finishes corners and details the powered tool cannot safely reach.
Rotary Tool
A rotary tool with a grout-removal bit and guide attachment spins fast and cuts quickly. It excels on wall grout and can zip through long joints, but the spinning bit is less forgiving, so it takes a steady hand.
- Best for: experienced users, wall tile, and long straight runs.
- Caution: the high speed can wander into a tile edge in an instant, and it throws a lot of dust.
Use the depth-and-edge guide attachment to keep the bit centered and from cutting too deep.
Technique to Avoid Chipping Tile
No matter which tile grout removal tool you pick, technique protects the tile.
- Score down the center of the grout line first, staying off the tile edges.
- Make several shallow passes rather than one deep, forceful cut.
- Let the tool do the work; forcing it causes it to jump toward the tile.
- Work along the joint, not across it, and keep the blade parallel to the tile faces.
- Remove grout to about two-thirds of its depth, enough for new grout to bond.
- Finish the last bit near the tile edges by hand with a grout saw for control.
Go slow at first. Speed comes naturally once you feel how the tool tracks in the joint.
Dust and PPE: Do Not Skip This
Cutting grout releases fine dust that can contain crystalline silica, which is hazardous to breathe. Protect yourself on every job:
- Wear a properly fitted respirator rated for fine dust, not just a paper mask.
- Use safety glasses to guard against flying grit and blade fragments.
- Wear gloves and hearing protection with power tools.
- Control dust with a vacuum held near the cut or a tool with dust extraction, and ventilate the room.
Silica exposure is cumulative, so treat dust control as mandatory, not optional.
Removing Different Grout Types
Not all grout removes the same way, and knowing what you are cutting saves both blades and patience.
- Standard cement grout: the most common and the easiest to remove; carbide blades handle it well.
- Epoxy grout: much harder and more heat-sensitive, so a diamond blade and slower, cooler passes work best.
- Sanded vs unsanded: both cut similarly, but wider joints of sanded grout simply mean more material to work through.
If you are unsure how hard your grout is, test a small hidden spot first. Epoxy grout in particular can dull a carbide blade quickly and gum up if it overheats, which is why a diamond-grit blade earns its higher cost on those joints.
How Deep to Remove
You do not need to dig all the grout out to bare substrate. For a standard regrout, remove grout to roughly two-thirds of the joint depth, which gives the fresh grout enough thickness to bond and hold. Going deeper than necessary risks nicking the tile edges and the setting bed beneath. If you are only refreshing the surface color, sometimes just removing the top layer and applying a grout renew is enough. But if the grout is cracked, crumbling, or moldy through its depth, take it down further so the new grout has sound material to key into.
Finishing and Cleanup
Once the old grout is out, the joints need to be clean before you can lay new grout. Vacuum the lines thoroughly to pull out dust and loose crumbs, then wipe the tile faces so no grit interferes with the fresh grout. Inspect each joint for stray high spots and knock them down with a hand rake. A clean, uniform-depth joint is what lets new grout go in smoothly and cure to an even color. Rushing this final cleanup leaves debris that weakens the bond and shows as uneven lines, so give it the few extra minutes it deserves.
Which Tool Should You Buy
If you only fix a few joints, a carbide hand rake costs little and does the job safely. For a full bathroom or floor, an oscillating multi-tool with the right blade is the best all-around tile grout removal tool, balancing speed and control. Reserve the rotary tool for when you have the experience to handle its speed. Whatever you choose, work patiently, protect the tile edges, and wear real dust protection, and you will have clean joints ready for fresh grout without a single chipped tile. One final tip: buy or rent one grade up in blade quality if you can, because a sharp diamond or premium carbide blade removes grout with noticeably less force, and less force means less chance of the tool skating into a tile. Cheap blades dull fast and tempt you to push harder, which is exactly when damage happens. Spending a little more on the cutting edge, and swapping it out the moment it stops cutting cleanly, is the easiest insurance against ruining tile you intend to keep.
Prefer to explore on your own?
See how new flooring looks in your actual room in seconds — free, no signup.
Try the free Floor Studio →