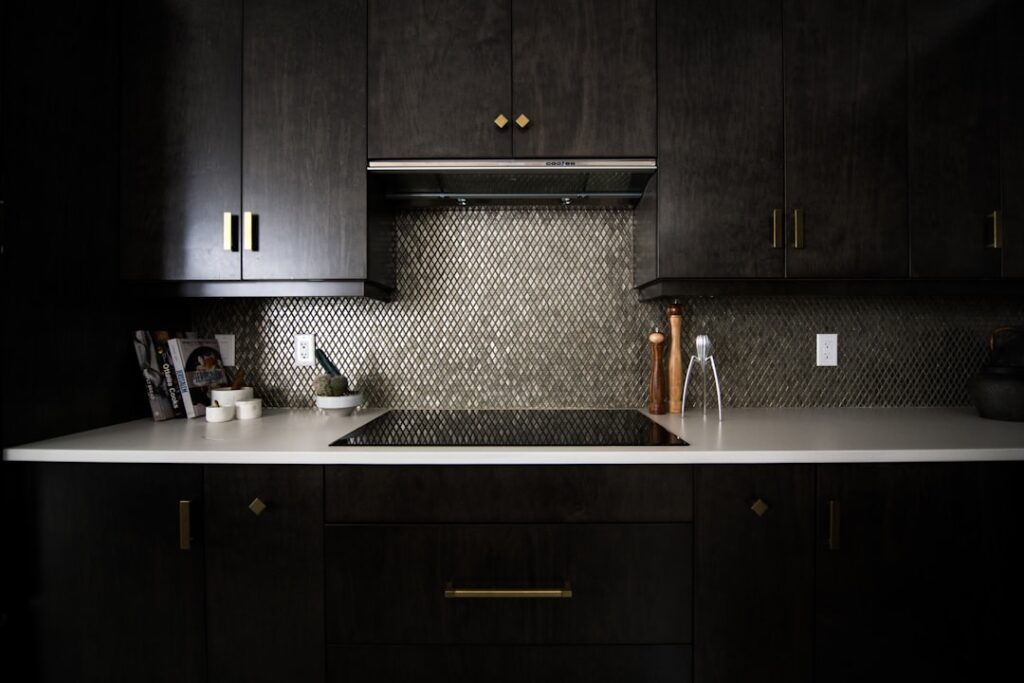
Pressed metal ceilings and walls date back to the late 1800s, when they gave ordinary homes a taste of ornate, molded plaster at a working-class price. That same material has found a second life on kitchen walls. A tin backsplash kitchen delivers instant character, a bit of shine, and a distinctive pattern you simply can’t get from plain tile. If you love farmhouse, cottage, or industrial styling, pressed metal is one of the most affordable ways to add real personality behind your counters.
- Real Tin vs. Faux Tin: Know the Difference
- What a Tin Backsplash Costs
- Finishes and Patterns to Consider
- How to Install Tin Backsplash Panels
- Pros and Cons of a Metal Backsplash
- Cleaning and Maintenance
- Design Ideas That Bring It Together
- Measuring and Ordering the Right Amount
- Is a Tin Backsplash Right for You?
Real Tin vs. Faux Tin: Know the Difference
The term “tin” is mostly nostalgic. True antique tin panels are rare and pricey. What you’ll actually shop for today falls into a few categories, and the differences matter for cost and durability.
- Steel and aluminum panels — the modern equivalent of old tin, stamped with decorative patterns and finished in many colors. Durable and heat-resistant, ideal near a range.
- Copper and real metal — premium panels with a genuine metal patina that develops over time. Beautiful but the most expensive option.
- PVC and thermoplastic faux panels — lightweight plastic molded to mimic pressed tin, often available as peel-and-stick. Budget-friendly and easy to install, but they can warp or melt near high heat.
For a backsplash directly behind a stove, choose real metal. Save the PVC panels for lower-heat areas or accent walls.
What a Tin Backsplash Costs
Pressed metal is surprisingly affordable for the impact it delivers. Faux PVC panels run as little as $5 to $15 per square foot and are the go-to for DIY budgets. Real stamped steel and aluminum panels land around $10 to $25 per square foot, while genuine copper can climb to $30 or more. Because installation is straightforward, labor stays low, and many homeowners handle it themselves. For a standard 30-square-foot backsplash, expect $150 to $750 in materials depending on which panel you choose.
Finishes and Patterns to Consider
The finish sets the entire mood of the kitchen. A polished chrome or bright silver panel leans modern and reflective, bouncing light around a small kitchen. Antique copper, oil-rubbed bronze, and aged brass finishes bring warmth and a vintage feel. Matte black or white powder-coated panels read contemporary and understated.
Patterns range from tight, intricate Victorian florals to bold Art Deco geometrics and simple beadboard-style lines. A busy pattern makes a dramatic statement but can overwhelm a small space, so match the scale of the design to the size of your wall. When in doubt, order a single sample panel and hold it up in your kitchen under your actual lighting before committing to a full order.
How to Install Tin Backsplash Panels
Installation is one of the biggest draws here, because metal panels go up faster and cleaner than tile. There are three common methods depending on the panel type.
- Peel-and-stick: the easiest route for faux and thin metal panels. Clean and dry the wall, peel the backing, and press the panel firmly in place. Best for smooth, flat walls.
- Adhesive: apply construction adhesive or panel adhesive to the back, press onto the wall, and hold or brace until it grabs. Works for most metal panels on a solid surface.
- Nails or screws: traditional pressed metal is often nailed to a plywood or furring-strip substrate, especially for full walls and ceilings. Cone-head nails set into the raised pattern hide the fasteners.
Cut panels with tin snips or a metal-cutting blade, and wear gloves because the edges are sharp. Plan your layout so the pattern lines up across seams, and use matching metal trim or molding to finish the top and side edges cleanly. Seal the edges near the counter with a bead of clear silicone to keep water out.
Pros and Cons of a Metal Backsplash
Weigh the trade-offs honestly before you buy.
- Pros: distinctive vintage character, affordable, fast DIY installation, heat-resistant (real metal), reflective panels brighten small kitchens, and no grout to scrub.
- Cons: shows fingerprints and water spots on shiny finishes, sharp edges during install, faux PVC can warp near heat, seams may show if the pattern isn’t aligned, and dents are possible with hard knocks.
Cleaning and Maintenance
Metal backsplashes clean up easily, which is a real advantage over textured stone or grouted tile. Wipe them down with a soft cloth and mild soapy water, then dry to prevent water spots. For polished finishes, a glass cleaner keeps the shine streak-free. Avoid abrasive pads and scouring powders, which scratch the finish and can strip a protective coating or patina.
Real copper and brass will patina over time, which many owners love, but if you want to keep the original bright finish, a metal polish and a clear lacquer coating slow the process. Behind a gas range, keep an eye on grease buildup and wipe it promptly, since baked-on grease is harder to remove from the raised pattern.
Design Ideas That Bring It Together
Tin backsplashes shine as a full wall behind the range or as a framed accent within a tile field. In a farmhouse kitchen, an antique copper panel pairs beautifully with a white apron sink and open wood shelving. For an industrial loft look, a raw or galvanized steel panel plays off exposed brick and black hardware. In a cottage kitchen, a soft white pressed panel adds texture without the visual weight of a bold metal finish. Whatever direction you choose, keep the surrounding palette relatively simple so the pattern gets room to breathe.
Measuring and Ordering the Right Amount
Pressed metal panels come in standard sizes, commonly 2-by-2-foot and 2-by-4-foot sheets, along with matching filler strips and edge trim. To order the right quantity, measure the total square footage of the backsplash area, then add roughly 10 to 15 percent for waste, cuts around outlets, and pattern matching. Patterned panels in particular need a little extra, because you’ll trim some material to keep the design aligned across seams.
Don’t forget the finishing pieces. Cornice, crown, or flat trim covers the raw cut edges where the panels meet the counter, cabinets, and ceiling, and it’s what gives the installation a professional, built-in look rather than a DIY afterthought. Buy the trim in the same finish as your panels so everything reads as one piece. It’s also smart to order a single sample panel first to confirm the color and pattern in your kitchen’s lighting before committing to the full quantity, since metallic finishes look very different under warm bulbs versus daylight.
If you’re covering a full wall behind the range and running up to the ceiling, plan your layout on paper first. Decide where the full panels go and where the cut pieces land so the most visible areas show the complete pattern and the trimmed edges hide near the corners and under the upper cabinets.
Is a Tin Backsplash Right for You?
If you want a backsplash with genuine character that installs fast and doesn’t break the budget, pressed metal is hard to beat. Choose real steel or aluminum near heat, splurge on copper if the patina appeals to you, and reserve inexpensive PVC for lower-heat spots. A well-chosen tin backsplash kitchen turns a plain wall into a conversation piece that suits vintage, farmhouse, and industrial styles alike, and it does it for a fraction of what stone or custom tile would cost.