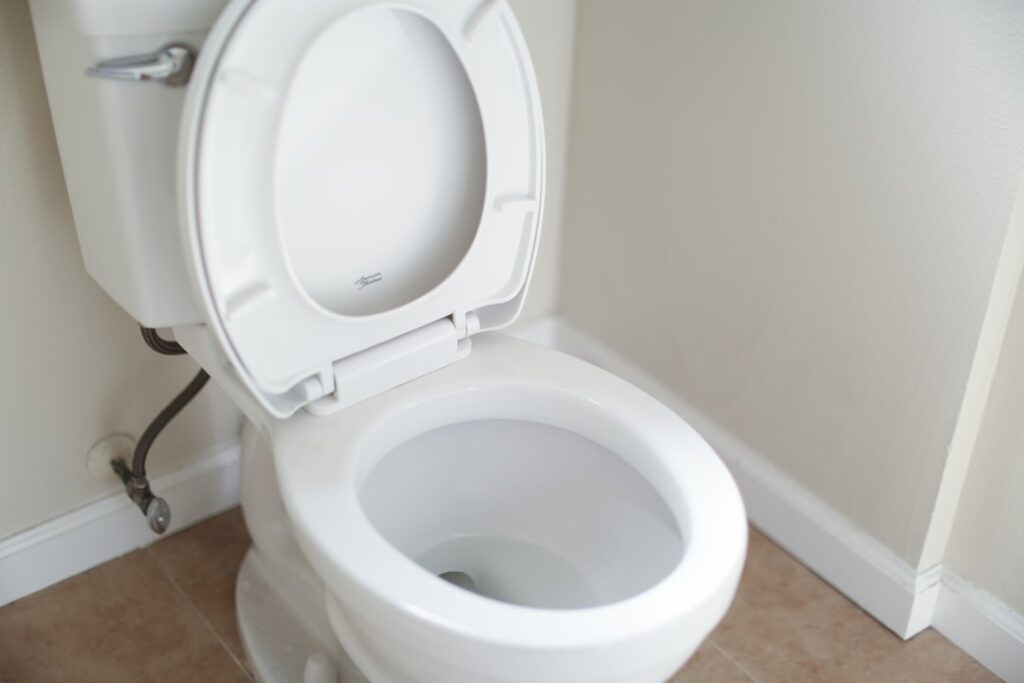
The gap between a toddler and a full-size toilet is the reason so many potty-training days end in frustration. A toddler toilet seat shrinks the opening so a small child can sit securely without slipping in, which turns a scary grown-up fixture into something they will actually use. This guide compares the built-in family seat, standalone reducers, and standalone potties, then covers hygiene, sizing, and installation so your toddler toilet seat works from day one.
Part of our Bathroom Remodeling & Flooring guide — explore the full guide →
Why a Smaller Opening Matters
A standard adult bowl opening is roughly 8 by 9 inches. To a toddler, that is a wide, unstable hole, and the fear of falling in is real enough to stall training entirely. A child-sized ring narrows the opening to about 6 to 7 inches, giving a small bottom something solid to rest on. Kids sit longer, feel safer, and are far more willing to try when they are not gripping the edges the whole time.
The Three Main Approaches
- Built-in family seat (2-in-1): Replaces your regular seat with one that has a child-sized ring nested inside the lid. Flip the small ring down for the toddler, up and out of the way for adults. Typically $30–$80. The tidiest long-term solution because nothing gets left on the floor.
- Standalone seat reducer: A separate child ring you set on top of the adult seat when needed and store between uses. Usually $10–$30. Cheap and portable, but it has to live somewhere and get placed each time.
- Standalone floor potty: A self-contained low chair with a removable bowl. Around $20–$40. Great for the earliest stage and for a bathroom-free room, but you empty and clean the bowl every use.
Many families start with a floor potty for the first few weeks, then move to a reducer or a built-in family seat on the real toilet once the child is comfortable. If you want one purchase that lasts, the built-in family seat wins because it is always there and never misplaced.
Built-In Family Seat: How It Works
A family seat looks like an ordinary closed-front seat until you lift the lid and find a second, smaller ring hinged inside. Better models have a magnet or catch that holds the child ring up against the lid so it does not flop down when an adult sits. Look for slow-close hinges on both rings so nothing slams onto little fingers, and a quick-release hinge so you can pop the whole assembly off for cleaning. Expect the child ring to fold up and stay put on its own; a ring that will not hold up is the most common complaint.
Sizing to Your Toilet
A built-in family seat replaces your existing seat, so it must match your bowl shape. Measure from the front edge of the bowl to the center line between the two rear bolt holes. A round bowl measures about 16.5 inches; an elongated bowl measures about 18.5 inches. Confirm the bolt spread, standardized near 5.5 inches on American toilets. Standalone reducers are more forgiving because they simply rest on top, but even those come in round and elongated versions, so check before buying to avoid a wobbly, oversized ring.
Hygiene: The Part That Makes or Breaks It
Little hands touch everything, so cleanability matters more here than with any adult seat.
- Choose a seat with smooth, sealed surfaces and few crevices where the two rings meet. Textured or ridged plastic traps grime.
- Prioritize a quick-release hinge. Popping the seat off weekly lets you clean the porcelain and the underside of the child ring, which is where splatter collects.
- Wipe daily with a mild bathroom cleaner or a child-safe disinfecting wipe. Skip harsh solvents that can craze plastic.
- Standalone reducers should hang on a hook or sit in a wipeable caddy, never on the floor, so the underside stays clean.
- Teach handwashing as part of the routine from the very first sit; the seat is only as clean as the hands using it.
Family Seat vs Standalone Reducer
The two options that both use your real toilet, a built-in family seat and a standalone reducer, suit different households. A family seat, at $30–$80, replaces your regular seat so the child ring is always attached and never wanders off to the floor or another room. Flip it down for the toddler, up for adults, and nobody has to hunt for anything. That convenience is why families with a single main bathroom usually prefer it.
A standalone reducer, at $10–$30, is cheaper and portable, which makes it ideal for a second bathroom, a grandparent’s house, or travel. The catch is that it has to be placed on the seat each time and stored somewhere clean between uses, and a wet reducer left on the floor defeats the hygiene you are trying to build. If your child moves between two homes or you want a spare for the diaper bag, a reducer earns its place, but for the primary bathroom the built-in seat is the lower-hassle pick.
Ages, Stages, and When to Switch
Most children show readiness signs somewhere between 18 months and 3 years: staying dry for longer stretches, telling you when they need to go, and showing interest in the bathroom. A floor potty often suits the earliest stage because it is low, unintimidating, and portable from room to room. As confidence grows, moving to a reducer or family seat on the real toilet builds the habit you actually want to keep. There is no fixed calendar here; every child is different, and pushing a fearful toddler onto the big toilet too early tends to backfire. Let readiness, not age, drive the switch.
Making Potty Training Work
Hardware is only half the job. A stable step stool is the other half, because a toddler needs to climb up and, just as important, brace their feet while sitting. Feet flat on a stool gives the leverage a child needs and helps them feel secure enough to relax. Set the routine at consistent times, keep sits short and pressure-free, and let the child flush and wash so the whole sequence feels like theirs. A reachable toilet-paper spot and a low towel or soap they can operate all reinforce independence.
Keep the tone encouraging and matter-of-fact. Accidents are part of the process, and a child who feels calm on the seat comes back to it willingly. The equipment exists to remove fear and instability, not to rush the timeline, which varies widely from child to child.
Installing a Built-In Family Seat
- Unscrew the two bolts behind the bowl and lift off the old seat.
- Wipe the porcelain around the bolt holes so the new base sits flat.
- Set the family seat’s bracket over the holes and insert the bolts.
- Hand-tighten, then add a quarter turn with a screwdriver. Do not overtighten, which cracks the plastic base.
- Snap the seat onto the bracket, then test both rings. Confirm the child ring holds up on its own and both rings close slowly.
Plan on 15 to 20 minutes. A standalone reducer needs no installation at all; you just place it on the seat, center it, and remove it when an adult needs the toilet.
Buying Checklist
- Correct bowl shape (round vs elongated) for a built-in seat.
- A child ring that magnetically holds up out of the way.
- Slow-close hinges on both rings to protect fingers.
- Quick-release hinge for weekly deep cleaning.
- Smooth, sealed surfaces with minimal crevices.
- A matching step stool so feet stay braced.
- A round or elongated reducer that fits snugly, not one that rocks.
Get those details right and the seat quietly does its job, letting your child focus on the milestone instead of the fixture.
Chosen well, a toddler toilet seat takes the fear out of the big toilet, keeps cleanup simple, and pays for itself in fewer stalled training days. Match the seat to your bowl, add a sturdy stool, keep it clean, and let your child set the pace.