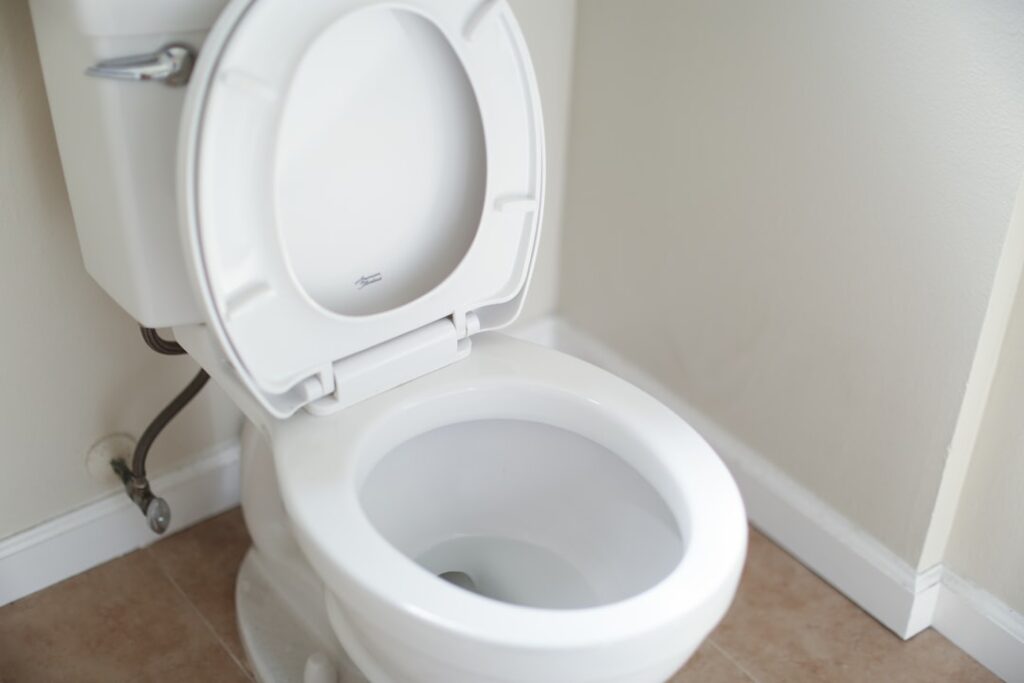
A wobbling toilet seat almost always traces back to the hardware at the hinges. Understanding toilet seat bolts, how they work, why they loosen, and how to swap them, lets you fix an annoying wobble in minutes without calling a plumber. This guide covers the bolt types, removal tricks for corroded ones, and how to keep them tight.
Part of our Bathroom Remodeling & Flooring guide — explore the full guide →
- What Toilet Seat Bolts Do
- Common Bolt Types
- Why Seats Come Loose
- Tightening Loose Bolts
- Removing Corroded Metal Bolts
- Choosing Replacement Bolts
- Installing New Bolts
- Stopping Future Loosening
- Dealing With Stripped Holes
- Top-Mount vs. Bottom-Mount Bolts
- Matching Bolt Length and Hole Spacing
- Understanding Bolt Kit Contents
- Cleaning Around the Bolts
- When to Replace the Whole Seat
- Plastic vs. Metal Bolts: Which to Choose
- Fixing a Seat That Slides Forward
- Tools That Make the Job Easier
- Final Thoughts
What Toilet Seat Bolts Do
Toilet seat bolts pass through two holes at the back of the bowl and secure the seat’s hinges. A nut or wing nut on the underside clamps everything down. Over time, the constant lifting and lowering of the lid works the nuts loose, and the seat begins to shift side to side.
Common Bolt Types
- Plastic bolts and nuts: The most common, corrosion-proof and standard on many seats. Tightened by hand or with a slot in the top for a screwdriver.
- Metal bolts (brass or stainless): Stronger, used on heavier wood seats; can corrode or seize.
- Top-mount (quick-release) bolts: Tighten entirely from above, no reaching under the bowl. Common on newer seats.
- Wing-nut style: Feature large plastic wing nuts you spin by hand underneath.
Why Seats Come Loose
Movement is the enemy. Each time the seat is used, tiny vibrations loosen the nuts. Plastic nuts can also crack, and metal bolts can corrode where they contact water and cleaner residue. A seat that repeatedly loosens usually has worn threads or a missing rubber washer that should provide friction.
Tightening Loose Bolts
Start with the simplest fix before replacing anything.
- Locate the bolt caps at the back of the seat and flip them open to expose the bolt heads.
- Hold the bolt head still with a screwdriver while you tighten the nut underneath by hand or with pliers.
- For top-mount seats, simply turn the top screw clockwise until snug.
- Do not overtighten plastic hardware, which cracks easily; snug plus a quarter turn is enough.
Removing Corroded Metal Bolts
Old metal bolts often seize, spinning uselessly because the nut has rusted to the bolt. Try these steps in order:
- Apply penetrating oil to the nut and wait 15 minutes.
- Grip the nut with locking pliers while turning the bolt head.
- If it still spins, cut the bolt with a hacksaw blade or an oscillating multi-tool, protecting the porcelain with tape.
- As a last resort, use a rotary tool with a cutting wheel to slice through the bolt shank.
Work gently near the porcelain; the bowl is brittle and expensive to replace.
Choosing Replacement Bolts
Replacement bolt kits are cheap, usually $3 to $10, and universal seats include them. When buying, match the length to your bowl thickness and choose plastic bolts if you want to avoid future corrosion. Standard toilet seat bolts fit the near-universal hole spacing of about 5.5 inches center to center on residential toilets.
Installing New Bolts
Fitting new hardware takes only a few minutes.
- Set the seat hinges over the bowl holes and drop a bolt through each, with the rubber washer under the head.
- From underneath, thread on the nut and hand-tighten.
- Align the seat straight and centered before final tightening.
- Snug the nuts, then close the bolt caps.
Stopping Future Loosening
To keep bolts tight for good, make sure the rubber or nylon washers are in place, since they create the friction that resists loosening. A dab of removable thread locker on metal bolts, or simply choosing a top-mount quick-release seat, dramatically reduces wobble. Re-check the nuts every few months as part of routine bathroom cleaning.
Dealing With Stripped Holes
If a plastic bolt spins because the nut threads have stripped, the fix is a full replacement kit rather than reusing the damaged parts. Never try to force a stripped nut; it will not hold and the seat will loosen again within days.
Top-Mount vs. Bottom-Mount Bolts
Bolt design has evolved to make installation easier. Traditional bottom-mount bolts drop through the bowl and require you to reach underneath to hold a nut while tightening, which is awkward in tight spaces. Top-mount (or top-fixing) bolts let you tighten everything from above the bowl, which is a major convenience upgrade, especially on toilets set close to a wall. If you dread reaching behind the bowl, choosing a seat with top-mount quick-release hardware makes both installation and future cleaning far simpler.
Matching Bolt Length and Hole Spacing
When buying replacement bolts, two measurements matter. First, the hole spacing: residential toilets use a near-universal center-to-center distance of about 5.5 inches, so most kits fit. Second, the bolt length: the bolt must be long enough to pass through the bowl and accept the nut, but not so long that excess thread juts out. Standard kits accommodate typical bowls, but unusually thick rims may need longer bolts, which are sold separately.
Understanding Bolt Kit Contents
A typical replacement bolt kit is inexpensive and includes everything needed for a solid mount.
- Two bolts, usually plastic to resist corrosion.
- Two nuts to secure them underneath.
- Rubber or nylon washers that provide friction and prevent loosening.
- Sometimes bolt caps to cover the heads for a finished look.
Keep any spare washers, since a missing washer is a frequent cause of a seat that will not stay tight.
Cleaning Around the Bolts
The area around the seat bolts collects grime and is easy to overlook. A quick-release seat lets you pop the whole seat off to scrub the bowl edge and hinge area thoroughly. If your seat is not quick-release, use an old toothbrush and disinfectant to reach the crevices around the bolt heads. Keeping this area clean not only improves hygiene but also lets you spot a loosening bolt before it becomes a wobble.
When to Replace the Whole Seat
If the hinges themselves are cracked, the seat is stained or scratched, or you are constantly re-tightening, a new seat is the better value. Quality seats with quick-release, top-mount bolts cost $20 to $50 and install in under ten minutes, eliminating the wobble problem entirely.
Plastic vs. Metal Bolts: Which to Choose
When replacing bolts, the material choice affects longevity and future serviceability. Plastic bolts never corrode, so they will not seize to the nut, and you can usually remove them years later by hand. The downside is they are slightly less strong and can crack if overtightened. Metal bolts (brass or stainless) are stronger and suit heavy wood seats, but they can corrode in a wet environment and become nearly impossible to remove without cutting. For most households, plastic bolts are the better long-term choice precisely because they come apart easily later.
Fixing a Seat That Slides Forward
Sometimes a seat does not just wobble side to side but slides forward and back. This usually means the hinges are not clamped tightly or the bolt holes are slightly oversized. The fix is to ensure the rubber washers are seated, then tighten firmly while holding the seat in the correct centered position. If sliding persists, a small amount of silicone or the rubber bumpers found on quality seats can add friction. Grip-style hinges with rubber pads are specifically designed to eliminate this movement.
Tools That Make the Job Easier
A few basic tools turn a frustrating bolt job into a quick one.
- A basin wrench or long-nose pliers to reach nuts behind a close-set bowl.
- Penetrating oil for freeing corroded metal hardware.
- An oscillating multi-tool or hacksaw blade for cutting seized bolts.
- Painter’s tape to protect the porcelain when cutting.
Final Thoughts
Loose or corroded toilet seat bolts are one of the easiest bathroom fixes you can do yourself. Start by tightening the existing hardware, cut out any seized metal bolts carefully, and replace worn parts with an inexpensive kit or a quick-release seat. With the washers in place and the nuts snug, your seat will stay firmly put for years.