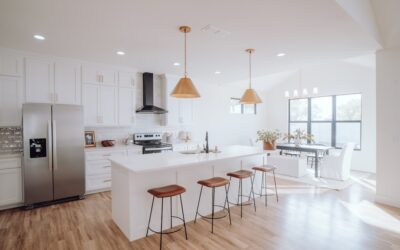
The best remodeled tudor homes look as if nothing was changed at all from the street, yet feel bright, open and practical once you step inside. That balance is harder than it sounds. Tudor Revival houses from the 1920s and 1930s were built around small, separate rooms, thick plaster walls and steep roofs, and an aggressive renovation can strip out the arches, leaded glass and woodwork that made the house worth buying.
A careful remodel starts with knowing what to keep, then targets the spaces that cause daily frustration: a closed kitchen, a dated bath, drafty windows and dark interiors. This approach breaks a Tudor renovation into practical projects, with steps, costs and safety notes for each.
- Planning Remodeled Tudor Homes: What to Preserve First
- Opening Closed-Off Rooms
- Kitchen Updates That Fit the Era
- Bathroom Remodels
- Window Replacement or Restoration
- Flooring, Lighting and Finishes Throughout
- Adding Space Without Changing the Facade
- Troubleshooting Renovation Surprises
- General Cost Ranges
- When to Call a Licensed Professional
- Frequently Asked Questions
Planning Remodeled Tudor Homes: What to Preserve First
Before sketching anything, inventory the original features. Owners of remodeled tudor homes that sell well almost always kept these elements:
- Arched doorways and plaster arches between rooms.
- The fireplace and mantel, often with tile or stone surrounds.
- Leaded or diamond-pane windows, especially on the front facade and stair landings.
- Exposed beams and coved ceilings in the living room.
- Plank doors with iron hardware and original hardwood or tile floors.
- The street-facing roofline, including gables, chimneys and dormers.
Photograph and measure these details. If you must remove a piece, such as a built-in during a kitchen project, salvage it for reuse elsewhere.
Opening Closed-Off Rooms
Most owners want better flow between the kitchen, dining room and living room. A full open concept rarely suits a Tudor, but a partially open plan works beautifully.
Decision Guide: How Much to Open
- Widen an existing doorway: The least invasive option. Enlarge an opening to 5 or 6 feet and finish it with an arch that echoes existing ones.
- Add a cased opening or half wall: Creates sight lines while keeping a sense of separate rooms.
- Remove a wall entirely: Best saved for a non-original wall or a cramped back hall. Requires a structural review if the wall carries load.
Steps for Widening an Interior Opening
- Test plaster and paint for asbestos and lead before cutting anything.
- Have an engineer or experienced contractor confirm whether the wall is load bearing and size a header if needed.
- Locate and reroute wiring, plumbing or ductwork in the wall. With wiring, turn off the breaker and confirm power is off with a non-contact voltage tester, and leave rerouting to a licensed electrician.
- Install temporary shoring on both sides if the wall is structural.
- Cut plaster cleanly with a multi-tool, set the new header and jack studs, and patch with plaster or a veneer plaster system so walls stay smooth and solid.
- Form the arch with a flexible arch template or bent drywall and finish to match.
Kitchen Updates That Fit the Era
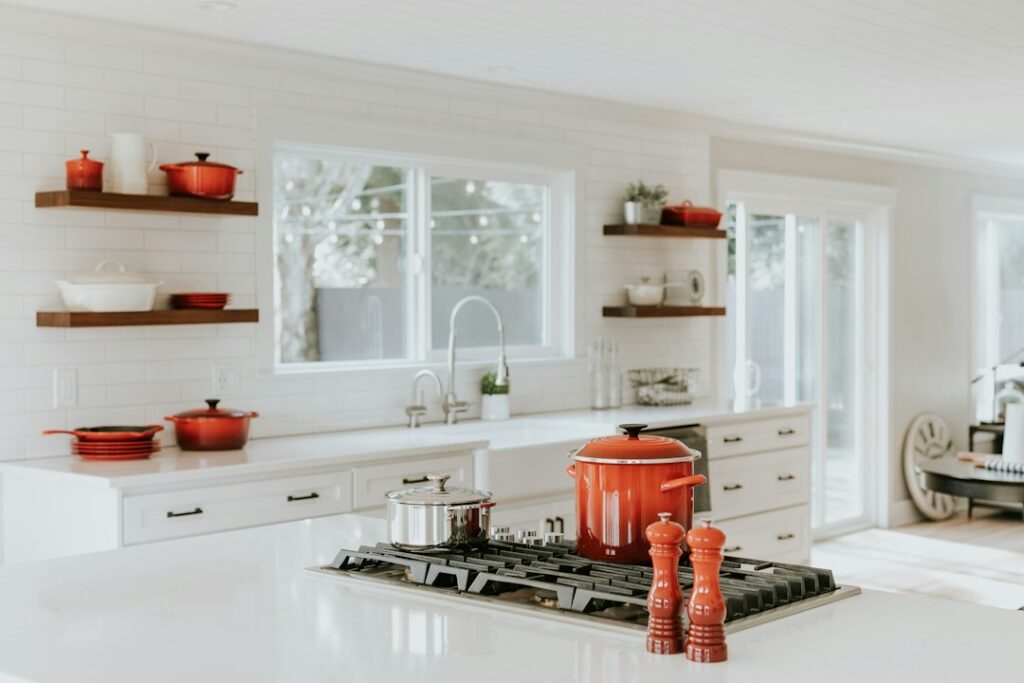
Original Tudor kitchens were small service rooms at the back of the house. The most successful updates borrow space from a pantry, breakfast nook or back porch rather than cutting into the formal rooms.
- Cabinets: Inset or flat-panel doors in painted finishes or quarter-sawn oak suit the period. Run upper cabinets to the ceiling to maximize storage.
- Counters: Honed stone, soapstone or butcher block look appropriate. High-gloss surfaces can feel out of place.
- Range hood: A plaster or wood hood that mimics a fireplace chimney breast ties the kitchen to the house’s style.
- Lighting: Lantern-style pendants and iron or bronze fixtures fit better than ultra-modern linear lights.
- Flooring: Checkerboard or hex tile, terracotta, or wide-plank oak work well.
New appliance circuits, a range hood vent through the roof or wall, and relocated plumbing require permits and licensed trades. Kitchen countertop outlets must be GFCI protected.
Bathroom Remodels
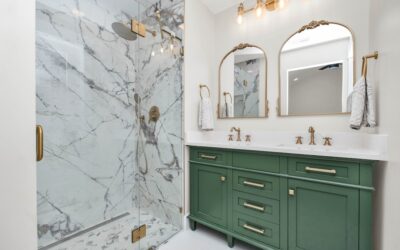
Tudor-era bathrooms often have original tile in colorful glazes. If it is intact, consider keeping it and updating fixtures and lighting around it. When starting over, period-friendly choices include white subway or hex mosaic tile, a pedestal or console sink, a clawfoot or apron-front tub, and polished nickel or unlacquered brass fittings.
Small upstairs baths under sloped ceilings benefit from a curbless shower placed where headroom is highest, a wall-hung toilet to save depth, and a skylight or shed dormer for light. Waterproof showers with a membrane system rather than relying on tile and grout, and vent the exhaust fan to the exterior, not into the attic.
Window Replacement or Restoration
Windows are where many Tudor remodels go wrong. Replacing leaded casements with plain vinyl units strips character instantly. Work through these options in order:
- Restore: Repair sashes, reglaze, replace broken cames and add weatherstripping. Restored steel or wood casements can last decades more.
- Add interior storms: Low-profile interior storm panels improve comfort and energy performance substantially without altering the exterior.
- Replace selectively: On rear or side elevations, or where windows are rotted beyond repair, choose replacements with true or simulated divided lites, narrow frames and a matching profile.
Never discard original leaded glass. Even if a sash is replaced, panels can be reused in a transom, cabinet door or interior window.
Flooring, Lighting and Finishes Throughout
Finishes tie the old and new parts of the house together, and they are where many remodeled tudor homes either shine or feel disjointed. Start with the floors. Original oak strip flooring usually responds well to sanding and refinishing, and a medium-brown stain or a natural oil finish suits the era better than very light or gray tones. Where new floors meet old, weave in new boards of the same species and width rather than running a threshold across the opening.
In kitchens, mudrooms and baths, porcelain tile in hex, basketweave or small square patterns reads as period appropriate and holds up to water. Avoid large-format, high-gloss tile in historic rooms, since it tends to look like a commercial lobby.
Lighting deserves a plan of its own. Tudor rooms were lit by a central ceiling fixture and a few wall sconces, so they often feel dim by modern standards. Layer in recessed lights sparingly in kitchens and baths, keep decorative fixtures in living and dining rooms, and add lamps or picture lights to wash plaster walls. Warm color temperatures around 2700K flatter wood and plaster. Any new fixture locations require wiring by a licensed electrician.
For paint, warm whites, soft putty tones and muted greens or blues suit plaster walls. Consider keeping original stained woodwork unpainted where it survives, since stripping paint later is far harder than leaving wood alone now.
Adding Space Without Changing the Facade
When the house simply needs more room, keep additions behind the front plane of the house and lower than the main ridge. A rear shed dormer adds upstairs headroom invisibly from the street. A single-story rear family room or primary suite with its own small gable can echo the main roof. Match brick, stucco and trim colors, and keep roof pitches steep to stay in character.
Troubleshooting Renovation Surprises
- Knob-and-tube wiring: Common behind Tudor plaster. A licensed electrician should evaluate and plan replacement.
- Undersized framing: Older joists may sag when walls are removed. An engineer can specify sistering or beams.
- Galvanized or cast iron drains: Often corroded. Budget for replacement while walls are open.
- No insulation in walls: Dense-pack cellulose blown through small holes adds comfort with minimal plaster damage.
- Uneven floors: Settled houses rarely sit level. Plan cabinets and tile with shims and leveling compounds rather than chasing perfection.
General Cost Ranges
Widening a non-structural opening typically costs low thousands, while a load-bearing opening with an engineered header can reach several thousand or more. Kitchen remodels in Tudor homes span from the mid tens of thousands for a refresh to well beyond that for layout changes with custom cabinetry. Bath remodels usually fall in the mid five figures for full gut work. Window restoration often costs less per opening than high-quality custom replacements, and interior storm panels are a fraction of either.
When to Call a Licensed Professional
Pull permits for structural changes, additions, new electrical circuits, plumbing relocation and HVAC work. A structural engineer should review any wall removal, new beam or dormer, and a licensed electrician, plumber and HVAC contractor should handle their trades. If you live in a historic district, check with the local preservation commission before altering windows, doors or the roofline.
For safety, test all painted surfaces for lead before disturbing them, since homes built before 1978 almost always contain it, and use an EPA lead-safe certified renovator. Plaster, joint compound, flooring, adhesives and pipe insulation from before the 1980s should be tested for asbestos, with licensed abatement if results come back positive. For exterior work, anchor new framing securely into existing structure and footings, account for wind and snow loads, call 811 before digging footings, and confirm HOA requirements.
Frequently Asked Questions
Can you make a Tudor house open concept?
You can open it partially by widening doorways and adding arched openings. Fully removing walls often clashes with the style and may require costly beams.
Should I replace the original windows in my Tudor?
Restoration with interior storms is usually the better choice for character and often for cost. Replace only windows that are beyond repair.
What kitchen style suits a Tudor home?
Inset or flat-panel cabinets, natural stone or butcher block counters, a hood that resembles a chimney breast, and iron or brass lighting fit the era well.
How much does it cost to remodel a Tudor house?
It varies widely. A cosmetic refresh may cost tens of thousands, while a whole-house remodel with layout changes, systems upgrades and an addition can reach well into six figures.
Do I need permits to remodel an old Tudor?
Structural, electrical, plumbing and mechanical work generally requires permits, and historic districts may require additional approval for exterior changes.