
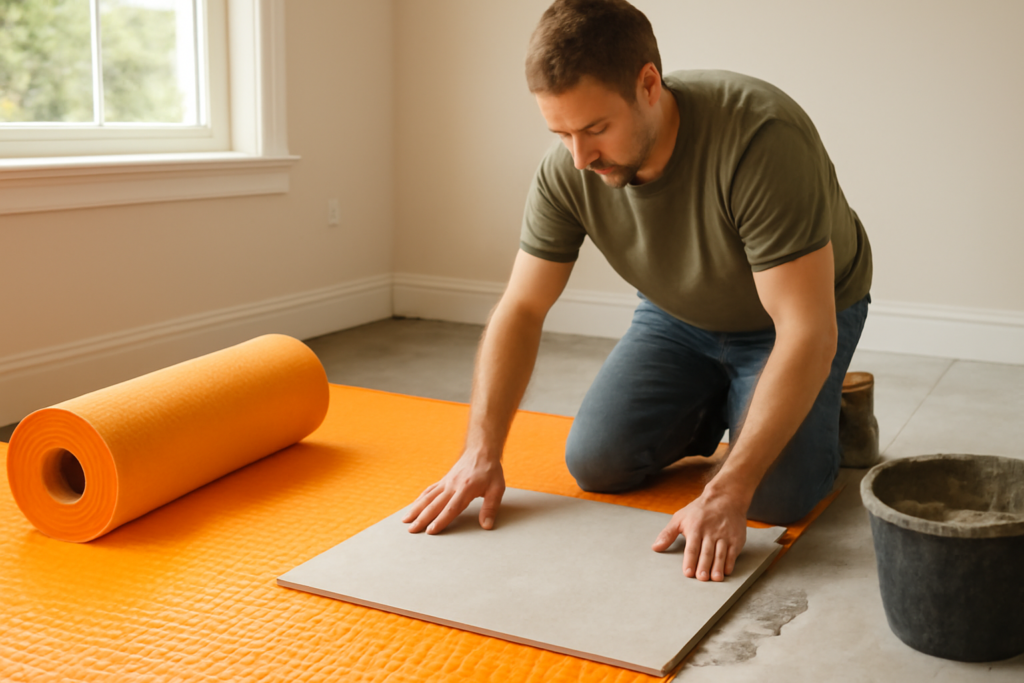
Cracked grout lines and broken tiles usually trace back to movement in the subfloor, not bad tile. An uncoupling membrane for tile solves that problem by separating, or uncoupling, the tile layer from the substrate so that movement below does not transfer up and crack your finished floor. These thin plastic mats, including the well-known Ditra style, have become a standard tool for durable tile installations over both wood and concrete. This guide explains how they work and how to install one correctly.
What an Uncoupling Membrane Does
Floors move. Wood subfloors expand and contract with humidity, and concrete slabs develop hairline cracks as they cure and shift. When tile is bonded rigidly to a moving surface, that stress cracks the grout and eventually the tile. An uncoupling membrane sits between the tile and the substrate, allowing small in-plane movements to happen harmlessly within the membrane rather than passing into the tile.
This function is called crack isolation, and it is the single biggest reason these membranes have become so popular for both DIY and professional jobs.
How It Works
Most uncoupling membranes are made of a polyethylene sheet with a grid of square or dovetailed cavities on top and an anchoring fleece on the bottom. The bottom fleece keys into the thin-set mortar below, locking the membrane to the floor. The cavities on top hold a second layer of thin-set that grips the tile. Between those two bonded layers, the flexible sheet absorbs lateral movement. Many membranes also provide waterproofing and allow vapor to escape, which matters over fresh concrete.
Where to Use It
An uncoupling membrane is a smart choice in several common situations:
- Over plywood or OSB subfloors: Wood moves seasonally, and the membrane isolates that movement.
- Over concrete slabs: Protects tile from existing or future hairline cracks.
- Over in-floor radiant heat: Handles the expansion and contraction from heating cycles.
- In bathrooms and showers: Sheet-applied versions add waterproofing when seams are sealed.
It is not a substitute for a structurally sound subfloor. The framing must still be stiff enough to meet the tile deflection requirement, generally L/360 for ceramic and L/720 for natural stone.
Membrane vs Cement Backer Board
Many homeowners wonder whether to use a membrane or traditional cement backer board. Backer board adds a rigid, stable surface but does nothing to isolate cracks; if the floor below moves, the tile can still crack. An uncoupling membrane is thinner, lighter, and adds crack isolation, but it does not add stiffness. On a borderline subfloor, you may need to add plywood for stiffness and then a membrane for crack isolation. The two products solve different problems.
Tools and Materials You Need
Gather these before you start:
- Uncoupling membrane sized for your room
- Unmodified thin-set mortar (check the manufacturer’s spec, as some require unmodified under the membrane)
- A notched trowel, typically 1/4 by 3/16 inch for the membrane bond coat
- A utility knife and straightedge for cutting
- A grout float or laminate roller to seat the membrane
- Seam tape or sealing strips for waterproofing if needed
How to Install an Uncoupling Membrane
Work in manageable sections so the mortar does not skin over before you set the membrane.
- Clean and prime the substrate so it is free of dust, grease, and debris.
- Dry-fit and cut the membrane to your layout, trimming around obstacles.
- Spread thin-set on the substrate with the flat then notched trowel, using the mortar specified by the maker.
- Press the fleece side of the membrane firmly into the wet mortar and roll it flat to ensure full contact, eliminating air pockets.
- Butt seams tightly without overlapping, and tape or seal seams if waterproofing is required.
- Let it set, then tile directly onto the membrane using thin-set in the cavities.
Full mortar contact under the fleece is critical. Pressing and rolling the membrane prevents hollow spots that would compromise the bond.
Cost and Value
Uncoupling membrane typically runs about $1.50 to $3 per square foot for the material, with sheet rolls being more economical than peel-and-stick versions. That is a small premium against the cost of tearing out and replacing a cracked tile floor. For any tile installation over wood, radiant heat, or questionable concrete, the membrane is cheap insurance.
Using It With Radiant Floor Heat
One of the membrane’s best applications is over electric or hydronic radiant heat. The heating cables or mats sit within the membrane’s cavities, and the dimpled structure both protects the cables and gives the system room to expand and contract through heating cycles without stressing the tile. This is a major advantage in bathrooms and kitchens where warm floors are a luxury, because the constant thermal movement that would crack a rigidly bonded floor is absorbed safely. Always confirm the membrane is rated for the specific heating system you plan to use.
Waterproofing With Sheet Membranes
Many uncoupling membranes double as a waterproofing layer when the seams are sealed properly. In a shower or wet room, you tape the seams and treat the corners and drain with the manufacturer’s banding and sealant to create a continuous waterproof plane. This lets a single product handle both crack isolation and moisture control, simplifying the build. If waterproofing is the goal, follow the system’s full instructions exactly, since an unsealed seam defeats the purpose and can let water reach the substrate.
Common Mistakes to Avoid
The most frequent error is using the wrong mortar; many membranes require unmodified thin-set beneath them because modified mortar cannot dry properly when sandwiched between two nonporous layers. Skipping the rolling step leaves voids that lead to loose tile. And relying on the membrane to fix a bouncy floor will not work, because it isolates cracks but does not add stiffness. Fix the structure first, then add the membrane.
Final Thoughts
An uncoupling membrane is one of the best upgrades you can make to a tile floor’s longevity. By separating the tile from a moving substrate, it prevents the cracked grout and broken tiles that plague rigid installations. Follow the manufacturer’s mortar requirements, roll the membrane for full contact, and confirm your subfloor is stiff enough, and your tile will stay intact for decades.
Prefer to explore on your own?
See how new flooring looks in your actual room in seconds — free, no signup.
Try the free Floor Studio →

