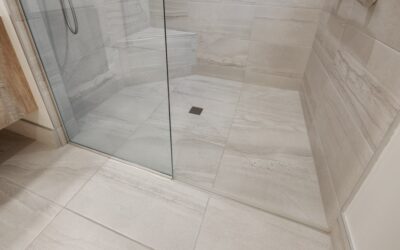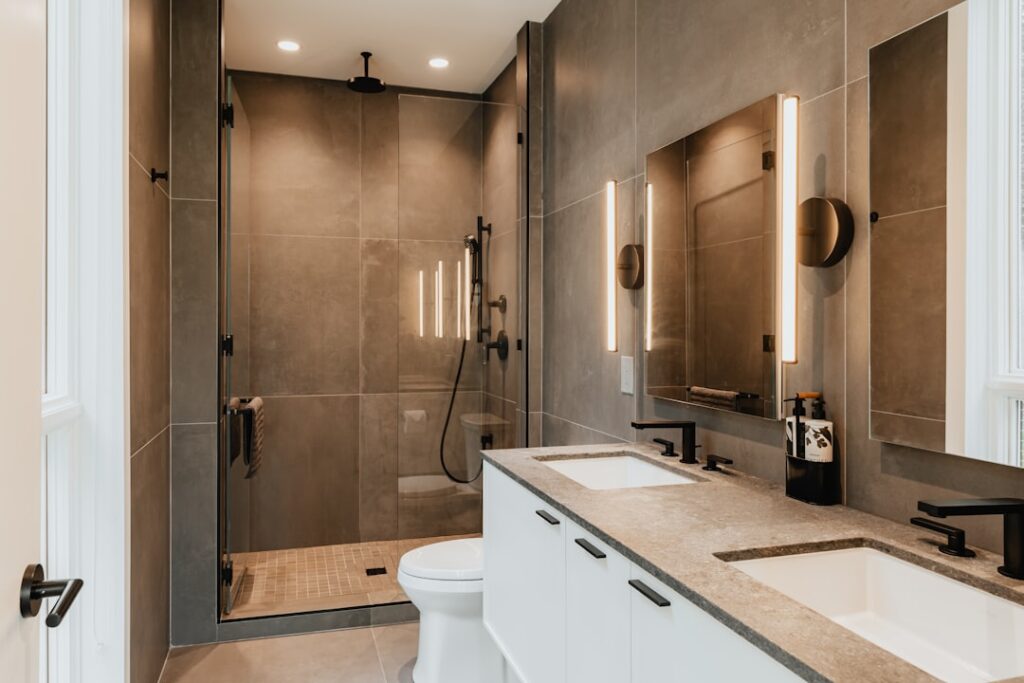
If you want the low-maintenance ease of a solid pan with the upscale, stone-like feel of tile, a porcelain shower base sits right in the sweet spot. Fired from the same dense clay body as porcelain tile, these one-piece bases resist scratches, stains, and the mold that plagues grouted shower floors. They have quietly become the choice of remodelers who are tired of callbacks over cracked acrylic and failing tile pans. Before you order one, though, you need to understand sizing, thickness, and how the base ties into the rest of your waterproofing.
Part of our Bathroom Remodeling & Flooring guide — explore the full guide →
What Sets Porcelain Apart
A porcelain base is a single fired slab, typically 0.6 to 1.2 inches thick, with an integrated slope and a molded or cutout drain location. Because porcelain is vitrified, its water absorption is under 0.5 percent, which means it will not soak up moisture, harbor bacteria, or stain the way natural stone can. The surface is far harder than acrylic, so it resists the dull scratching that shampoo bottles and grit inflict on cheaper pans over time.
Compared to a traditional mud-set tile floor, the biggest win is zero floor grout. There is nothing to reseal, nothing to scrub, and no low spots for water to pool. You get the tile aesthetic across the base with the maintenance profile of a solid surface.
Standard Sizes You Can Buy
Porcelain bases come in the same footprints as most prefab pans, so they fit standard rough-ins. The common sizes are:
- 32 x 32 in. and 36 x 36 in. for compact corner and alcove showers
- 48 x 36 in. and 60 x 32 in. for standard alcove replacements, including tub-to-shower conversions
- 60 x 36 in. and larger for spacious master baths
Drain placement is usually center or offset linear, so confirm your plumbing before ordering. A 60 x 32 unit designed for a linear end drain will not work over a centered rough-in without moving the pipe, which is a costly surprise mid-project.
How It Compares to Acrylic and Tile
Acrylic pans are the budget default at $150 to $400, lightweight and quick to set, but they flex underfoot, can crack under a dropped object, and yellow over the years. A site-built tile pan offers total design freedom but relies entirely on the installer’s waterproofing skill; a single missed seam in the liner leads to rot and a five-figure repair. Porcelain splits the difference: it delivers a rigid, premium surface with a fraction of the labor and risk of a custom tile floor.
Expect a porcelain base itself to run $300 to $900 depending on size and brand, with high-end large-format units reaching $1,200. That is more than acrylic but far less than the labor for a hand-built tile pan, and the finished product looks like the latter.
Weight and Structural Considerations
Do not underestimate the heft. A 60-inch porcelain base can weigh 120 to 180 pounds, so plan for two people to move and set it. The upside of that mass is rigidity: unlike acrylic, it will not deflect or creak when you step on it, and it transmits a reassuring solid feel underfoot.
Because of the weight and stiffness, the subfloor must be dead flat. Any rock or void beneath the base creates a stress point that can crack porcelain over time. I always check the substrate with a 4-foot level and shim or float low spots before setting anything.
Installation Essentials
A porcelain base is not simply dropped in place. The correct method is to set it in a full bed of thinset mortar or a modified polymer adhesive so the entire underside is supported, eliminating voids. Here is the sequence I follow:
- Confirm the subfloor is flat, dry, and structurally sound.
- Dry-fit the base and mark the drain location.
- Install and test the drain assembly per the manufacturer’s kit.
- Comb a full bed of thinset across the footprint.
- Set the base, press evenly, and check for level with a slight pitch to the drain already built in.
- Let it cure 24 hours before loading it.
The walls above still need proper waterproofing. Tie a waterproof membrane or backer board system into the base’s flange so water sheds onto the pan and down the drain, never behind it.
Cleaning and Long-Term Care
This is where porcelain shines. Since there is no floor grout and the surface is non-porous, a weekly wipe with a mild pH-neutral cleaner keeps it looking new. Skip abrasive powders and steel wool, which can dull a matte or textured finish over decades. For hard-water spots, a diluted vinegar solution followed by a rinse works without harming the glaze.
Most textured porcelain bases carry a slip-resistance rating, often expressed as a DCOF value of 0.42 or higher, which meets the standard for wet floors. Choose a textured rather than a polished surface for the shower floor so the base stays safe when soapy.
Drain Options and Waterproofing Details
The drain style shapes both the look and the plumbing of your project. Center point drains are the traditional choice and pair with a base that slopes from all four edges toward the middle; they work over standard center rough-ins and cost the least. Linear drains, a narrow slotted channel usually set at one end or along a wall, have become popular because they allow a single-plane slope and a sleeker, more contemporary appearance. Confirm which one your base is built for before you order, and verify the drain kit is compatible with your waste pipe size, typically 2 inches for a shower.
Whatever the drain, the connection is where leaks start, so take it seriously. Follow the manufacturer’s drain assembly to the letter, use the supplied gaskets, and do a flood test before you close up the walls: plug the drain, fill the base with an inch of water, mark the level, and check it 24 hours later. Tie the base’s upstand or flange into a waterproof wall membrane so every drop sheds down onto the pan. Cutting corners here is the number one reason showers fail, regardless of how good the base itself is.
Finish and Color Options
Porcelain bases are no longer limited to plain white. Manufacturers now offer matte gray, sand, charcoal, and stone-look surfaces that coordinate with large-format wall tile for a seamless, monolithic shower. A matte or lightly textured finish is the practical choice for a floor because it hides water spots and grips better when wet, while a smoother finish shows more mineral spotting in hard-water regions. If you want the base to disappear into a tiled wall, choose a color and texture that closely echo the wall tile; if you want it to read as a distinct pan, a contrasting tone works beautifully.
Is a Porcelain Base Right for Your Project?
Choose porcelain if you want a premium, tile-like look without the maintenance and failure risk of a grouted pan, and you have the structure to support the weight. It is ideal for a mid-to-high-end remodel, a forever home, or any bathroom where you never want to think about resealing grout again. If your budget is tight or you need the lightest possible unit for an upper-floor install, acrylic may still win.
For most homeowners upgrading a dated tub or a leaky tile shower, a porcelain base is the smart middle path, tougher than acrylic, simpler than custom tile, and built to look sharp for 20 years or more.
Prefer to explore on your own?
See how new flooring looks in your actual room in seconds — free, no signup.
Try the free Floor Studio →