Getting the shower base for tile right is the single most important step in building a leak-free tiled shower. Everything beautiful you do above it depends on a foundation that slopes correctly to the drain and stays waterproof for decades. Get the base wrong and water finds its way into the subfloor, leading to rot, mold, and a costly tear-out. Get it right and your tiled shower performs flawlessly for many years. The good news is that modern systems make this far more achievable for DIYers than the old-school methods.
This guide compares your base options, explains waterproofing, and outlines how a proper tile-ready shower base goes together.
Why the Base Matters So Much
A tiled shower floor is not waterproof on its own. Grout and even tile let some moisture through over time. The waterproof layer beneath the tile is what actually keeps water out of your home, and the slope is what carries that water to the drain instead of letting it pool.
A shower base must do three things: provide a consistent slope to the drain, typically about a quarter inch per foot, create a continuous waterproof barrier, and give a stable, bondable surface for the tile. Skipping or shortcutting any of these invites failure.
Pre-Sloped Foam Shower Pans
Modern foam shower pans have transformed shower building. These rigid, lightweight panels come pre-formed with the correct slope built in, ready to tile directly over.
- Fast and foolproof slope: The pitch to the drain is engineered in, removing the guesswork.
- Integrated waterproofing: Many systems pair the pan with a bonded waterproof membrane and matching drain.
- DIY-friendly: They cut to size and bond with thinset, making them accessible to confident homeowners.
The tradeoff is cost, since a quality foam pan and matching drain run more than raw mortar. For most homeowners, though, the reliability and ease are well worth it. Always use the manufacturer’s matching drain and waterproofing components so the system stays warrantied and watertight.
Traditional Mortar Bed Method
The classic approach builds the slope from a deck mud (dry-pack mortar) bed. It is time-tested and economical in materials, but demanding in skill.
A traditional mortar shower involves a pre-slope, a waterproof PVC or CPE liner, and a second mortar bed on top with a two-part clamping drain. Achieving the consistent slope and proper liner detailing takes real experience, and mistakes are easy to make and hard to detect until a leak appears. Alternatively, a single mortar bed can be topped with a liquid or sheet waterproof membrane, which simplifies the layering. This method rewards skill and patience; it is not the place for a first-time tiler to learn.
Waterproofing the Base
Waterproofing is not optional, and it is where many DIY showers fail. The waterproof layer must be continuous across the floor, up the curb, and several inches up the walls, with no gaps at corners or the drain.
Common modern methods include bonded sheet membranes, which are fabric-backed waterproof sheets adhered with thinset, and liquid-applied membranes, which are rolled or troweled on in multiple coats. Both create a surface-level barrier directly under the tile, which is the preferred modern approach because leaks show up at the surface rather than soaking the substrate first. Follow the membrane manufacturer’s coverage rates and cure times exactly, and reinforce all corners and the drain connection with the specified detailing pieces.
Drain Selection
The drain must match your base system. Pre-sloped foam pans use bonding-flange drains designed to integrate with their membranes. Traditional liner showers use clamping drains that sandwich the liner.
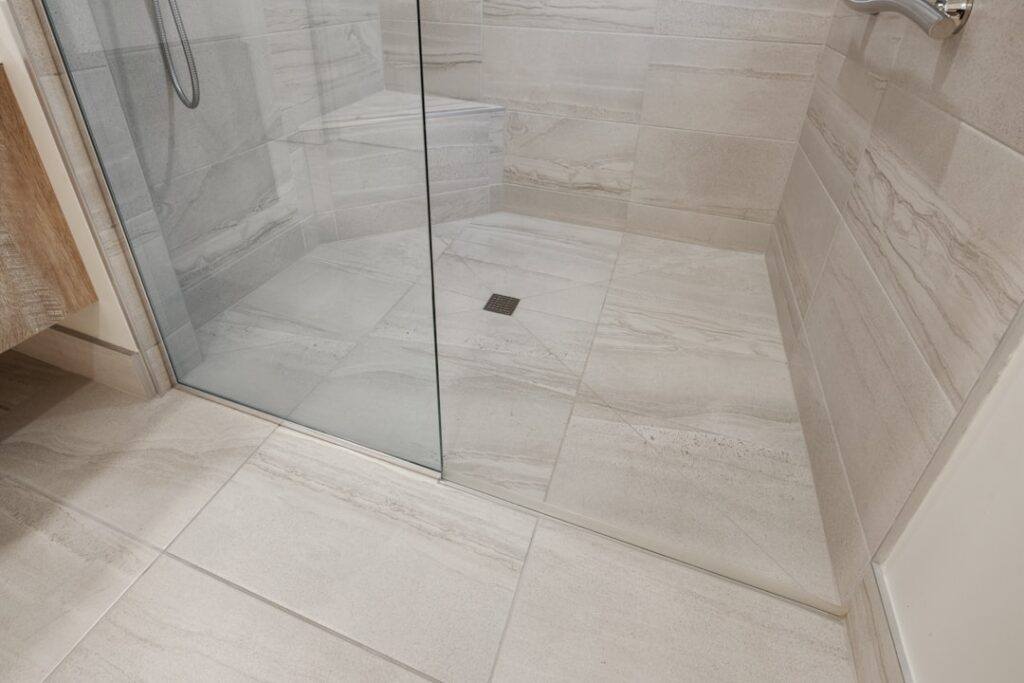
You can choose a center drain, which pairs with a four-way slope, or a linear drain, which allows a single-direction slope and large-format tile on the floor. Linear drains have grown popular for curbless, accessible showers. Whatever you choose, confirm it is compatible with your base and waterproofing system before you buy.
Step-by-Step Overview
While exact steps vary by system, a foam-pan shower generally follows this sequence. First, confirm the subfloor is solid and level, then dry-fit the pan and drain to mark cuts. Next, set the pan in thinset and install the bonding drain.
After that, apply the waterproof membrane across the floor, curb, and lower walls, sealing all seams and corners per the instructions. Flood test the pan if the system allows, filling it and checking for leaks over 24 hours before tiling. Finally, tile the floor and walls, then grout and seal. Taking the time to flood test is cheap insurance against a hidden failure.
Curbed Versus Curbless Shower Bases
The decision between a curbed and a curbless shower affects both the base construction and the overall look. A traditional curbed shower has a raised threshold that contains water, which is straightforward to waterproof and works with standard pans and drains.
A curbless, or barrier-free, shower has no threshold, creating a seamless, accessible entry that is popular for modern bathrooms and aging-in-place design. Curbless showers are more demanding to build, since the bathroom subfloor often must be recessed so the shower floor sits flush, and the waterproofing and slope must be flawless to keep water from migrating out. Linear drains pair especially well with curbless designs because they allow a single-direction slope. If accessibility or a clean, open look matters to you, a curbless base is worth the extra planning, but budget for the additional labor and structural work.
Common Base Mistakes to Avoid
Several recurring errors cause tiled showers to fail, and most are preventable. Inadequate slope is a frequent culprit, leaving water to pool rather than drain, which leads to staining and mold in the grout.
Discontinuous or poorly detailed waterproofing, especially at corners, the curb, and the drain connection, lets water sneak past the barrier. Mixing incompatible components, such as a drain that does not match the pan or membrane, breaks the system. Failing to confirm the subfloor is solid and properly supported can lead to flex that cracks tile and breaks the waterproofing. Finally, skipping a flood test means you only discover a leak after everything is tiled. Avoiding these mistakes is far cheaper than tearing out a failed shower.
Final Thoughts
A shower base for tile succeeds or fails on slope and waterproofing. For most homeowners, a pre-sloped foam pan with a matching bonded membrane and drain is the most reliable, DIY-friendly path to a watertight shower. The traditional mortar method works beautifully in skilled hands but punishes inexperience. Whichever route you take, never skip continuous waterproofing, follow your system’s instructions precisely, and consider a flood test before you tile. Build the base correctly and the beautiful shower above it will last.
Prefer to explore on your own?
See how new flooring looks in your actual room in seconds — free, no signup.
Try the free Floor Studio →