A walk in shower base is the waterproof foundation that everything else in your shower depends on. Get it right and you have a low-threshold, easy-to-clean shower that drains properly and stays leak-free for decades. Get it wrong and you invite water damage, mold, and expensive repairs behind the walls and under the floor. Whether you are building a new bathroom or replacing a dated tub, the base is the most important decision you will make.
Part of our Bathroom Remodeling & Flooring guide — explore the full guide →
This guide covers the main types of shower bases, how to size and choose a drain, what installation involves, and what you can expect to spend, so you can plan a shower that works beautifully for years.
- What a Shower Base Does
- Types of Shower Base Materials
- Choosing the Right Size
- Drain Placement and Style
- Curbed vs. Curbless Bases
- Installation Overview
- Cost of a Walk In Shower Base
- Care and Longevity
- Preformed vs. Tile-Ready Bases
- Waterproofing: The Step That Matters Most
- Matching the Base to Your Shower Walls
- Common Mistakes to Avoid
- Should You Hire a Professional?
What a Shower Base Does
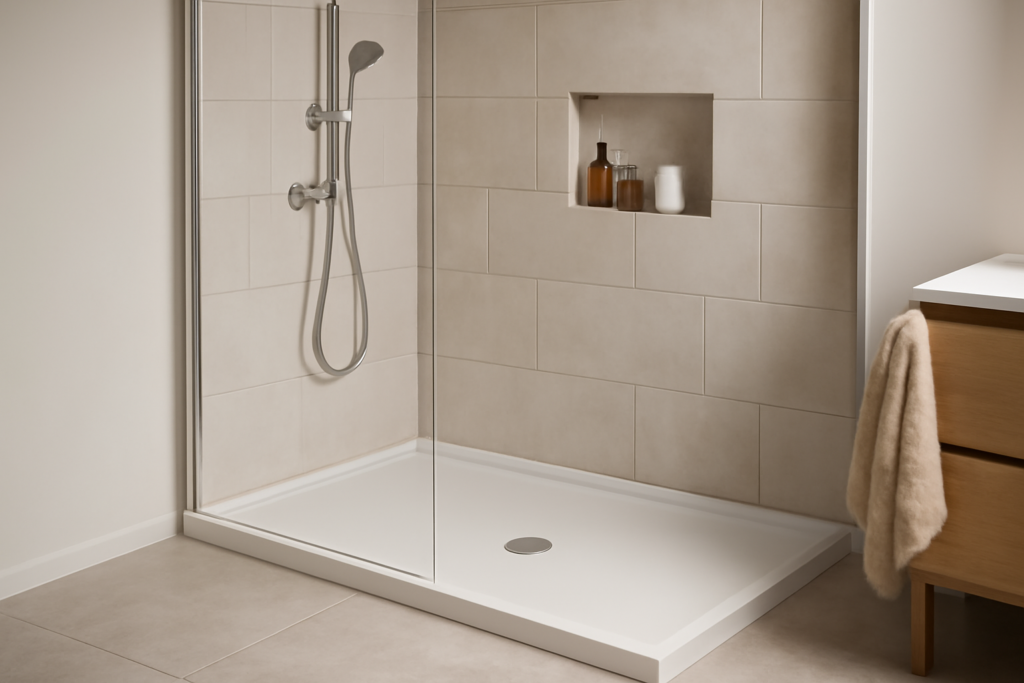
The base, sometimes called a shower pan, forms a watertight tray that channels every drop toward the drain. A quality walk in shower base provides a pre-sloped surface, a slip-resistant standing area, and a low or curbless threshold that makes stepping in easy. It also creates a clean transition to the bathroom floor and to the surrounding shower walls.
Types of Shower Base Materials
Bases come in several materials, each with a different balance of cost, durability, and looks:
- Acrylic: Lightweight, warm underfoot, non-porous, and affordable. The most popular ready-made option, easy to clean and resistant to cracking.
- Fiberglass: The cheapest choice, but it flexes underfoot and wears faster, showing scratches and stains over time.
- Solid surface or composite: Dense, durable, and available in modern textured finishes with a premium feel.
- Cast or cultured stone: Heavy and luxurious with a natural look, but costlier and harder to install.
- Tile-ready pans: A pre-sloped foam or mortar base you tile over, giving full design freedom at the cost of more labor.
Choosing the Right Size
Shower bases come in standard dimensions, but measuring your space carefully is essential. Common sizes include:
- 32 by 32 inches: A compact corner shower for small bathrooms.
- 36 by 36 inches: A comfortable square footprint for most homes.
- 48 by 36 inches: A roomy rectangle, often replacing a former tub alcove.
- 60 by 32 or 60 by 36 inches: A full tub-sized footprint for a spacious walk-in.
Measure the rough opening precisely and account for wall thickness and any bench or seat you plan to add.
Drain Placement and Style
The drain location must match your plumbing rough-in, so confirm this before ordering. There are two main styles:
- Center drain: The traditional choice, with the floor sloped from all sides toward a middle point. Simple and reliable.
- Linear drain: A long slot, usually placed along a wall or at the entry, that allows a single-direction slope and a sleek, modern look. Ideal for large-format tile and curbless designs.
Whichever you choose, verify whether the base needs a left, right, or center drain configuration before purchase.
Curbed vs. Curbless Bases
The threshold height shapes both accessibility and construction complexity:
- Curbed: A raised lip contains water and is easier to install, working with standard floor framing.
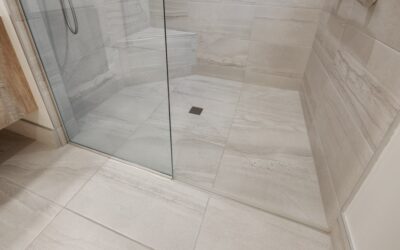
- Curbless (barrier-free): A flush entry that is safer for aging in place and looks seamless, but requires recessing the floor framing or building up the surrounding floor to create the needed slope.
Curbless designs are excellent for accessibility but usually need professional installation to get the waterproofing and slope exactly right.
Installation Overview
Installing a shower base is doable for an experienced DIYer, though waterproofing must be flawless. The general process is:
- Confirm the drain rough-in location and dry-fit the base.
- Set the base in a bed of mortar for solid, squeak-free support.
- Connect and seal the drain assembly to the waste line.
- Check that the base sits level and drains fully with a water test.
- Integrate the base flange with the wall waterproofing so no water can get behind it.
Any mistake in sealing the drain or the wall transition can cause hidden leaks, so many homeowners hire a pro for this step.
Cost of a Walk In Shower Base
Prices vary widely by material and size:
- Fiberglass: $150 to $400
- Acrylic: $300 to $800
- Solid surface or composite: $600 to $1,500
- Tile-ready pan plus tile: $500 to $2,000 with materials and labor
Professional installation typically adds $300 to $1,000 depending on plumbing changes and whether you go curbless.
Care and Longevity
A quality base lasts 15 to 30 years with simple care. Clean it with non-abrasive products, squeegee after use to limit mineral buildup, and reseal any tile grout periodically. Check the drain seal and caulk lines once a year for early signs of wear.
Preformed vs. Tile-Ready Bases
One of the biggest decisions is whether to use a ready-made base or build a tiled one:
- Preformed bases in acrylic, fiberglass, or solid surface arrive ready to install with the slope and drain opening built in. They are faster, more affordable, and virtually guaranteed to be watertight when installed correctly.
- Tile-ready bases are a pre-sloped foam or mortar pan you tile over, letting the shower floor match the walls and any pattern you like. They cost more in labor and require flawless waterproofing but offer complete design freedom.
If you want simplicity and reliability, choose a preformed base. If you are after a fully custom, seamless tiled look and have a skilled installer, a tile-ready pan is the way to go.
Waterproofing: The Step That Matters Most
No matter which base you choose, the connection between the base, walls, and drain must be perfectly sealed. Water always finds the weak point, and hidden leaks cause rot and mold behind the walls. Key waterproofing details include:
- Integrating the base flange or waterproof membrane with the wall backer so water cannot slip behind it.
- Sealing the drain assembly tightly to the waste line and testing it before closing anything up.
- Using the correct membrane or sealant at all corners and transitions.
- Running a flood test to confirm the pan holds water before tiling or finishing.
This is the single most important reason many homeowners hire a professional for the base installation.
Matching the Base to Your Shower Walls
The base should coordinate with the surrounding walls for a cohesive look. Acrylic bases pair naturally with acrylic or solid-surface wall panels for a fully non-porous, grout-free shower that is exceptionally easy to clean. A tile-ready pan lets you carry a tile design from floor to wall. Consider maintenance too: grout requires periodic sealing, while solid panels wipe clean with almost no upkeep.
Common Mistakes to Avoid
A shower base is unforgiving of errors because most of it is hidden once the shower is finished. One frequent mistake is ordering a base with the wrong drain configuration, then discovering it does not line up with the existing plumbing rough-in, which forces expensive changes. Always confirm whether you need a left, right, or center drain before purchasing. Another common error is setting the base without a full mortar bed underneath, which leaves it unsupported so it flexes and eventually cracks or the drain seal fails. A third pitfall is neglecting the flood test before tiling or finishing the walls; catching a slow drain leak early is trivial, but discovering it after the walls are up means tearing them out. Taking the time to verify the drain location, bed the base properly, and test for leaks prevents the most costly shower failures.
Should You Hire a Professional?
Deciding between DIY and hiring out comes down to your experience and the type of base. Installing a preformed acrylic base with a standard center drain over accessible plumbing is within reach for a confident DIYer who follows the manufacturer’s instructions carefully. Where professional help pays off is with curbless designs that require recessing the floor framing, tile-ready pans that demand flawless waterproofing, or any situation where the drain must be relocated. In these cases the cost of a plumber or tile professional, typically a few hundred to around a thousand dollars, is small insurance against hidden leaks that could cause thousands in water damage. If you are unsure about the waterproofing details, hiring a pro for the base and doing the finish work yourself is a sensible middle path.
The right walk in shower base comes down to matching material, size, and drain style to your bathroom and budget, then installing it with careful waterproofing. Choose acrylic or solid surface for durable, low-maintenance performance, confirm your drain location before ordering, and you will have a solid, leak-free foundation for a shower that looks and works great for decades.