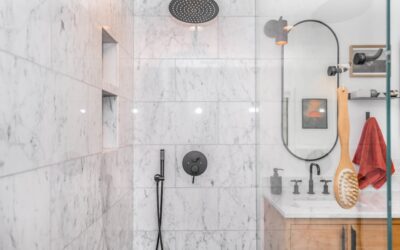
Everything beautiful about a tiled shower depends on something you will never see: the base beneath it. A shower pan for tile is the sloped, waterproof foundation that collects water and channels it to the drain while keeping moisture out of your subfloor and walls. If the pan fails, water seeps into the framing and you get rot, mold, and a very expensive repair. Choosing and building the right pan is the single most important step in a tile shower, so it pays to understand your options before tile ever goes down.
Part of our Bathroom Remodeling & Flooring guide — explore the full guide →
What a Shower Pan Actually Is
The shower pan is the waterproofing system and sloped base under the tile floor. Tile and grout are not waterproof on their own, so they must sit on a pan that directs every drop to the drain. A proper pan combines three things: a slope of roughly 1/4 inch per foot toward the drain, a continuous waterproof membrane, and a stable surface ready to accept thinset and tile.
Pre-Formed vs Mortar-Bed Pans
There are two main approaches, and they suit different skill levels and budgets:
- Pre-formed foam pans: Lightweight, factory-sloped panels (popular brands make integrated systems) that you bond to the subfloor and tile directly over. The slope and drain placement are built in, which dramatically reduces the chance of error. Great for DIYers, though they cost more and come in fixed sizes.
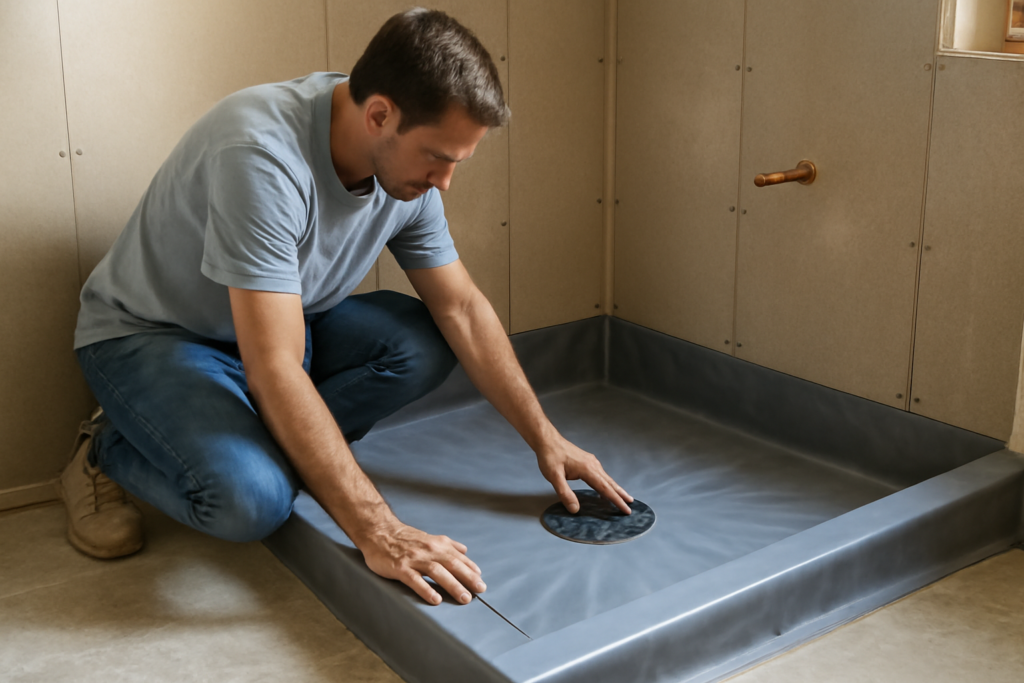
- Traditional mortar-bed pans: Built on site by packing and sloping a mortar base, often over a vinyl or sheet liner, then tiling over it. This method is fully customizable for any shape or size but requires real skill to get the slope and waterproofing right.
If you are new to tiling, a pre-formed pan removes much of the guesswork. If you have an unusual layout or want a custom size, a mortar bed gives you full control, but the margin for error is larger.
Why Slope to Drain Matters
Water has to move, or it pools and eventually finds a weakness. The industry standard is about 1/4 inch of fall per foot of run from the perimeter toward the drain. Too little slope and water stands on the tile, encouraging mildew and staining. Too much and the floor feels uncomfortable and tile lippage becomes obvious. Pre-formed pans handle this automatically, while mortar-bed pans require careful screeding to hit a consistent pitch in every direction.
Waterproofing the Pan
Waterproofing is non-negotiable, and it is where most failures originate. Depending on the system, the membrane may be a sheet liner, a liquid-applied coating rolled onto the pan and walls, or a bonded sheet membrane built into a foam panel system. Whatever the method, the waterproofing must be continuous and tie into the walls and drain so there are no gaps. The drain itself must be the correct type for your system, since pan-liner drains and bonded-membrane drains are not interchangeable.
A common test before tiling is a flood test: plug the drain, fill the pan with water, and confirm the level holds for 24 hours. If it drops, you have a leak to find before you tile over it.
Basic Installation Steps
For a pre-formed pan, the general sequence looks like this:
- Dry-fit the pan and mark the drain location, then cut the subfloor opening as needed.
- Bond the pan to the subfloor with the recommended thinset, fully supported with no voids.
- Install the matching drain assembly and connect it to the plumbing.
- Apply the waterproofing membrane and detail all seams, corners, and the drain flange.
- Flood test to confirm the system holds water.
- Tile over the cured pan with thinset, then grout and seal.
When to Call a Professional
A confident DIYer can install a pre-formed pan successfully by following the manufacturer’s instructions exactly. But waterproofing mistakes are hidden and costly, and a custom mortar-bed pan is genuinely a skilled trade. If you are unsure about the drain connection, the slope, or how to detail the waterproofing, hire a licensed tile contractor or plumber for at least the pan and waterproofing. Spending a bit more on a watertight base is far cheaper than tearing out a leaking shower a year later.
Choosing the Right Drain
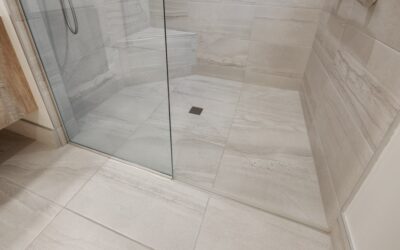
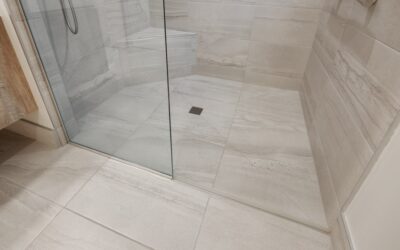
The drain is more than a hole in the floor; it is an integral part of the waterproofing system. Center drains are the traditional choice and require the floor to slope from all four sides toward the middle, which usually means smaller mosaic tiles that conform to the multi-directional pitch. Linear drains, set along one wall or the entry, allow the floor to slope in a single plane, making it possible to use large-format tiles with a sleek modern look. Whatever you choose, the drain must match your waterproofing method, since bonded-membrane and traditional-liner systems use different, non-interchangeable drain bodies.
Curb vs Curbless Showers
A curb is the small raised threshold that keeps water inside the shower. Traditional pans include a curb, which is simpler to waterproof and contains splashing well. Curbless or zero-threshold showers, which are increasingly popular for accessibility and a seamless look, require the bathroom floor to be recessed or built up so the shower floor sits flush. Curbless designs are more involved, demanding careful slope and often a linear drain, and they are an area where professional installation pays off, since waterproofing a curbless entry correctly is unforgiving.
Common Pan Mistakes
Most shower leaks trace back to a handful of avoidable errors. Inadequate slope leaves water pooling and seeping. Gaps or unsealed transitions in the membrane, especially at corners and the drain flange, let moisture escape. Mixing incompatible systems, such as a bonded membrane with a liner-style drain, undermines the whole pan. Skipping the flood test means you only discover a leak after the tile is down. Voids under a pre-formed pan can crack it. Slow, careful work at the waterproofing stage prevents nearly all of these.
Final Thoughts
The shower pan for tile is the hidden hero of a long-lasting bathroom. Decide between a forgiving pre-formed pan and a custom mortar bed based on your skills, respect the 1/4-inch-per-foot slope, and never skip the waterproofing or the flood test. Build the base right and your tile will stay beautiful and dry for decades.
Prefer to explore on your own?
See how new flooring looks in your actual room in seconds — free, no signup.
Try the free Floor Studio →