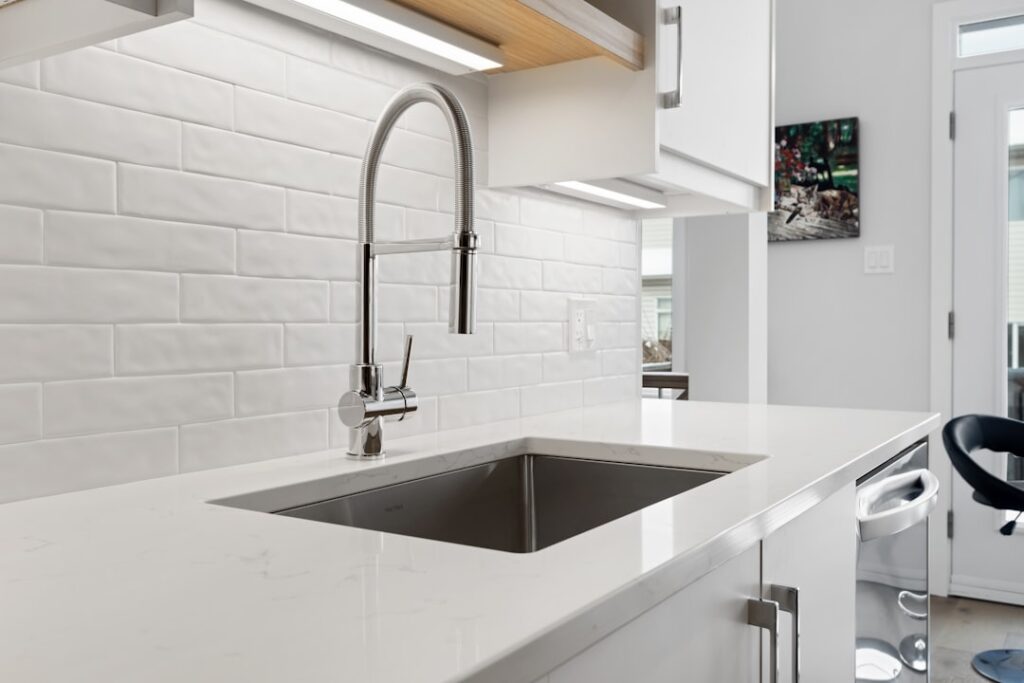
A hardworking laundry room, garage, or mudroom deserves a hardworking fixture, and a utility sink with cabinet and countertop turns a simple basin into a complete, organized workstation. You get a deep sink for messy jobs, storage to hide supplies, and a durable surface to fold, sort, or set things down. This guide walks you through materials, sizing, features, cost ranges, and installation so you can choose a setup that fits your space and your tasks.
Part of our Countertops guide — explore the full guide →
Why Choose an All-in-One Setup
A bare wall-mounted utility tub gets the job done, but combining the sink with a cabinet and countertop transforms the area into something far more useful. The cabinet hides detergents, cleaning supplies, and gardening gear, while the countertop gives you a flat, water-resistant surface to work on.
The result is a tidier, more functional room. Instead of supplies cluttering shelves and the floor, everything has a home, and the counter doubles as a folding station, a potting bench, or a spot to rinse and dry items. For many households, this combination is the difference between a chaotic utility area and a genuinely pleasant one.
Sink Material Options
The sink basin takes the most abuse, so material choice matters for durability. Utility sinks come in several materials, each with different strengths.
- Stainless steel is durable, resists stains and rust, and handles hot water and chemicals well.
- Acrylic and composite basins are lightweight, affordable, and easy to clean.
- Cast iron with enamel is heavy and very durable, with a classic look.
- Heavy-duty plastic or resin tubs are economical and impact-resistant for rough use.
For a sink that will see paint, soil, grease, and harsh cleaners, stainless steel or a rugged composite holds up well. Deep basins are especially valuable since utility sinks often need to handle large items and buckets.
Choosing a Countertop Surface
The countertop should be moisture-resistant and tough, since it will get wet, dirty, and bumped. Several surfaces work well for utility spaces, each balancing durability and cost.
- Laminate is affordable, wipeable, and available in many looks.
- Solid surface and composite resist moisture and clean easily.
- Stainless steel is extremely durable and ideal for heavy-duty work areas.
- Sealed butcher block adds warmth but needs sealing to handle moisture.
For a laundry or garage, prioritize water resistance and easy cleaning over luxury. A durable laminate or solid surface usually offers the best balance of function and value in these spaces.
Getting the Size Right
Before you shop, measure your space carefully so the unit fits and leaves room to work. A combination unit takes up more room than a standalone tub, so planning prevents a tight, awkward fit.
- Measure the available width, depth, and height, including clearance for any doors or appliances nearby.
- Confirm the cabinet depth leaves walkway space in a narrow laundry room.
- Check that the sink basin is deep enough for the buckets and items you actually use.
- Make sure the faucet height clears tall containers you plan to fill.
Account for plumbing connections and any existing supply and drain locations, since aligning the unit with them simplifies installation.
Faucets and Useful Features
The faucet you pair with a utility sink should match the heavy-duty nature of the work. A tall, high-arc spout makes filling buckets and rinsing large items far easier, and a pull-down sprayer adds flexibility.
Look for features that boost everyday usefulness, such as cabinet shelving or drawers for organization, a backsplash to protect the wall behind the sink, and a faucet with a single lever for easy operation with full hands. Some units include integrated towel bars or accessory hooks. Choosing a few thoughtful features turns a basic sink into a workstation tailored to your tasks.
Cost Expectations
Pricing depends on materials, size, and quality, so treat these as general estimates rather than quotes. A basic utility sink with cabinet and countertop often runs from roughly $200 to $600, with mid-range units from about $600 to $1,200 and premium materials and custom setups higher still.
- Economical plastic and laminate combinations sit at the lower end.
- Stainless steel and solid surface units cost more for their durability.
- A quality faucet is a separate cost worth budgeting for.
- Professional plumbing installation adds labor if you do not do it yourself.
Because this is a hardworking fixture you will use for years, spending a bit more on a durable sink and a good faucet usually pays off.
Best Rooms for a Utility Sink Station
A utility sink with cabinet and countertop earns its keep in several spots around the home. The laundry room is the classic location, where the sink handles hand-washing, soaking stains, and rinsing, while the counter doubles as a folding station and the cabinet hides detergents and supplies.
Garages and workshops benefit too, giving you a place to wash tools, hands, and paintbrushes away from kitchen and bathroom sinks. Mudrooms use the setup to clean up after gardening, sports, and pets, and basements often add one to support a workshop or extra laundry area. Wherever messy tasks happen, a dedicated station keeps the dirt and supplies contained in one organized place.
Freestanding Versus Built-In Units
You can buy a ready-made freestanding combination unit or build a custom setup, and each has merits. Freestanding all-in-one units are convenient, affordable, and quick to install, arriving as a coordinated package of sink, cabinet, and counter. They suit most homeowners who want a straightforward solution.
A custom built-in setup, using stock or custom cabinets topped with your chosen countertop and an undermount or drop-in utility sink, offers more flexibility in size, materials, and finish. It costs more and takes more effort but can match the rest of your space and fit awkward dimensions. Choose freestanding for simplicity and value, or custom when you want the station to feel integrated and tailored.
Installation Basics
Installing a combination unit involves both assembly and plumbing, and the difficulty depends on your existing connections. Some homeowners handle it themselves, while others hire a plumber for the water lines.
- Assemble the cabinet and set the unit in place, leveling it on the floor.
- Mount the sink and countertop securely, sealing seams with appropriate caulk.
- Install the faucet, then connect the hot and cold supply lines.
- Connect the drain and trap, then run water to check for leaks at every joint.
If you are not comfortable working with water supply and drain lines, hire a licensed plumber to ensure proper connections and avoid leaks. With the right unit, thoughtful features, and a solid installation, a utility sink with cabinet and countertop becomes one of the most useful additions to your home’s hardworking spaces.