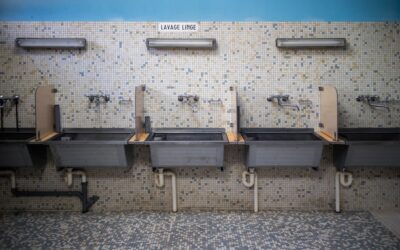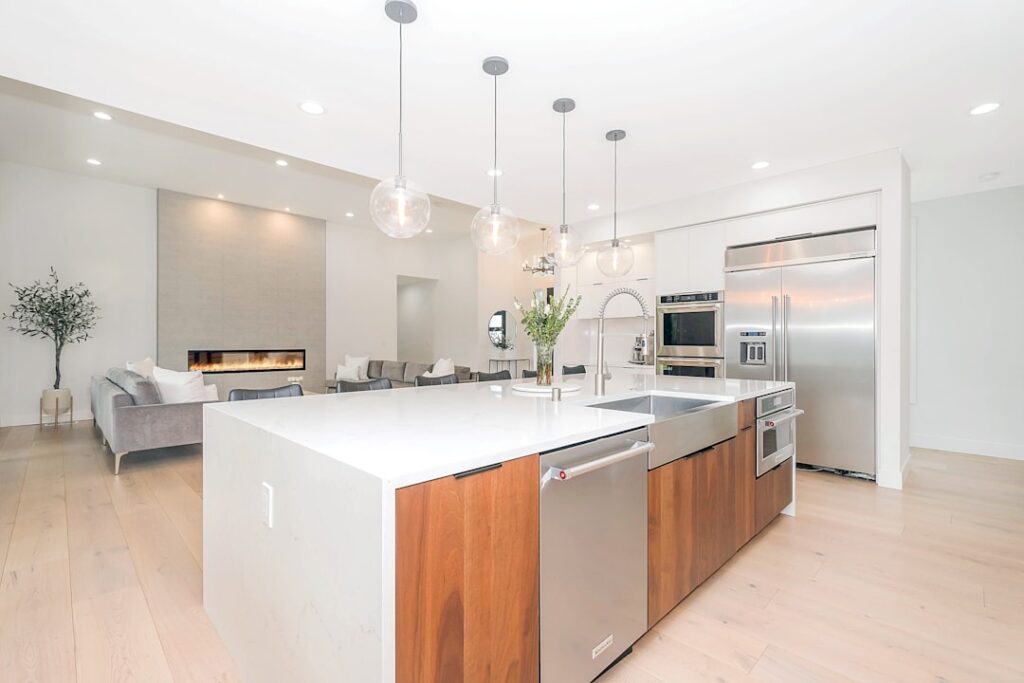
A bare utility sink standing on four legs works, but it leaves you nowhere to set the detergent, fold a towel, or drain a wet mop, which is exactly why a utility sink with countertop has become the upgrade of choice for laundry rooms, mudrooms, and garages. Building or buying a utility sink with countertop combines a deep basin with usable surface and, often, cabinet storage below, turning a single-purpose fixture into a genuine workstation.
Part of our Countertops guide — explore the full guide →
Here is how to choose the right basin and surface material, what sizes fit, realistic costs, and how the plumbing and countertop come together.
Why Pair a Utility Sink With a Countertop
The value is simple: a countertop multiplies what the sink can do. In a laundry room, you get a landing zone for sorting, a spot to pretreat stains, and space to fold. In a garage or workshop, it becomes a cleanup and potting station. Drop the sink into a countertop over a base cabinet and you also gain closed storage for detergent, cleaning supplies, and buckets that would otherwise clutter the floor.
There are two common approaches. You can buy an all-in-one utility sink cabinet with the countertop and basin included, or you can build the setup by installing a drop-in or undermount utility sink into a countertop of your choice over a cabinet. The build-your-own route costs more but lets you match the durability and look to the room.
Choosing the Sink Basin
Utility basins are deeper than kitchen sinks, typically 10 to 15 inches deep versus 8 to 10, which lets you fill a bucket or wash bulky items. Common basin materials:
- Molded thermoplastic/polypropylene: lightweight, rust-proof, $40 to $150. The economy standard for laundry rooms.
- Stainless steel: durable, easy to clean, hides stains, $100 to $400. Great for garages and heavy use.
- Cast iron with enamel: extremely tough and quiet, but very heavy and pricier.
- Composite granite: attractive and scratch-resistant if the room is visible from living space.
Match basin size to your work. A single 25-by-22-inch bowl handles most laundry tasks, while a workshop might want a larger or double basin. Confirm the sink’s mounting style, drop-in with a rim or undermount, matches the countertop you plan to use.
Countertop Material Options
The surface takes abuse from water, detergents, and whatever you drag across it, so durability beats beauty here. Good choices, roughly by price:
- Laminate: $10 to $40 per sq ft installed. Cheapest, decent water resistance, but edges can swell if water sits in a seam.
- Butcher block: $30 to $70 per sq ft. Warm and forgiving, but needs sealing and is not ideal right around a wet sink.
- Solid surface (acrylic): $50 to $100 per sq ft. Seamless, repairable, non-porous, an excellent laundry choice.
- Quartz: $60 to $150 per sq ft. Nearly indestructible and stain-resistant; overkill for a garage but ideal for a visible laundry room.
- Stainless-topped or epoxy: best for true workshop and utility abuse.
For a wet utility area, non-porous solid surface or quartz outperforms wood and laminate around the basin because there are no seams for water to creep into.
Sizing and Layout
Plan the counter height at a comfortable 36 inches to match standard kitchen counters, though some prefer 38 to 40 inches for a laundry sink so you are not stooping over a deep basin. Leave at least 18 to 24 inches of counter to one side of the sink for a real working surface; a countertop that is all sink and no landing space misses the point.
Depth is usually 24 to 25 inches to match standard base cabinets, but a shallow 18-inch counter can work in a tight laundry closet. Confirm the room has clearance for a washer and dryer if they share the wall, and that a front-load dryer door or a top-loading lid will still open with the counter in place.
Plumbing and Drainage
A utility sink needs hot and cold supply and a drain, ideally on an existing wet wall shared with the laundry hookups to keep the run short. Utility sinks drain through a standard 1-1/2-inch P-trap, and code requires that trap and a vent to prevent siphoning and sewer gas. If you are tapping into the laundry standpipe or a nearby drain, verify capacity and slope; the drain should fall at least 1/4 inch per foot toward the main.
Because these sinks fill fast and deep, install quality shutoff valves and use a faucet with a high enough spout and a decent flow rate to fill buckets efficiently. A faucet with a threaded spout that accepts a hose adapter is a bonus in a garage or potting area.
If the utility area doubles as your laundry, plan for the washer drain. Many setups tie the washer’s discharge hose into a standpipe near the sink, but never run the washer drain directly into the utility basin, since a washer pumps water out faster than a 1-1/2-inch sink drain can accept and it will overflow. Keep the two drains separate, or use a dedicated laundry box with its own standpipe and trap alongside the sink plumbing.
Installation Overview
Building the setup follows a logical order. Set and level the base cabinet, then place and secure the countertop. Cut the sink opening per the template if you are using a drop-in, or mount the undermount to the underside before the top is set. The basic flow:
- Install and level the base cabinet, shimming as needed.
- Fit the countertop; for undermount sinks, attach the sink first.
- Cut and seal the sink cutout, then drop in and clip a top-mount basin.
- Install the faucet and drain assembly before final positioning if access is tight.
- Connect supply lines and the P-trap, then run water and check every joint for leaks.
- Run a bead of silicone around the sink rim and the counter-to-wall seam.
A handy homeowner can complete a drop-in installation in a few hours; complex plumbing runs or a new drain line are worth a plumber’s time.
Faucet, Accessories, and Maintenance
The faucet does a lot to determine how useful the sink feels. For a laundry or utility setup, choose a tall gooseneck spout that clears a bucket, and consider a pull-down or pull-out spray head for rinsing. A commercial-style faucet with a coil spring and a hose sprayer is popular in utility rooms because it reaches into every corner of a deep basin. If you fill buckets or hook up a garden hose, pick a spout with a threaded tip that accepts a standard hose adapter.
A few accessories earn their keep. A drying rack or a removable stainless grid protects the basin bottom and gives you a surface to set delicates. A tall backsplash, even 4 inches of the same countertop material, keeps water off the wall behind the sink. And a soap dispenser mounted in the countertop keeps a bottle from cluttering your new work surface.
Different surfaces ask for different care, and matching upkeep to the material keeps a utility station looking good. Stainless basins wipe clean with dish soap and the occasional stainless polish to remove water spots; avoid steel wool, which can leave rust specks. Thermoplastic basins resist stains but can scratch, so skip abrasive pads. Composite granite handles most cleaners but not harsh solvents.
- Laminate counters: wipe dry after use and keep water out of seams to prevent swelling
- Butcher block: re-oil with mineral oil every month or two and keep it out of the direct splash zone
- Solid surface and quartz: nearly maintenance-free; a damp cloth and mild cleaner is all they need
Whatever the material, keep the silicone bead around the sink rim and the counter-to-wall seam intact, and re-caulk at the first sign of a gap so water cannot get behind the counter.
Budgeting the Whole Project
An all-in-one utility sink cabinet with a molded top runs $150 to $500. Building your own with a stainless basin, a base cabinet, and a solid-surface or laminate top typically lands between $400 and $1,200 in materials, plus plumbing if you need new supply and drain lines. Adding quartz pushes a nicer laundry-room version toward $1,000 to $2,000.
Whatever your budget, a utility sink with countertop earns its keep the first time you fill a mop bucket, pretreat a load of laundry, and set everything down on a surface instead of the floor. Choose a deep basin, a water-friendly counter material, and short plumbing runs, and you will have a workstation that serves the whole house for decades.