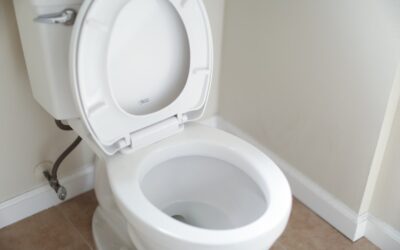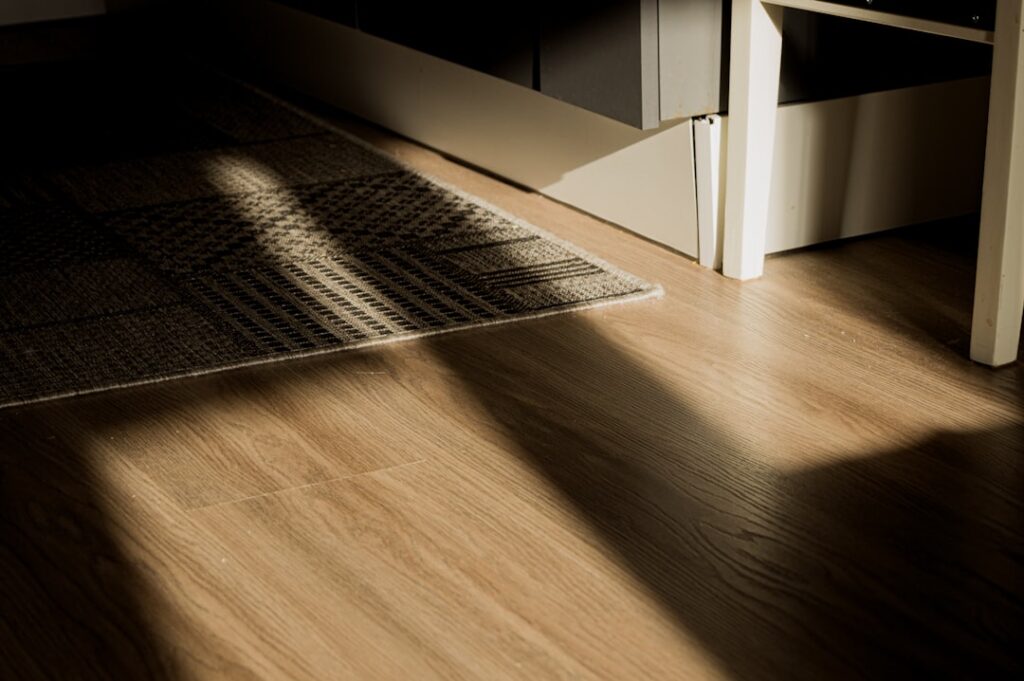
A half bath sees more splashes than its square footage suggests — flush spray, sink overflow, the inevitable kid bath time. Vinyl toilet flooring handles all of it at a fraction of what tile costs to install, and the latest rigid-core SPC and WPC products look indistinguishable from real wood or stone. Whether you’re upgrading a powder room or replacing builder-grade sheet vinyl, here’s exactly what to choose and how to install it around a toilet flange.
Part of our Bathroom Remodeling & Flooring guide — explore the full guide →
- Why Vinyl Outperforms Tile in Small Bathrooms
- Types of Vinyl That Work for Toilets
- What “Waterproof” Actually Means
- Best Brands and Lines for Bathroom Use
- Cutting Around a Toilet Flange — Step by Step
- Subfloor Prep for Bathroom Installs
- Maintenance and Cleaning Around the Toilet
- Common Mistakes to Avoid
- The Bottom Line
Why Vinyl Outperforms Tile in Small Bathrooms
Tile is the default bathroom flooring, but it isn’t always the smartest choice for a small water closet. Porcelain costs $7 to $14 per square foot installed once you factor in thinset, backer board, grout, and labor. Vinyl costs $2.50 to $6.50 installed for an equivalent visual.
Tile is also unforgiving underfoot. A toddler who slips on a wet ceramic floor lands on a hard surface that can chip a tooth. Vinyl flexes slightly — softer to stand on during a long teeth-brushing session, warmer underfoot in winter.
Types of Vinyl That Work for Toilets
- Sheet vinyl: $1.50 to $4.50 installed. Glued or floating. Zero seams in spaces under 12 feet wide — ideal for sealing against water intrusion.
- Luxury vinyl plank (LVP): $3 to $6 installed. Click-lock or glue-down. Best looks, more seams to caulk near fixtures.
- Luxury vinyl tile (LVT): $3 to $7 installed. Mimics ceramic at lower cost with grout-fill seams optional.
- SPC rigid core: $3.50 to $7 installed. The hardest, most waterproof option. 22 mil wear layer is the gold standard.
- WPC core: $4 to $8 installed. Slightly softer underfoot than SPC, similar waterproof claims.
What “Waterproof” Actually Means
Most major brands now market vinyl as “100% waterproof.” The fine print matters. The core of the plank is waterproof — meaning spilled water won’t swell the substrate the way it does to laminate. But seams between planks and the perimeter around fixtures are only waterproof if you seal them with silicone.
Lifeproof, Pergo Extreme, COREtec Pro Plus, and Mannington Adura Max all carry 24- to 72-hour standing water warranties on the plank itself. None warranty water that wicks through unsealed seams. Caulk every joint where the floor meets a fixture, baseboard, or tub.
Best Brands and Lines for Bathroom Use
For a master bath upgrade, COREtec Pro Plus Enhanced HD with a 22 mil wear layer holds up to teen showers and pet traffic. About $4.79 per square foot retail. Provenza MaxCore Modern Charm offers more design variety at similar price points.
For a budget half-bath, Lifeproof Sterling Oak from Home Depot at $2.79 per square foot delivers a 12 mil wear layer with a 30-year residential warranty. Mannington Adura Max Apex is the upgrade pick at $4 to $5 per square foot, with built-in 1.5mm acoustic underlayment.
For sheet vinyl, Armstrong Initiator and Mannington BioSpec offer seamless installs in rolls up to 12 feet wide. Around $2 to $4 per square foot installed.
Cutting Around a Toilet Flange — Step by Step
- Shut off the water supply and flush the tank until empty. Sponge out residual water.
- Disconnect the supply line and unbolt the toilet. Lift straight up and set on a towel.
- Plug the flange opening with a rag to block sewer gas.
- Dry-fit planks up to the flange. Make a paper template traced from the flange opening.
- Transfer the template to the plank with a Sharpie. Cut with a sharp utility knife or jigsaw.
- Lay the cut piece. The toilet base will cover any rough edges within 1/4 inch of the flange.
- Apply a fresh wax ring or rubber gasket. Reset the toilet, tighten flange bolts evenly.
- Caulk around the toilet base with clear silicone, leaving a 1-inch gap at the rear so leaks become visible.
Subfloor Prep for Bathroom Installs
Vinyl needs a flat subfloor — 3/16-inch tolerance over 10 feet for floating installs. Patch low spots with Henry 547 floor patch or Mapei Planipatch. For glue-down vinyl, the standard tolerance tightens to 1/8 inch over 6 feet.
If you’re installing over existing tile, you must skim-coat with embossing leveler to prevent grout lines from telegraphing through. Two thin coats of Ardex Feather Finish, sanded smooth, will do it.
Moisture-test the subfloor if it’s concrete. Vinyl can trap moisture underneath and develop mildew between the plank and the slab even though the surface looks fine.
Maintenance and Cleaning Around the Toilet
Sweep daily and damp-mop weekly with a pH-neutral cleaner like Bona Pro Series Vinyl Cleaner. Avoid Pine-Sol, vinegar, or steam — all three damage the wear layer over time.
Around the toilet base, urine splashes (mostly from young kids) need same-day cleaning to prevent yellowing the seams. A 50/50 white vinegar and water mix is the only exception to the no-vinegar rule, and only as a spot treatment, not a routine mop solution.
Inspect the silicone bead around the toilet every six months. Replace it if it’s pulling away — that’s your first line of defense against subfloor rot from a slow seal leak.
Common Mistakes to Avoid
Skipping the expansion gap. Floating vinyl needs 3/8 inch all the way around. Tight fits cause buckling when the floor expands in summer humidity.
Installing under the toilet flange. Cut around it, not under it. A toilet base sitting on top of vinyl can compress over time and break the wax seal.
Using the wrong adhesive. Glue-down vinyl in bathrooms needs a pressure-sensitive adhesive rated for wet areas. Roberts 7350 or Henry 360 are standards.
The Bottom Line
Vinyl toilet flooring beats tile on cost, comfort, and DIY accessibility while matching its waterproof claims when installed correctly. Choose an SPC or rigid core with a 20 mil or higher wear layer, seal every fixture seam with silicone, and you’ll get 15 to 25 years of clean, dry, easy-to-maintain bathroom floor.
Prefer to explore on your own?
See how new flooring looks in your actual room in seconds — free, no signup.
Try the free Floor Studio →